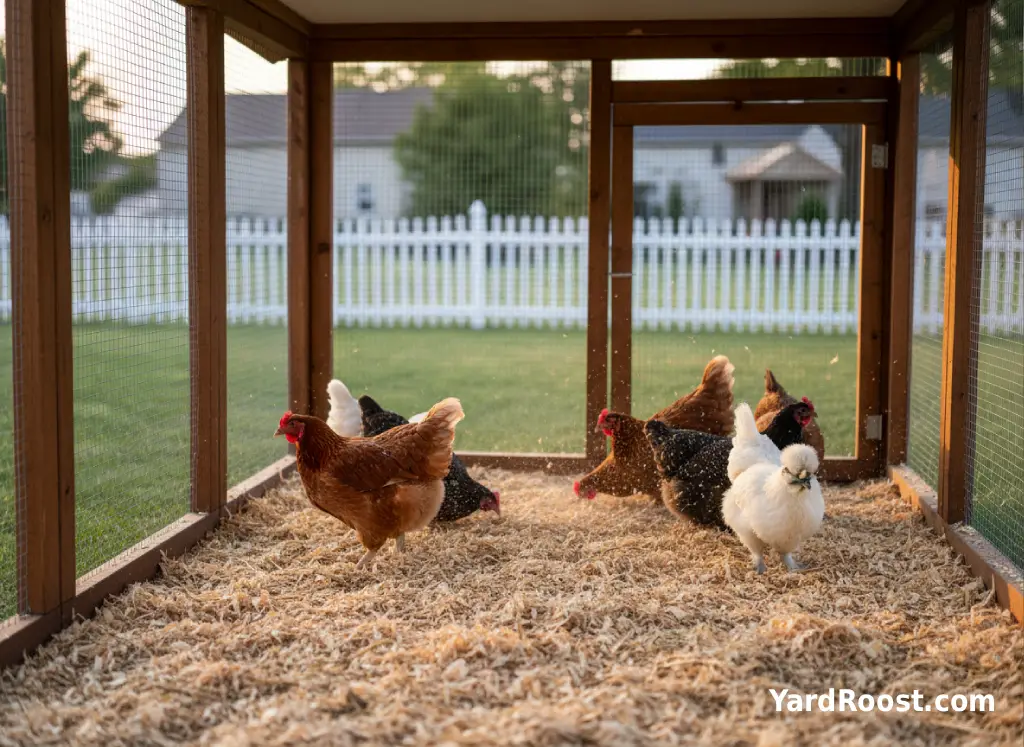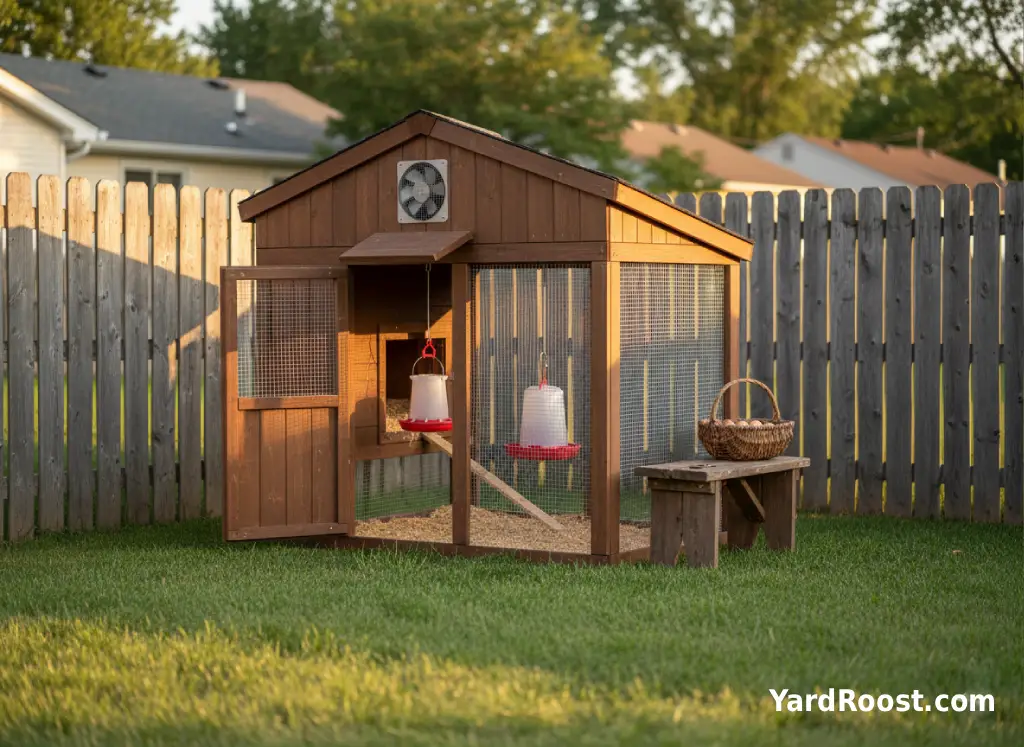
A chicken run gives your flock a protected outdoor space to scratch, dust bathe, stretch, and enjoy daylight without being fully loose in the yard. For many backyard keepers, learning how to build a chicken run is the difference between constantly worrying about hawks, dogs, mud, and garden damage and having a calmer daily routine.
The best run is not the prettiest one on social media. It is the one that fits your flock size, drains after rain, keeps predators out, gives hens shade, and is easy enough for you to clean on a normal weekday. University of Maryland Extension notes that outdoor run space needs vary by bird type, with laying hens needing more room than bantams and large chickens needing more still.
Before you build, check local ordinances, HOA rules, and setbacks. Backyard chicken rules vary by city and county, and run placement can affect neighbors, drainage, odor, and noise.
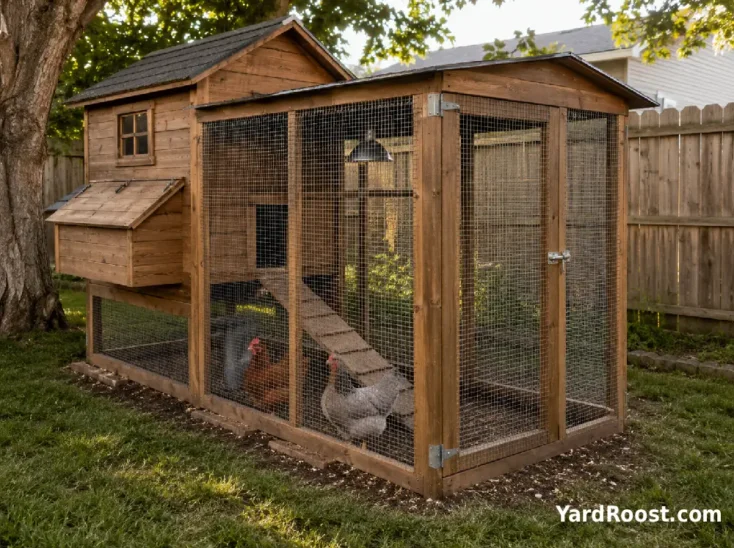
What Is A Chicken Run?
A chicken run is an enclosed outdoor area where chickens can spend time outside while still being contained and protected. It usually connects to the coop, so birds can move from shelter to outdoor space without being carried.
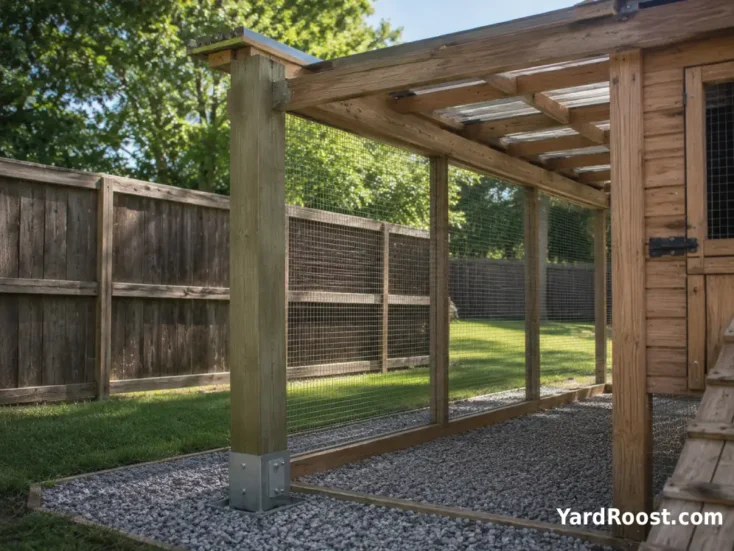
A good run does four jobs at once: it keeps chickens in, keeps predators out, gives birds room to act like chickens, and makes your daily chores easier. For a small backyard flock, that usually means a framed enclosure with sturdy posts, hardware cloth or welded wire, a secure gate, shade, drainage, and either a solid roof or predator-resistant overhead cover.
One quick vocabulary note: a chicken run is not the same thing as straight-run chickens. Straight run usually refers to chicks sold unsexed, meaning the group may include both pullets and cockerels. A run is the outdoor enclosure you build for the flock.
At YardRoost, we think of the run as part of the coop system, not an optional add-on. A cramped, muddy, or flimsy run creates stress fast. A well-planned run turns flock care into a simpler rhythm: open the pop door, check feed and water, look for digging or loose wire, and let the birds get busy.
Plan The Size, Location, And Layout Before You Buy Materials
Start with the site, not the lumber pile. A run that sits in a low, soggy corner will be harder to keep clean no matter how well you build the frame. Choose a spot with decent drainage, some natural shade if possible, and enough room for you to walk in with a rake, feed scoop, or bedding fork.
For sizing, a practical backyard target is at least 8 square feet of outdoor run space per standard laying hen and closer to 10 square feet per large chicken. More space is better, especially if the run will be their main daytime area. University of Maryland Extension lists 8 square feet outside for laying hens and 10 square feet outside for large chickens.
| Flock Size | Practical Run Target | Example Footprint |
|---|---|---|
| 4 standard hens | About 32–40 square feet | 4 feet by 10 feet |
| 6 standard hens | About 48–60 square feet | 6 feet by 10 feet |
| 8 standard hens | About 64–80 square feet | 8 feet by 10 feet |
Think about your gate swing, wheelbarrow access, and how water will move during a hard rain. If the run is against the coop, leave yourself room to inspect the connection point. That seam is one of the first places raccoons, rats, and loose dogs will test.
A common beginner mistake is planning only for the chickens you have today. If you might add two more hens next spring, build the run larger now or frame it so you can extend one wall later.
Materials And Tools For A Do It Yourself Chicken Run
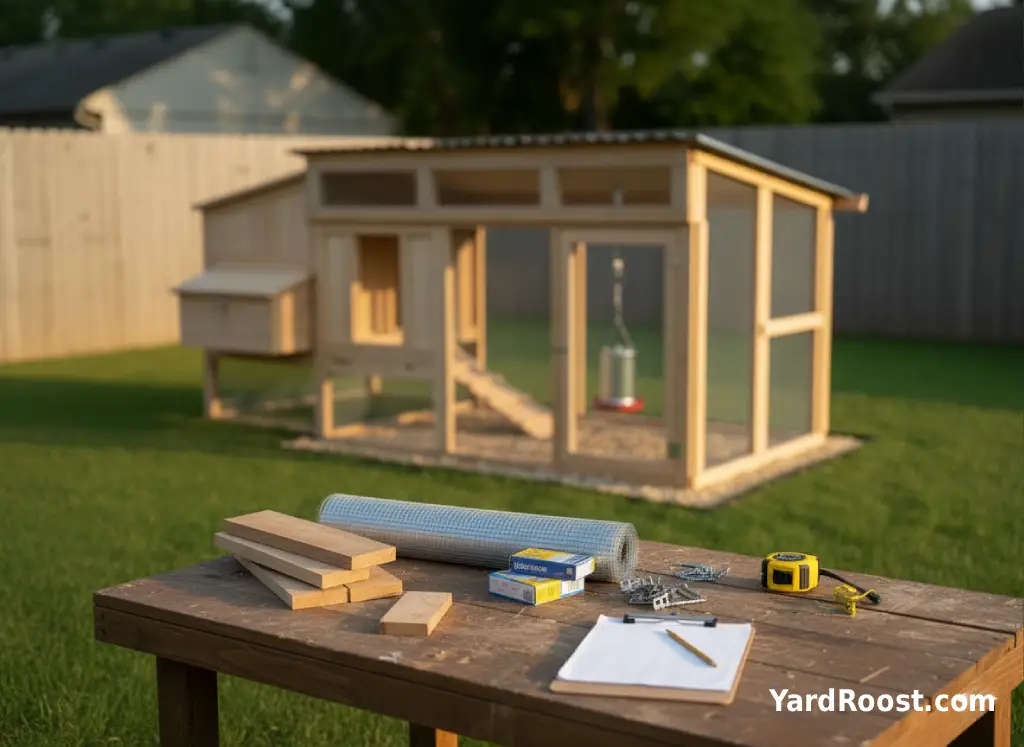
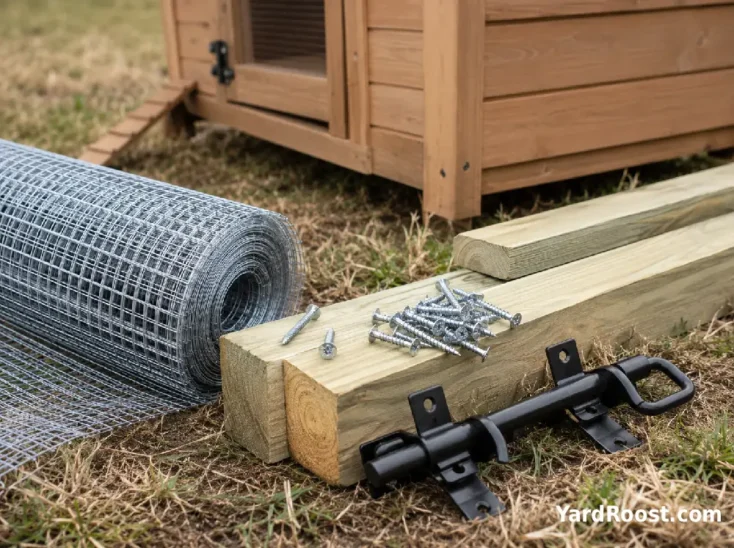
You can make a chicken run with basic carpentry tools, but do not cut corners on the wire, gate, or fasteners. Chicken wire keeps chickens contained; it is not strong predator protection. For most backyard runs, galvanized hardware cloth is the safer choice for lower walls, openings, and vulnerable seams.
For a basic do it yourself chicken run, gather:
- 4-by-4 posts or sturdy ground-contact posts for corners and gates
- 2-by-4 lumber for the frame, top rails, bottom rails, and roof support
- Galvanized hardware cloth, often 1/2-inch mesh for vulnerable areas
- Exterior screws, fence staples, and wide washers or fender washers
- A gate frame, hinges, and a two-step latch or carabiner-secured latch
- Roofing material, shade cloth, welded wire, or netting if covering the run
- Gravel, sand, coarse wood chips, or other drainage-friendly surface material
Tools usually include a drill, level, post-hole digger, tape measure, tin snips, staple gun or hammer, saw, work gloves, and eye protection. Hardware cloth edges are sharp, so gloves are not optional.
University of Maryland Extension recommends 1/2-inch hardware cloth over poultry-house windows to help keep out wild birds, rodents, and varmints. That same small-mesh mindset is useful around lower run walls, vents, and any opening a predator could pry or squeeze through.
For more detail on airflow and coop openings, see our guide to chicken coop ventilation basics.
How To Build A Chicken Run, Step By Step
Once your layout is marked, work slowly and squarely. A chicken run does not need cabinet-level woodworking, but it does need tight seams and strong corners.
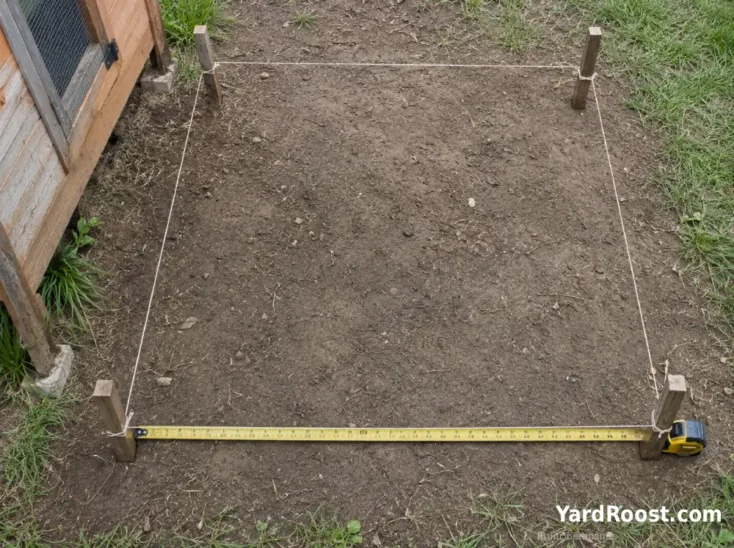
- Mark The Footprint: Use stakes and string to outline the run. Measure diagonally corner to corner; matching diagonal measurements mean the layout is square.
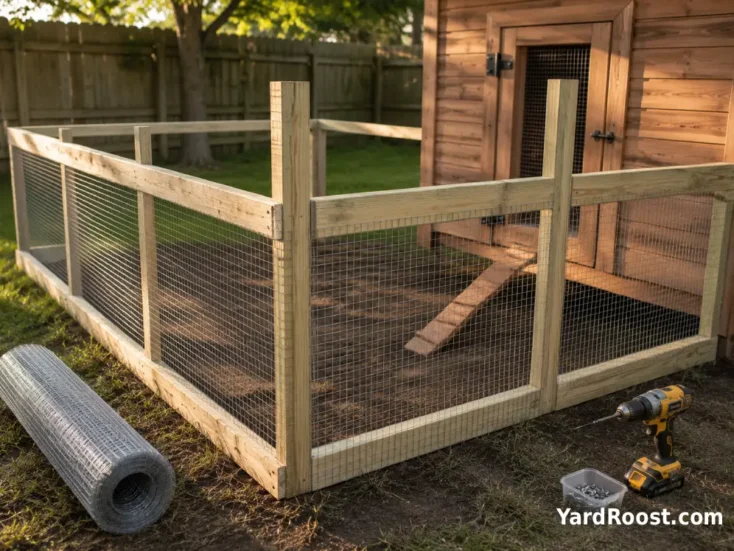
- Set The Posts: Place corner posts first, then gate posts. Set posts deep enough for your soil and frost conditions, and brace them so they stay plumb while backfilled or set.
- Build The Lower And Upper Rails: Attach 2-by-4 rails between posts. The bottom rail gives you a strong edge for hardware cloth and helps prevent floppy fencing.
- Add The Wire: Pull hardware cloth snug, overlap seams by a few inches, and fasten with staples plus washers or wood battens. Do not rely on light staples alone where predators may push or pull.
- Frame And Hang The Gate: Build a gate that does not sag. Add a secure latch that requires more than one simple motion to open.
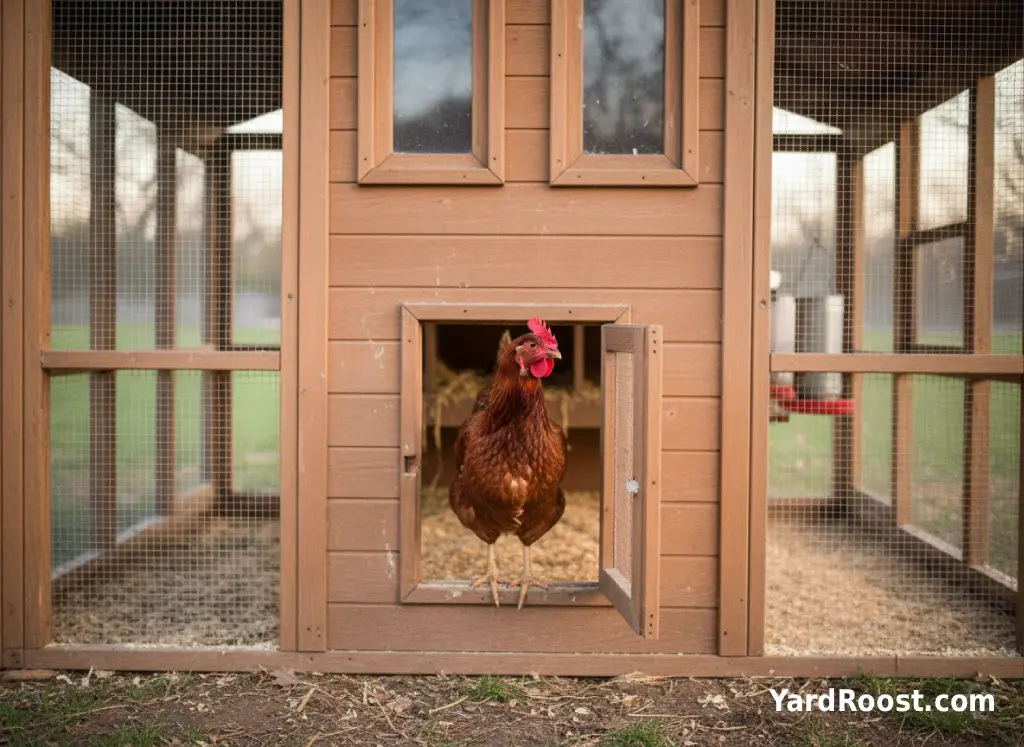
- Secure The Coop Connection: Cover gaps where the run meets the coop. Predators often test corners, doors, and transition points first.
- Add Drainage, Shade, And Enrichment: Finish with a dry surface, dust bath area, perch, and shaded space before turning the flock loose.
After the frame is up, walk the inside and outside with your hand near every seam. If you can flex a gap open, a raccoon, dog, or determined rodent may be able to work on it over time.
How To Build A Chicken Run With A Roof
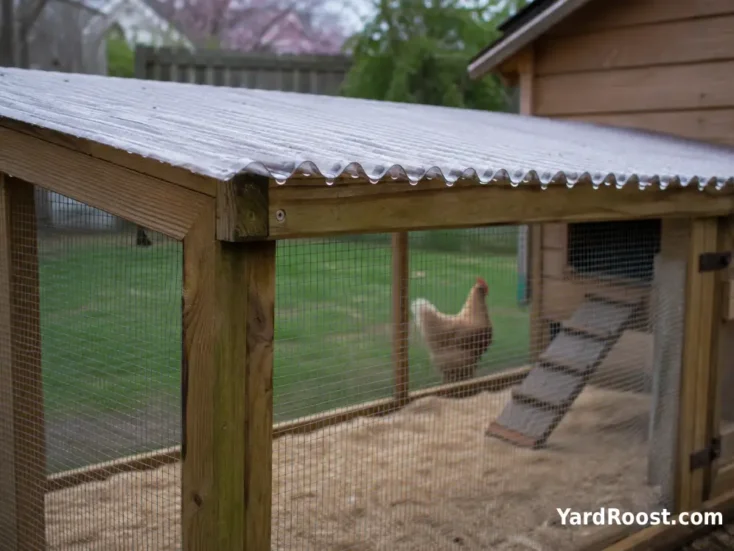
A roof is one of those upgrades that seems optional until the first rainy week. A covered run keeps part of the ground drier, makes winter chores easier, protects feed from weather, and helps reduce muddy traffic around the coop door.
You have three common roof choices. A solid roof, such as metal or polycarbonate panels, gives the best rain protection. Welded wire or hardware cloth overhead helps stop climbing predators and can support shade cloth. Heavy-duty netting can help with hawks, but it is usually less durable against snow, falling branches, raccoons, and chewing animals.
Pitch the roof so water drains away from the coop and gate. Even a gentle slope is better than a flat roof that holds water, snow, or wet leaves. In snowy areas, build stronger roof framing than you think you need, especially for wider spans.
University of Maryland Extension notes that outside run areas may use overhead netting for predator protection, and Penn State Extension advises covering outside runs with mesh wire or netting to reduce problems from hawks and owls.
Editorial note: for beginners, the most useful compromise is often a partly solid roof. Cover the section closest to the coop and feed area, then use secure wire or netting over the rest if budget is tight.
Predator-Proofing Details That Matter Most
Predator-proofing is where a simple chicken run becomes a safer one. The goal is not to guess which predator you have. It is to build for the common ways predators enter: digging under, prying at corners, reaching through openings, climbing over, or slipping through a weak gate.
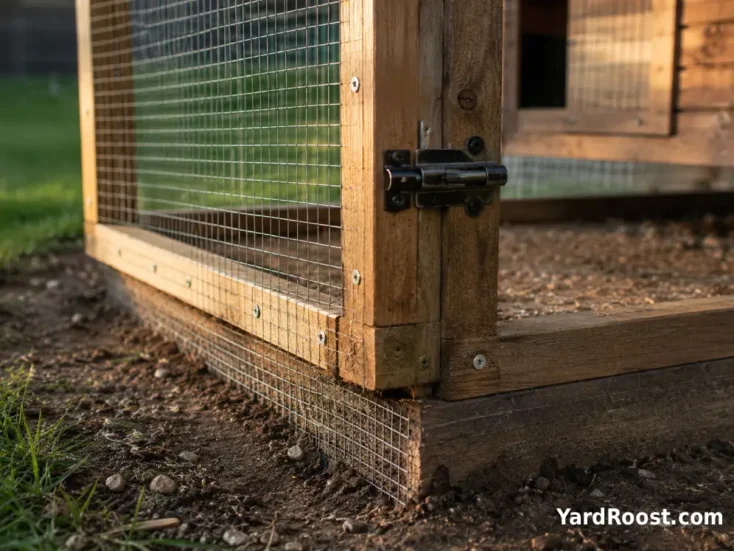
- Stop Digging: Bury hardware cloth around the run or install an outward apron along the ground. University of Maryland Extension recommends burying hardware cloth 12 inches to 1.5 feet deep around a coop to deter digging predators.
- Use Small Mesh Low Down: Hardware cloth is especially important on the lower 2 to 3 feet, around corners, and near the coop connection.
- Lock The Gate: Use a latch that a raccoon cannot flip open with one motion. A carabiner or two-step latch is a simple upgrade.
- Cover The Top: Hawks are not the only concern. Raccoons and other climbers may also enter from above if the run is open.
- Inspect Weekly: Look for bent mesh, loose staples, fresh digging, soft soil near posts, and chew marks.
A common mistake we see is building strong walls but leaving a 2-inch gap under the gate. That small gap gets larger after rain, scratching, or settling. Add a threshold board, paver strip, or tight apron so the gate area stays protected.
For a deeper checklist, see our predator-proof chicken coop guide.
Keep The Run Dry, Shaded, And Easy To Clean
The run floor tells you how well the design is working. If it smells sour, stays slick, or turns into a bare mud lot after every rain, treat that as a management signal rather than just a cleaning problem.
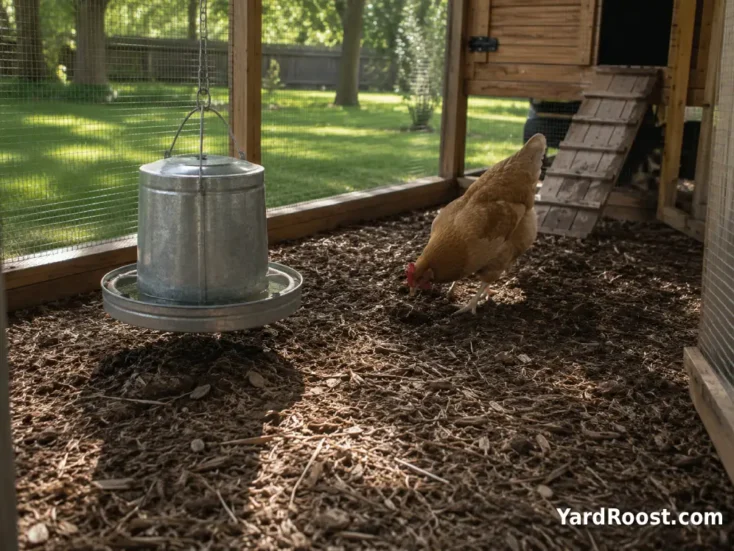
Coarse wood chips, well-drained soil, gravel paths outside the run, and a roofed feeding area can make a big difference. Avoid using fine, dusty material in a damp run because it can pack down. If water flows into the run from the yard, redirect it before adding more bedding.
Shade matters in summer. A roof panel, shade cloth, shrubs outside the run, or a shaded dust bath corner gives birds options. University of Minnesota Extension notes that heat stress can cause panting and increased water intake, and that access to cool fresh water and ventilation can help provide relief.
Cleaning does not have to be complicated. A good rhythm is a quick daily glance, a weekly rake or bedding refresh in heavy-use spots, and a deeper reset when the surface starts holding odor or moisture. University of Minnesota Extension also notes that ammonia smell or moisture collecting inside poultry housing means ventilation and manure management need attention.
Keep feed in a rodent-resistant container and remove leftover scraps before evening. A run that smells like spilled grain is an invitation to pests.
Biosecurity And Household Safety Around The Run
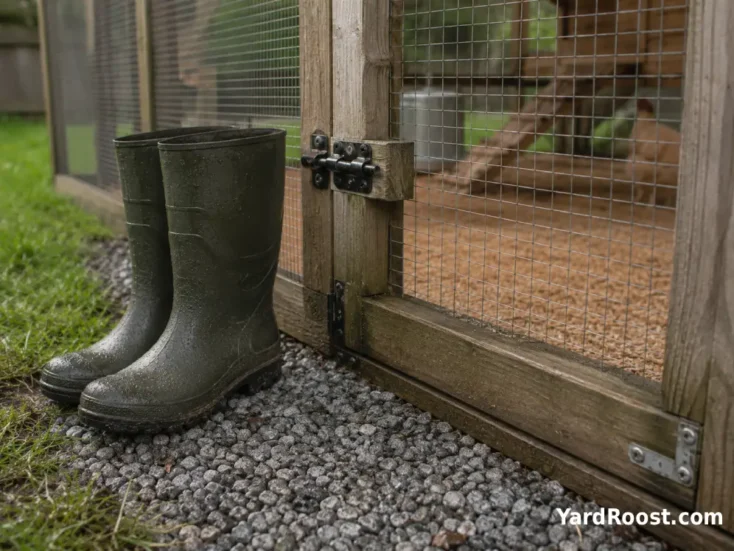
A chicken run is part of your household routine, so build safety into the habits around it. Keep one pair of coop boots near the run, wash hands after chores, and keep feeders and waterers outside the house.
The CDC warns that backyard poultry can carry Salmonella germs even when birds look clean and healthy. CDC guidance includes washing hands with soap and water for 20 seconds after touching birds, supplies, or eggs; using dedicated coop footwear; and keeping children younger than 5 from handling birds or spending time in areas where poultry live and roam.
Biosecurity also matters for flock health. USDA APHIS recommends covered enclosures and netting to help avoid contact between domestic poultry and wild birds, and it reminds flock owners that disease can move on boots, clothing, equipment, and contaminated water sources.
For a backyard run, that means:
- Do not place wild bird feeders directly beside the chicken run.
- Keep feed covered and clean up spills before dark.
- Limit visitors inside the run, especially if they own poultry.
- Quarantine new birds away from the existing flock before introductions.
- Call an avian vet, poultry veterinarian, or local extension office if birds show serious or unusual illness signs.
This is not about being fearful. It is about making the safer habit the easy habit.
Common Mistakes To Avoid
The biggest chicken run mistakes usually come from underbuilding the parts that get tested every night: wire, gates, corners, roof edges, and the ground line.
- Using Chicken Wire For Predator Protection: Chicken wire is useful for containment, but it is too weak for many predator-prone areas. Use hardware cloth or welded wire where strength matters.
- Building Too Small: Crowded birds are more likely to squabble, strip the ground bare, and make the run harder to manage.
- Skipping Drainage: Mud leads to odor, dirty feet, dirty eggs, and more chores.
- Forgetting Human Access: A tiny gate or low roof makes cleaning miserable. Build the run so you can work inside it.
- Leaving Gaps At The Coop Connection: The run-to-coop seam needs the same attention as the front gate.
- Ignoring Local Rules: A well-built run still has to meet local setbacks, neighbor expectations, and HOA requirements.
Editorial note: if you are deciding where to spend extra money, spend it on wire, latches, roof support, and drainage before decorative trim. Chickens do not care whether the run is cute. Predators do care whether it has weak spots.
When To Get Professional Help
Many keepers can construct a chicken run themselves, but some parts are worth handing off. Hire help if the run needs electrical work, heavy roof framing, concrete footings, major drainage correction, or construction close to property lines. University of Minnesota Extension advises working with a professional electrician when installing electricity in a coop, especially because cords, water, bedding, and birds can create fire and shock risks.
Also get local guidance if you are dealing with repeated predator losses, standing water, or unclear city rules. Your county extension office, local zoning office, or a qualified builder may save you from rebuilding later.
For flock health concerns, YardRoost is not a veterinary service. If a bird is injured, suddenly weak, having trouble breathing, not eating, showing neurological signs, or you see multiple birds acting abnormal, separate the affected bird if you can do so safely and call an avian vet, poultry veterinarian, state animal health office, or local extension office.
A strong run reduces risk, but it does not replace daily observation. The best chicken keepers notice small changes early: a new digging spot, a loose latch, a hen hiding in the corner, or water pooling where it did not before.
Final Chicken Run Checklist
Before you move the flock into a new run, walk through this quick checklist:
- The run gives each bird enough usable space for movement, scratching, and dust bathing.
- The site drains after rain and does not send water toward the coop.
- Lower walls, corners, vents, and coop connections are covered with sturdy small-mesh wire.
- The gate closes squarely and has a predator-resistant latch.
- There is protection from digging predators at the ground line.
- There is overhead protection from hawks, climbing predators, or weather.
- Feed and water can stay dry, clean, and easy to reach.
- You can enter the run comfortably for cleaning and repairs.
- Shade is available during hot parts of the day.
- Local ordinances, setbacks, and HOA rules have been checked.
Learning how to build a chicken run is really learning how to think like both a chicken keeper and a predator. The hens need space, shade, dry footing, and a place to act naturally. Predators look for weak seams, loose wire, easy latches, and gaps at the ground.
Build slowly, inspect as you go, and choose practical materials over pretty shortcuts. A secure run will not remove every flock-care problem, but it will make daily chicken keeping calmer, safer, and easier to manage. Once the structure is finished, watch how your flock uses it for a week. Their behavior will tell you where to add shade, a dust bath, a perch, or another dry spot.