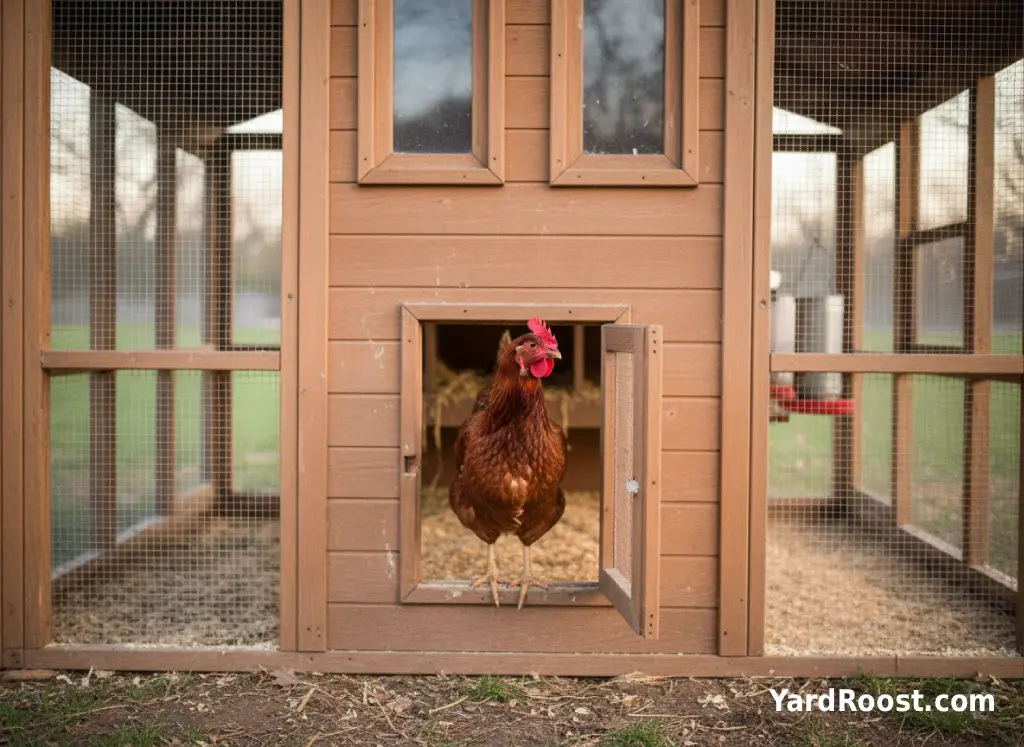
Cleaning a chicken coop doesn’t have to mean dragging out every tool you own, wrestling with stuck-on bedding, and swearing you’ll “do it more often” next time. The trick is having a realistic rhythm (quick touch-ups most days, a real clean-out on a regular schedule, and a couple of seasonal resets) and using the right chicken coop cleaning tools so the job doesn’t balloon.
This guide walks you through how to clean a chicken coop step by step, what to keep on hand for faster cleanups, and how to disinfect a chicken coop when it actually matters (hint: disinfectant works best after the coop is already clean). We’ll also talk through vinegar to clean chicken areas, what it can and can’t do, and a few easy-clean chicken coop upgrades that cut your work in half.
Set Your Cleaning Rhythm: Daily, Weekly, and Seasonal
If you aim for “spot clean often, deep clean on a calendar,” your coop stays fresher and the big cleanouts get easier. University of Minnesota Extension notes cleaning the coop and outdoor area weekly (or as needed) for sanitation and odor control, plus doing at least a thorough cleaning about once a year. If you add a second seasonal cleanout, even better.
| Task | How Often | What “Done” Looks Like |
|---|---|---|
| Remove fresh droppings from roost area | Most days (or every other day) | No wet piles under roosts; air smells “barny,” not sharp |
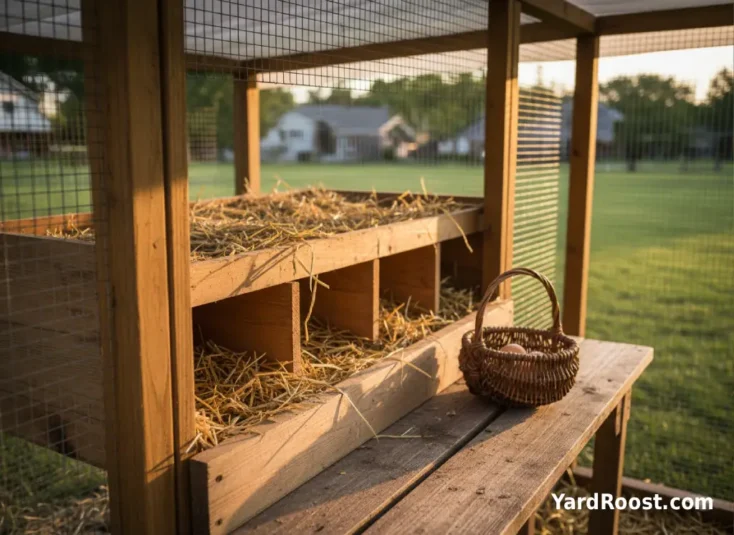
| Refresh nest box bedding | 1–2× per week (more if wet/dirty) | Nests are dry and fluffy; eggs stay cleaner |
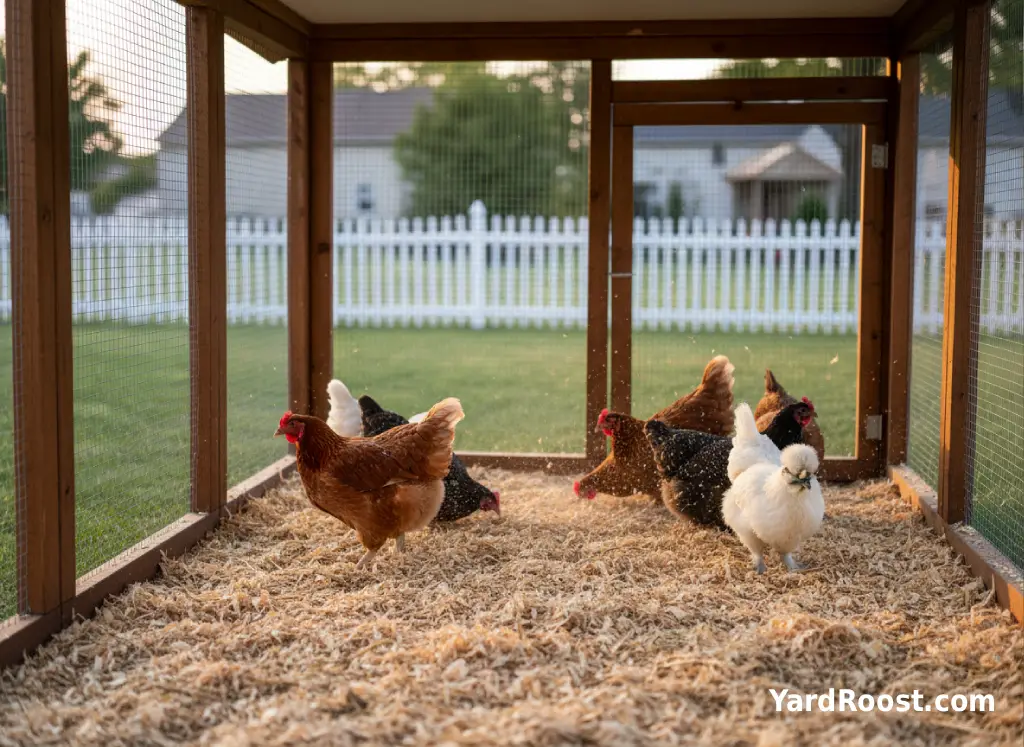
| Top off/replace damp bedding | Weekly or as needed | Floor stays dry; you’re not seeing clumps or slick spots |
| Wash feeders and waterers | Weekly (minimum) and anytime slimy | No slime film; no crusted feed; dries fully before refilling |
| Full clean-out (remove bedding, scrub, dry) | Monthly-ish or when odor/moisture builds | Coop surfaces visibly clean; fresh bedding starts dry |
| Seasonal reset (deep clean + check for pests) | Spring, and optionally fall | Dust/cobwebs gone; corners cleaned; hardware checked |
Two quick triggers we like: (1) if you can smell ammonia when you open the coop, it’s time to remove wet spots and add dry bedding; (2) if bedding is clumping or staying damp, your schedule needs to tighten up and your ventilation may need a tune-up (start here: /coop-ventilation-basics/).
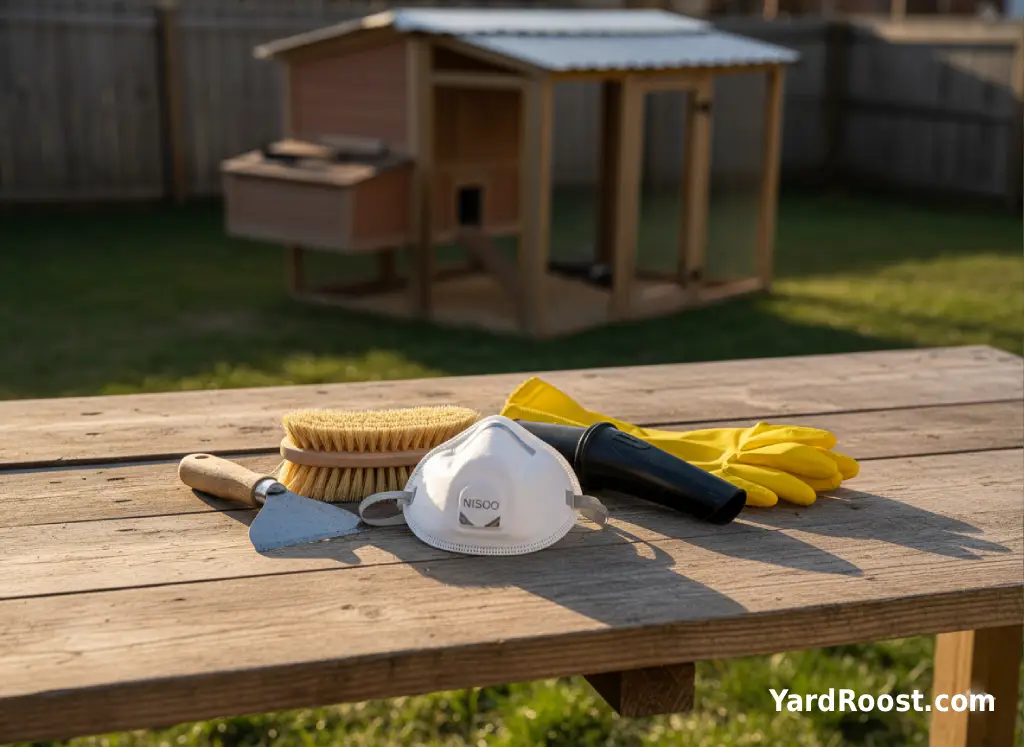
Chicken Coop Cleaning Supplies That Make It Faster
You don’t need fancy products, but you do need the right shape of tools. Here’s a tight list of chicken coop cleaning tools that earn their spot:
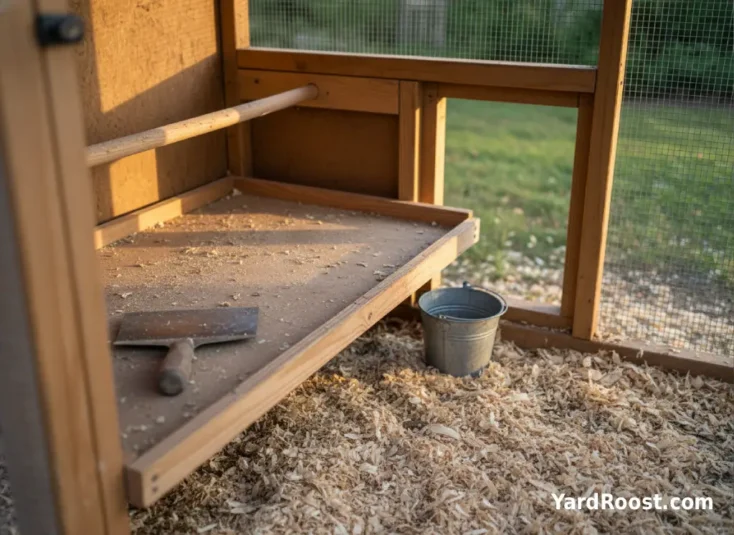
- Scraper: A metal paint scraper (or wide putty knife) for droppings boards, roosts, and stuck bedding.
- Stiff brush: For corners, roost ends, and textured wood where gunk hides.
- Bucket + scoop/shovel: One for removing bedding; one for fresh bedding if you want to stay tidy.
- Sprayer: A pump sprayer or spray bottle for wetting dusty areas and applying cleaner.
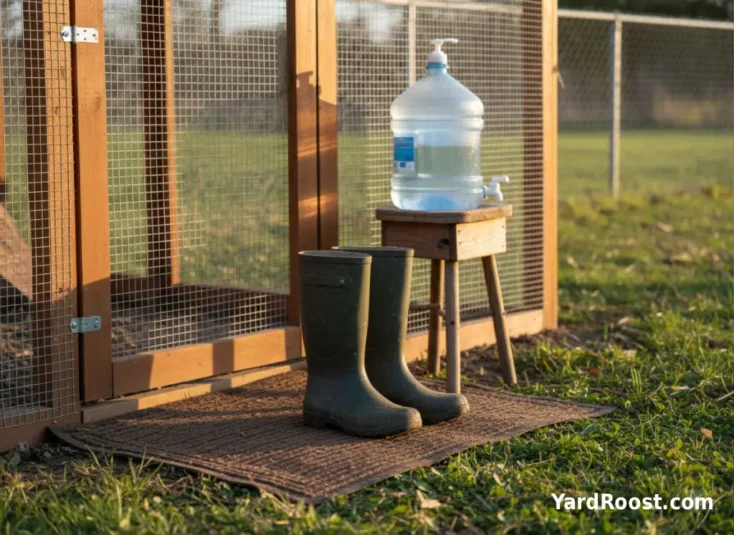
- Dedicated coop footwear + gloves: USDA APHIS recommends dedicated clothing/shoes for poultry care; it’s one of the easiest biosecurity upgrades you can make.
- Respiratory protection: Coop dust is real. APHIS notes using appropriate PPE if you anticipate dust, and University of Minnesota Extension specifically flags dried manure dust as something you don’t want to inhale.
A common mistake we see is grabbing “whatever cleaner is under the sink” and then realizing it’s heavily scented—or worse, mixing products. Pick one chicken coop cleaner approach, keep it consistent, and store it with your coop kit so you’re not improvising.

A Simple Step-by-Step Clean-Out Day From Start to Finish
When people say cleaning chicken coop is miserable, it’s usually because they skip the “dry” stage and go straight to spraying everything. USDA APHIS is blunt: disinfectant won’t penetrate organic matter or caked-on dirt. Translation: scrape and remove debris first, then wash, then disinfect if needed.
- Move birds and remove feed/water. Put hens in the run or a secure temporary pen. Pull feeders, waterers, grit/oyster shell containers, and any removable mats.
- Dry clean (the “gross” part). Scrape roosts and droppings boards, shovel out bedding, and sweep corners. Mist dusty spots lightly so you’re not breathing a dust cloud. APHIS specifically recommends avoiding air blowers because they can spread contamination.
- Soak stuck areas. If droppings are glued on, pre-soak with plain water or a mild detergent solution and give it time to soften (this is where patience saves elbow grease).
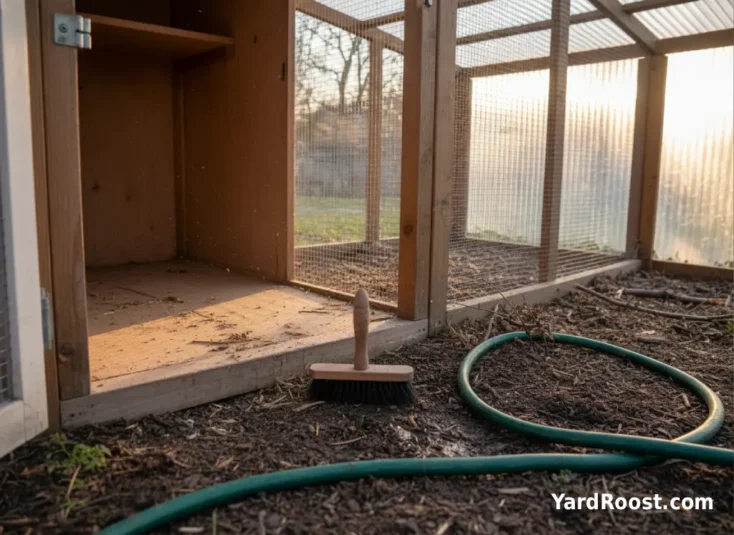
- Wash from top to bottom. Scrub roost supports, window ledges, walls, then the floor. USDA APHIS recommends working top to bottom and back to front during wet cleaning—great advice in a tiny coop too.
- Rinse and dry completely. Rinse away suds so you’re not sealing grime under a soap film, then let the coop dry fully. Open doors/windows, use a fan if you have power, and wait until everything is dry before fresh bedding goes in.
- Re-bed and reset. Add clean, dry bedding; refresh nest boxes; reinstall feeders/waterers only after they’re clean and dry.
A common mistake we see is putting fresh bedding on a still-damp floor. It feels faster, but it turns into a wet sponge that smells and clumps. If you’re pressed for time, do a “dry clean + bedding swap” now, then come back later for the wet wash when you can let the coop dry properly.
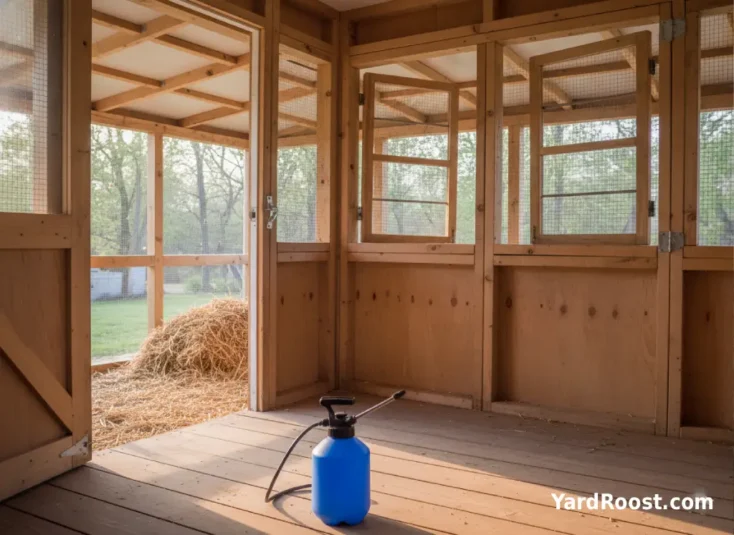
Disinfecting the Coop When It Really Matters
Most of the time, you’re cleaning—not disinfecting. Disinfection is best saved for higher-risk moments, because it adds steps, requires proper contact time, and works only on already-clean surfaces. USDA APHIS’s cleaning checklist stresses moving birds out, removing debris, scrubbing with detergent, rinsing, then applying disinfectant according to label directions (and leaving the enclosure empty until fully dry).
Consider disinfecting a chicken coop when:
- You’re cleaning before introducing new birds (especially if you share equipment between groups).
- You’re resetting after a pest issue (like mites) once the coop is thoroughly cleaned.
- You’re coming back from a poultry swap/show or any situation with lots of bird-to-bird contact.
- You’ve had unexplained illness or deaths and you’re working with a local expert on next steps.
When to Call an Avian Vet or Extension Office
If multiple birds are suddenly sick, dying, or showing severe signs (for example, extreme lethargy, trouble breathing, or neurologic symptoms), don’t try to solve it with extra disinfectant. Contact an avian veterinarian, your state poultry diagnostic lab, or your local Cooperative Extension office. USDA APHIS’s Defend the Flock materials emphasize acting early and using local resources.
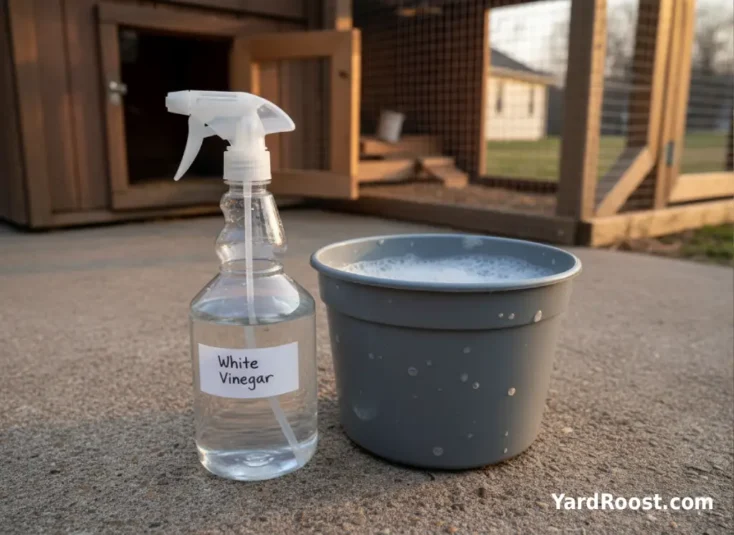
Vinegar, Bleach, and Other Coop Cleaners: What to Use
Let’s clear up the most common confusion: vinegar can be a useful cleaner, but it’s not a one-stop answer for how to disinfect a chicken coop. Some farm biosecurity resources note vinegar solutions as a general cleaning option, while USDA APHIS emphasizes using an EPA-registered disinfectant (per label) when you truly need disinfection. The practical takeaway: use vinegar for routine cleaning and odor-cutting on hard surfaces, and use a labeled disinfectant when disease-risk cleaning is the goal.
Here’s a simple decision guide:
- Routine coop wipe-downs: Mild dish soap + warm water, then rinse and dry.
- Mineral buildup and general grime: Vinegar solution can help break down deposits (especially on plastic), followed by a rinse and full dry.
- True disinfection: Use an EPA-registered disinfectant labeled for the surface you’re treating and follow label directions for dilution, contact time, rinsing, and drying. APHIS notes the enclosure should stay empty until completely dry.
Safety notes we never skip:
- Never mix cleaners. Bleach + ammonia can create dangerous fumes. Bleach + acids (including vinegar) is also a no-go.
- Keep birds out until the smell is gone and surfaces are dry. Good ventilation matters more than people think.
- Clean first, disinfect second. CDC guidance for poultry settings highlights that disinfectants work on clean surfaces and need the label contact time.
If you’ve been hunting for the “best chicken coop cleaner,” the honest answer is: the best one is the one you’ll use consistently, that doesn’t create fumes, and that matches your goal (cleaning vs. disinfecting).
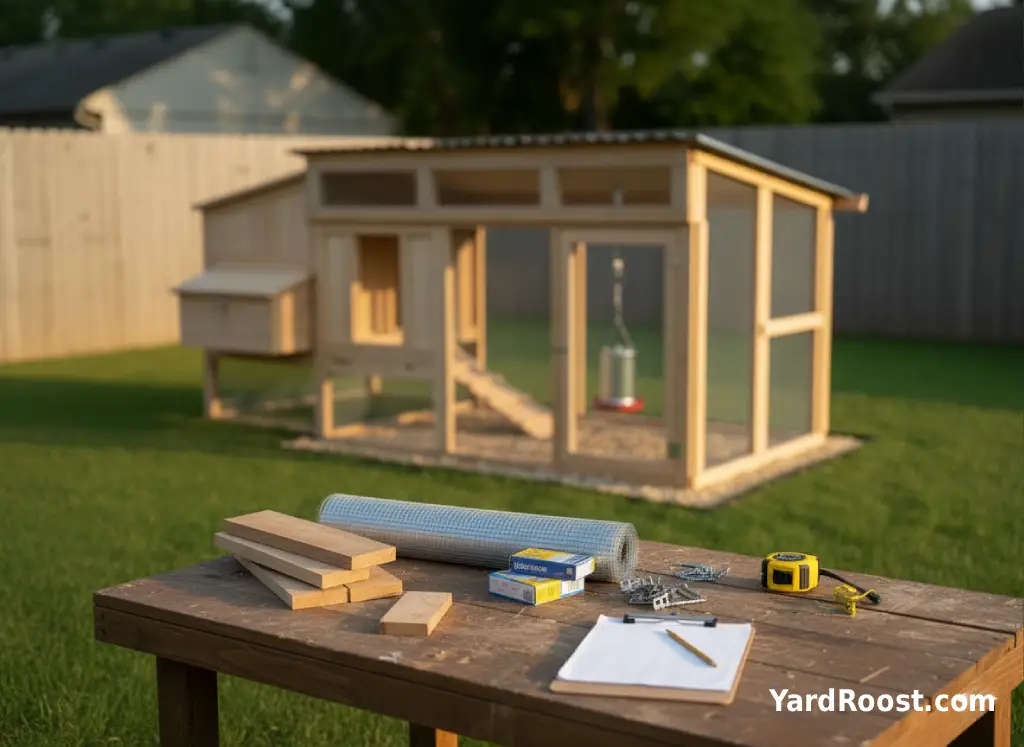
Easy-Clean Coop Upgrades That Feel Like a Self-Cleaning Coop
There’s no truly self cleaning chicken coop, but you can absolutely build an easy clean chicken coop setup that makes “most days” maintenance a 2-minute job.
Upgrades that pay off fast:
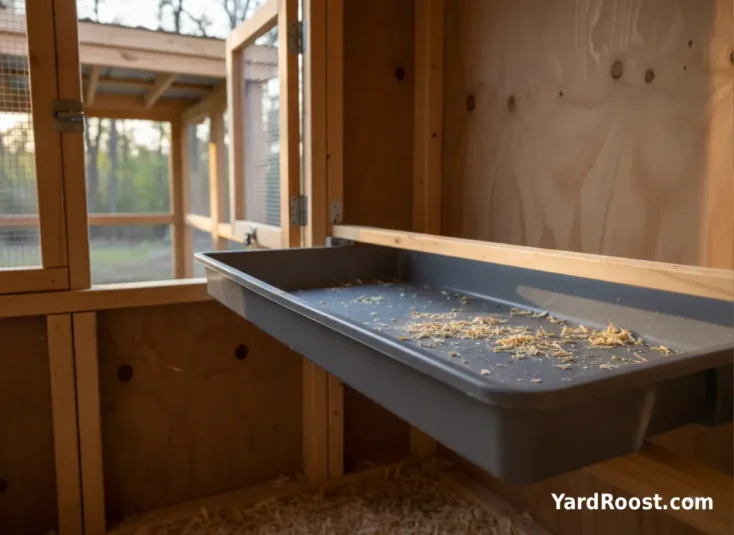
- Droppings boards or trays under roosts. This is the biggest win for cleaning chicken coop smell and mess. Scrape into a bucket, top off bedding, done.
- Roost placement that keeps poop off everything. Put roosts so droppings land on one surface, not in nest boxes, corners, or onto feeders.
- Smooth, washable surfaces where possible. A removable rubber mat under bedding (or a coated tray) can speed cleanouts—as long as you still keep bedding dry.
- A “mud control” zone at the door. A stepping stone, gravel strip, or small ramp keeps wet feet from tracking sludge inside.
If you’re curious about deep litter (sometimes called composting bedding in place), it can reduce full cleanouts for some keepers—if you keep it dry, add fresh carbon bedding regularly, and stir it so it doesn’t crust. If you want to explore it, start here: /deep-litter-method/.
Keep a Clean Chicken Coop Longer: Biosecurity, Dry Bedding, and Odor Control
If your coop gets gross fast, it’s usually one of three things: moisture, crowding, or “stuff in the wrong place.” Fix those, and chicken coop cleaning becomes lighter and less frequent.
Prioritize dry. Wet litter makes odors and cleanup harder. If you’re seeing damp corners, add bedding and check ventilation. Ammonia is a pungent gas that can irritate eyes and the respiratory system—if you smell it, treat it like a flashing warning sign.
Keep coop gear out of the house. CDC recommends keeping poultry and equipment outside, cleaning poultry equipment outdoors when possible, and setting aside dedicated shoes for poultry care. It’s simple, and it works.
Handle dust smarter. Lightly mist before sweeping, and avoid blasting dried manure with high-pressure sprays. APHIS notes high-pressure washing can increase risks in certain disease situations because it can disperse contaminants.
Common Mistakes to Avoid
- Skipping dry clean. Disinfectant isn’t magic—remove bedding and scrape first.
- Putting fresh bedding on wet wood. Dry the coop before re-bedding, or odors come right back.
- Over-spraying cleaners in a closed coop. Ventilate and keep birds out until everything is dry and odor-free.
- Using pressure washing as a shortcut. It can spread grime and aerosols; scrubbing wins for small coops.
- Letting waterers get slimy. A weekly scrub is the bare minimum; clean sooner if you see film.
- Tracking coop mess indoors. Dedicated coop shoes and washing hands after coop time are easy habits that reduce risk.
Quick FAQ
How Often Do You Have to Clean a Chicken Coop?
Most small backyard coops do best with frequent small cleanups (droppings under roosts and wet spots) and a weekly refresh, then deeper cleanouts as needed. University of Minnesota Extension recommends weekly cleaning (or as needed) to control manure and odor, plus at least one thorough cleaning each year.
Can I Use Vinegar to Clean Chicken Areas?
Yes—for general cleaning. It can help cut grime and mineral buildup, especially on plastic. For disinfection goals, rely on an EPA-registered disinfectant and follow label directions (clean first, then disinfect, then rinse/dry as directed).
Do I Need to Disinfect Every Time I Clean?
No. Regular cleaning and keeping the coop dry is the foundation. Disinfecting is most useful for higher-risk resets (new birds, shared equipment, or after a serious health concern where you’ve gotten professional guidance).
Where Should I Clean Feeders and Waterers?
Outdoors. CDC specifically recommends staying outdoors when cleaning equipment used to care for poultry, and washing hands right after handling birds, eggs, or anything in their environment.
The cleanest coops aren’t the ones that get power-washed into submission once every few months—they’re the ones that get quick, boring maintenance on a schedule that fits real life. If you take 2–5 minutes most days to scrape the roost area, refresh nests weekly, and stay on top of moisture, you’ll notice the smell drops, flies are less of a problem, and full cleanouts stop feeling like punishment.
When you do need to disinfect a chicken coop, treat it like a separate job: move birds out, dry clean first, wash with detergent, rinse, then use an EPA-registered disinfectant exactly as labeled and let the coop dry completely before anyone goes back in. If anything about your flock’s health feels urgent or unusual, loop in an avian vet or your local extension office early—cleaning helps, but it’s not a diagnosis.
If you want to make this even easier, pick one easy-clean upgrade (droppings board, removable tray, or a better bedding system) and build your coop-cleaning kit so it’s always ready. Your future self will thank you.