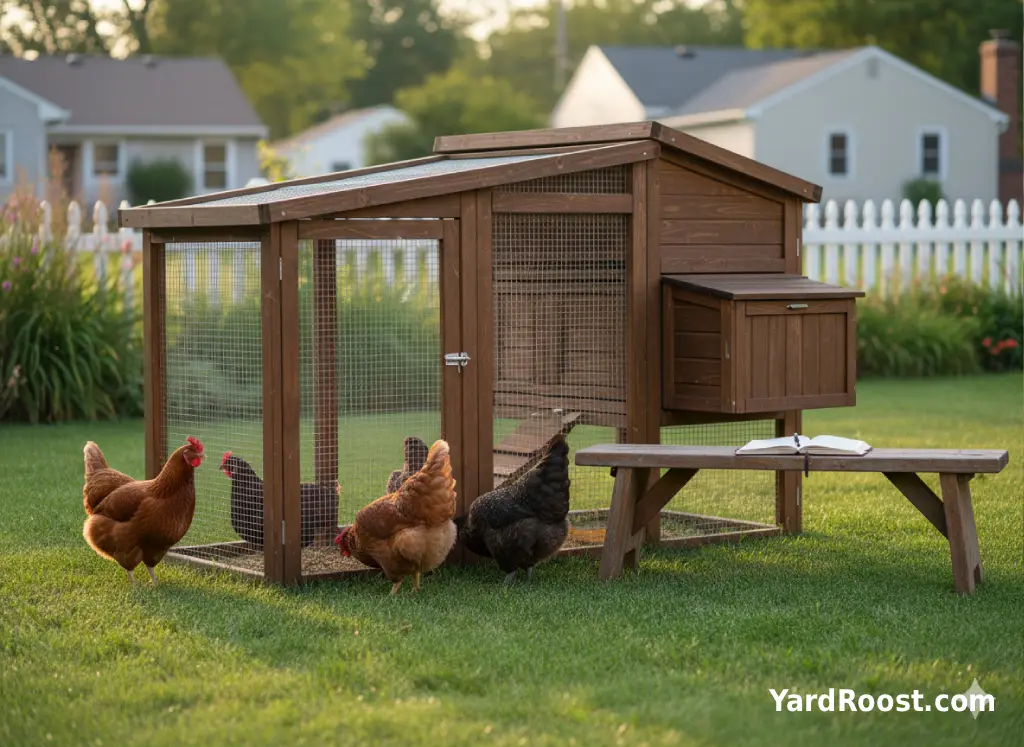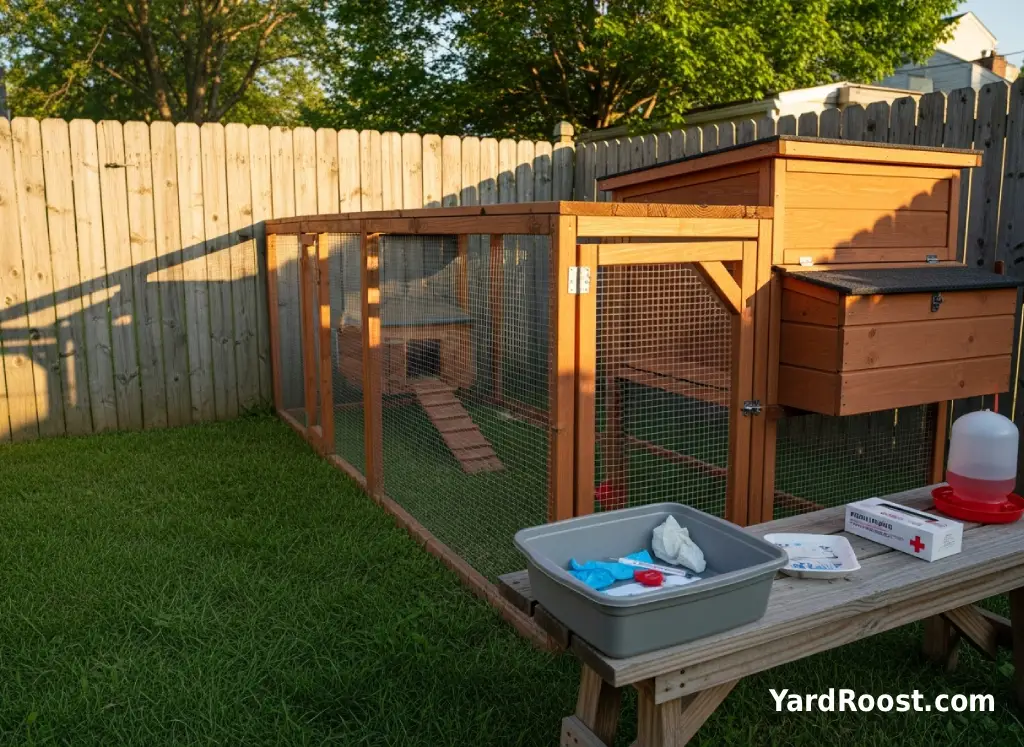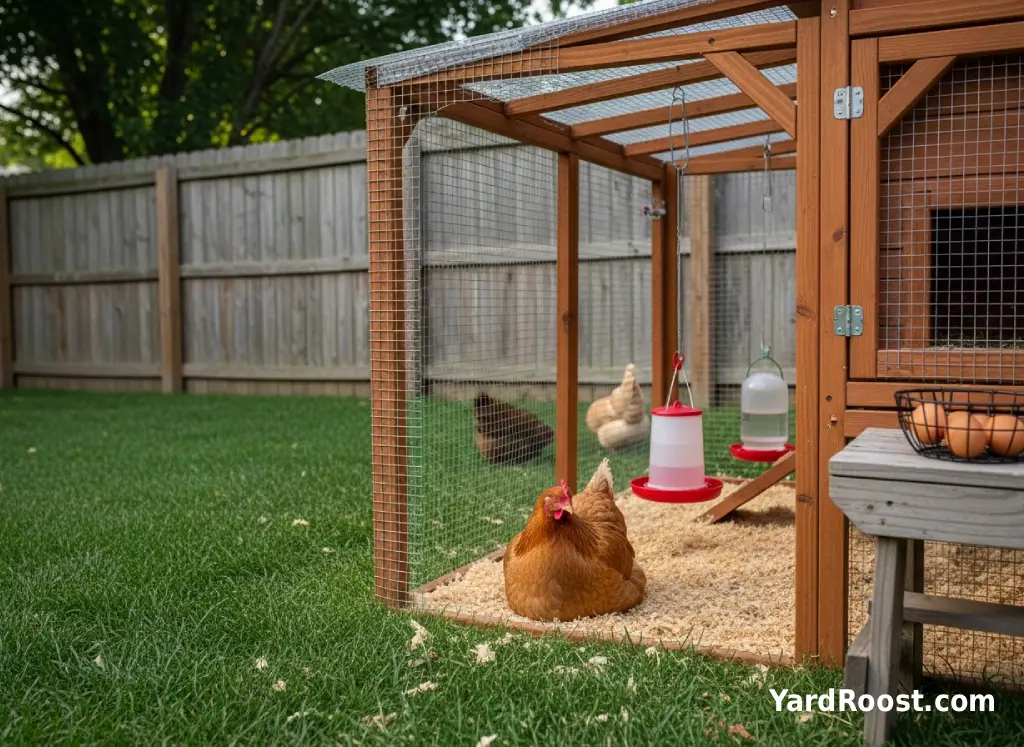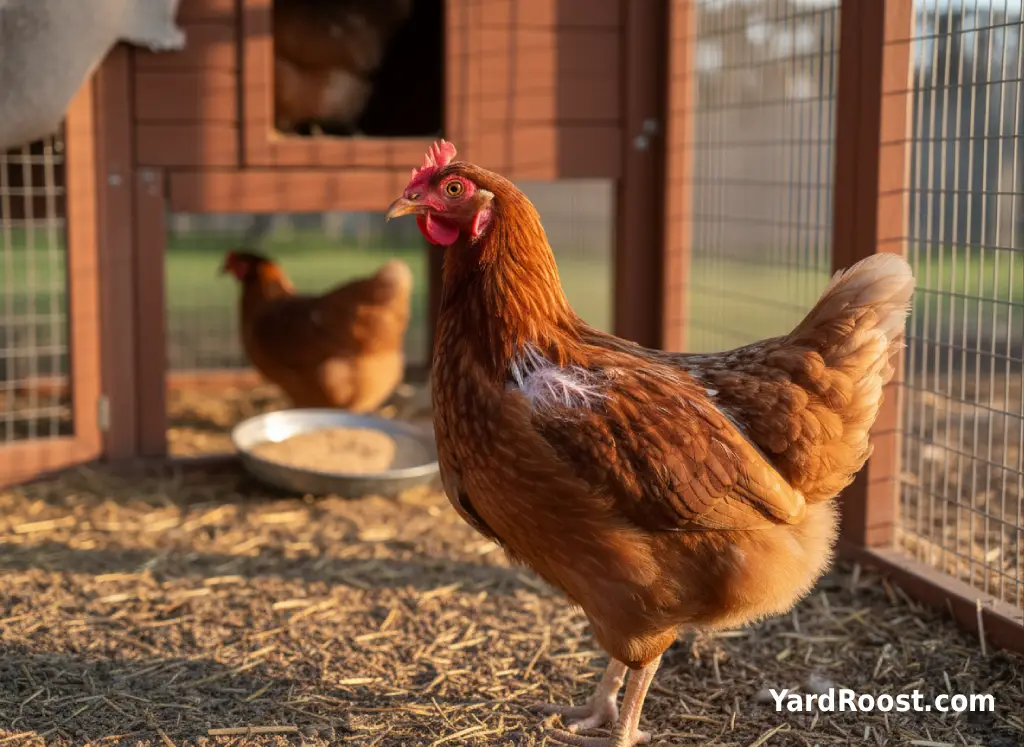
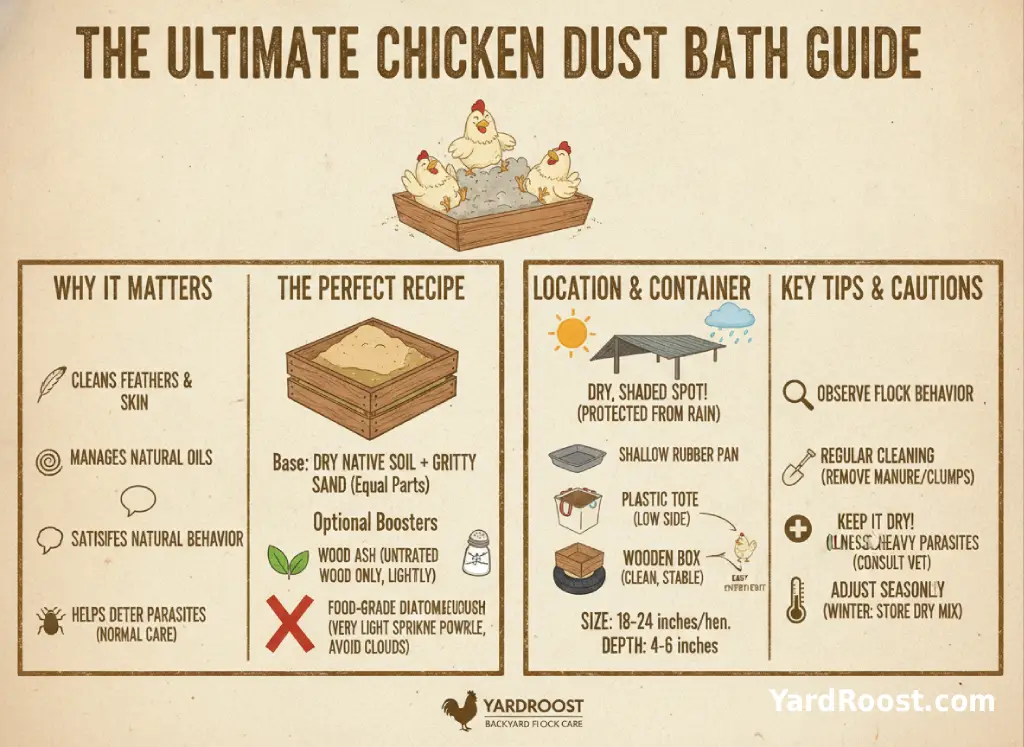
A good chicken dust bath is one of the simplest comfort upgrades you can give a backyard flock. Chickens do not bathe in water the way many pets do. They work dry, loose material down through their feathers, roll, kick, flap, and shake it out. That dusty-looking routine helps them clean their skin and feathers, manage normal feather oils, and satisfy a natural behavior.
For a beginner flock keeper, the main goal is not to create a fancy chicken spa. It is to give your hens a dry, safe, loose place to dust bathe without turning the coop into a cloud of fine powder. The best dust bath for chickens is usually a practical mix of dry soil and gritty sand in a protected spot they already like to use.
YardRoost is not a veterinary service, so we treat parasite and health issues carefully. A dust bath supports normal chicken behavior, but it is not a substitute for veterinary care when birds show signs of illness, heavy mite pressure, injury, or respiratory trouble.
Why Dust Baths Matter To Chickens
Dust bathing is normal chicken behavior, not a dirty habit you need to stop. Poultry Extension describes dust bathing as a way chickens move dry material through their feathers and skin, helping remove irritants and reduce oil buildup from preening. Hens may even go through the motions when they do not have good dust bathing material available.
In a small backyard flock, you will often see one hen discover a good dry spot and the others follow. Sunny corners, dry run edges, and bare dirt under shrubs are common favorites. The behavior can look dramatic: sideways flopping, wing shaking, leg kicking, and a final full-body shake that sends dust everywhere.
A dust bath gives chickens a place to perform that behavior without digging random craters around the run. It can also reduce boredom, especially in a covered run where the birds spend much of the day. Still, it does not prevent every flock problem. Feather pecking, heavy parasite loads, stress, overcrowding, and poor air quality need their own management steps.
Pick The Right Spot Before You Mix Anything
The location matters more than the recipe. A perfect mix turns into a muddy mess if it sits where rain blows in, roof runoff drips, or the chickens scratch wet bedding into it every morning.
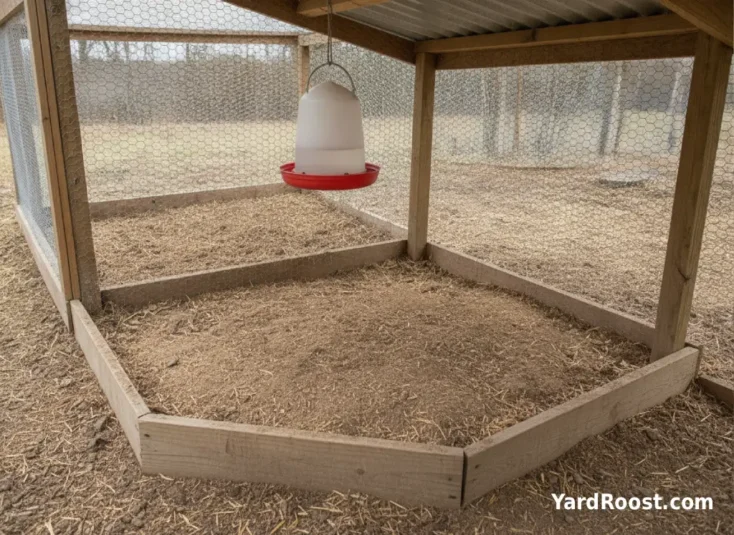
Choose a spot that is dry, shaded part of the day, and easy for the flock to reach. In many backyard setups, the best place is inside a covered run, under a coop overhang, or under a simple lean-to roof. The dust bath should not block the pop door, feeder, waterer, or a narrow walkway where hens already jostle each other.
A simple placement rule works well: after a hard rain, check the area. If water collects there, do not build the dust bath there. If it stays dry but the hens naturally scratch nearby, you have probably found a good spot.
Keep the bath away from spilled feed, damp litter, and standing water. Those are the places that tend to attract rodents, flies, odor, and caked material. If your run has drainage problems, fix that first with grading, roof coverage, or better run footing. A dust bath cannot make a wet run healthy.
A Simple Chicken Dust Bath Recipe
A good chicken dust bath recipe should feel loose, dry, and scratchable. It should not be powdery enough to hang in the air, and it should not pack into clumps after one damp night.
| Ingredient | How To Use It | What To Avoid |
|---|---|---|
| Dry Native Soil | Use crumbly, chemical-free soil as the main base. | Avoid soil from treated lawns, roadsides, or moldy garden beds. |
| Gritty Sand | Mix with soil to keep the bath loose and drainable. | Avoid very fine, dusty sand that clouds heavily when stirred. |
| Wood Ash | Optional, only from clean untreated wood, used lightly. | Do not use ash from charcoal briquettes, trash fires, painted wood, or treated lumber. |
| Food-Grade Diatomaceous Earth | Optional, only as a very light sprinkle if you choose to use it. | Do not use pool-grade DE, and avoid heavy clouds of powder. |
For most backyard flocks, start with about equal parts dry soil and gritty sand. If the mix feels too heavy, add a little more sand. If it feels too sharp or sterile, add more dry soil. The goal is a loose, earthy texture that lets hens work material through their feathers.
Diatomaceous earth for chickens’ dust bath use should be handled with caution. Poultry Extension lists food-grade DE as one possible dust bath ingredient in parasite management discussions, but Penn State Extension also warns that high levels of airborne poultry dust can irritate birds’ airways and eye membranes. For a beginner flock, the safer default is to keep any fine powder minimal, dry, and well ventilated.
Best Chicken Dust Bath Container Ideas
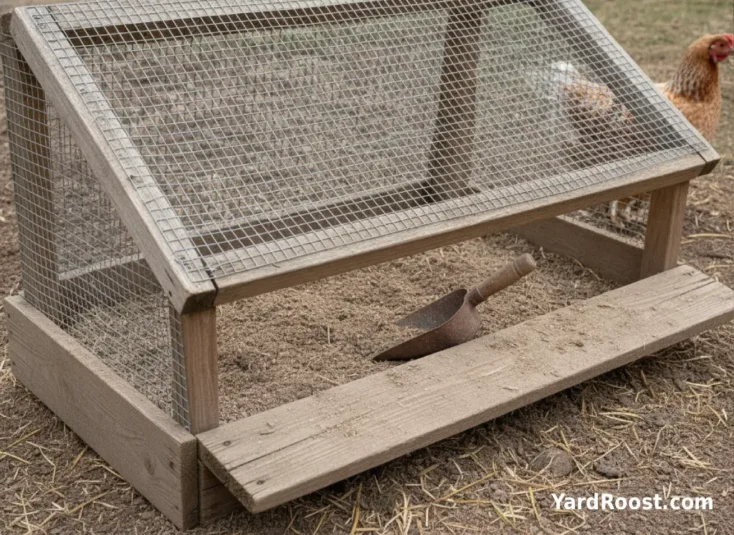
A chicken dust bath container only needs to do three jobs: hold loose material, allow easy stepping in and out, and resist tipping when hens kick and roll. Low and wide usually beats tall and narrow.
Good container options include:
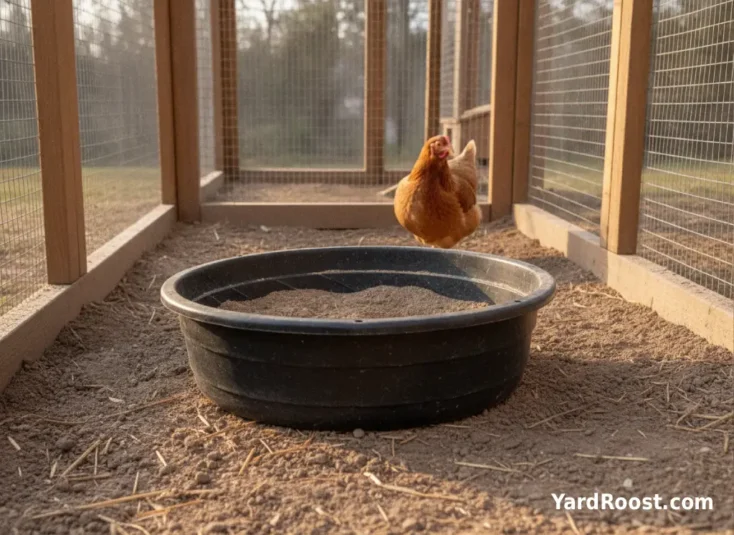
- A shallow rubber livestock pan for small runs.
- A sturdy plastic storage tote with one side cut lower and smoothed.
- A wooden box made from untreated lumber.
- A child-size hard plastic pool for larger flocks if it stays under cover.
- An old tire only if it is clean, stable, and does not trap water inside the rim.
For standard hens, aim for a container wide enough that one bird can roll and wing-flap without hitting the sides constantly. A bath around 18 to 24 inches across can work for one hen at a time, while a larger box is better for flock members that like to pile in together.
Depth matters too. Four to six inches of material is usually enough for hens to work with while keeping the container manageable. If you fill it too shallow, they kick it empty. If you fill it too deep, it becomes heavy to move and harder to keep dry.
How To Make A Dust Bath For Chickens Step By Step
Making a dust bath for chickens is a quick project, but the small details determine whether the flock uses it or ignores it.
- Choose a dry protected spot. Test it after rain before committing.
- Pick a low, stable container or build a simple wooden frame.
- Add dry soil and gritty sand, starting with a roughly even mix.
- Stir until the texture is loose, dry, and easy to scratch.
- Place it where hens already like to linger, not in a crowded traffic lane.
- Watch the flock for a few days and adjust the location or texture if they ignore it.
Some chickens jump in immediately. Others need time, especially if they already have a favorite bare-dirt crater somewhere else in the run. You can sprinkle a little of their existing favorite dry dirt into the new bath to make it smell and feel familiar.
A common mistake we see is building a beautiful dust bath in the wrong spot. Chickens are practical. If the bath is damp, cramped, too close to a bossy hen’s favorite corner, or hard to climb into, they may keep using the flower bed instead.
Dust Bath For Chicks: Keep It Shallow And Simple
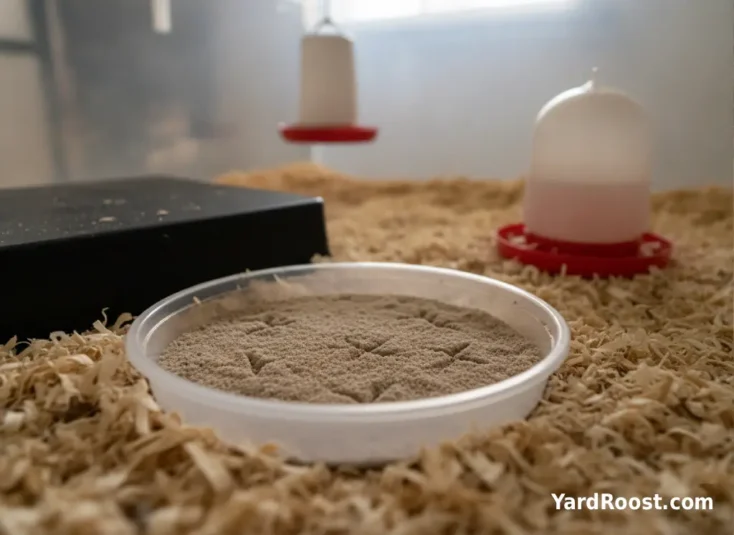
A dust bath for chicks should be much smaller and simpler than one for adult hens. Chicks are curious, messy, and still learning what belongs under their feet, in their beaks, and in the waterer.
Once chicks are active, steady on their feet, and the brooder is staying dry, you can offer a shallow dish with a thin layer of dry soil and gritty sand. Keep it low enough that chicks can step out easily. Avoid deep bowls, heavy ash, and diatomaceous earth in chick brooders, especially where ventilation is limited.
Temperature and brooder comfort still come first. University of Minnesota Extension recommends starting chicks around 90 to 95°F under the heat source and reducing heat gradually as chicks grow, while also watching chick behavior for signs they are too hot or too cold. A dust bath should not crowd the warm zone, block access to water, or create a dusty cloud around the brooder.
Check the dish often. If chicks are filling the waterer with dust, eating large amounts of the mix, or sleeping in the dish instead of using the warm area, remove it and try again later with a smaller amount.
Keeping The Dust Bath Dry, Clean, And Low-Dust
The best dust bath for chickens is dry, but not chokingly dusty. That balance can take a little seasonal adjusting.
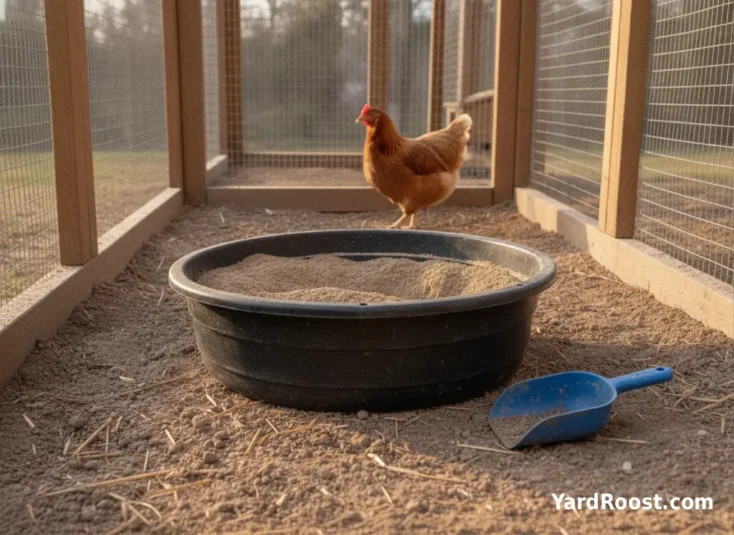
Every week or so, stir the top few inches and remove obvious manure, wet clumps, feathers, and spilled feed. After heavy rain or blowing snow, check the bottom of the container. If the mix smells musty, sticks together, or leaves mud on your glove, dump it and start fresh.
Dust is a normal part of chicken keeping, but heavy airborne dust in enclosed spaces is not harmless. Penn State Extension notes that high poultry dust levels can contribute to airway and eye irritation in birds. That is one reason we prefer gritty, earthy dust bath material in a ventilated run instead of clouds of fine powder inside a closed coop.
For household hygiene, treat dust bath material as part of the chicken environment. Wash your hands after handling birds, eggs, bedding, or anything in the coop and run. The CDC gives the same basic advice for backyard poultry contact and warns that young children need extra supervision around birds and poultry areas.
Common Mistakes To Avoid
Most dust bath problems are simple management issues. The flock is not being stubborn; the setup just is not working for them.
- Using only fine powder. It may look soft, but it can create too much airborne dust.
- Putting the bath in a wet corner. Damp material clumps and can smell musty.
- Making the sides too tall. Hens need to step in easily, especially older or heavier birds.
- Using unsafe ash. Only clean ash from untreated wood belongs near chickens, and even that should be used lightly.
- Forgetting flock size. One tiny pan may become a pecking-order fight in a larger flock.
- Treating the dust bath like parasite treatment. It supports normal behavior, but heavy mite or lice problems need proper identification and professional guidance.
Editorial note: if your hens keep digging beside the container instead of inside it, listen to them. They may be choosing the drier, sunnier, more private spot. Moving the bath 3 feet can work better than changing every ingredient.
When Dust Bathing Is Not Enough
A dust bath helps chickens care for their feathers, but it should not be treated as a cure for parasites or skin problems. If you notice repeated scratching, visible crawling insects, clusters of eggs near feather shafts, scabby skin, feather loss, pale combs, weakness, or a bird that seems withdrawn, look more closely and get help when needed.
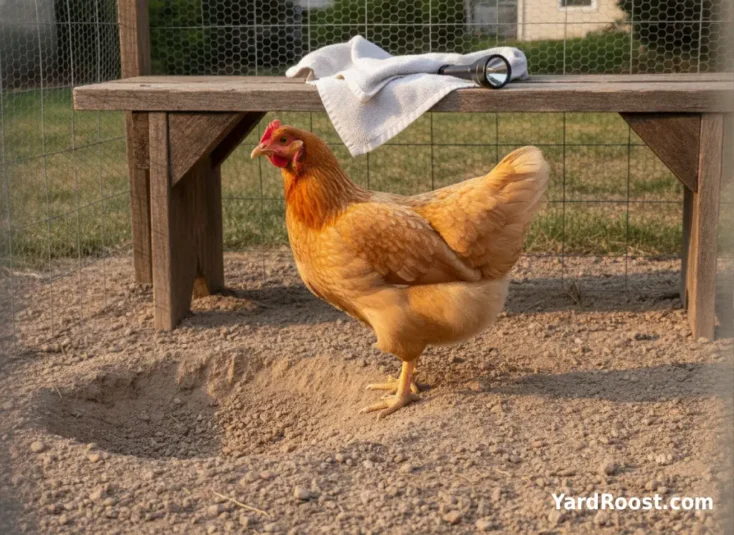
Safe first steps are simple: observe the whole flock, check birds gently after dark with a flashlight, clean damp bedding, and note whether more than one bird is affected. Do not start random powders, sprays, oils, or online remedies without knowing what you are dealing with. Poultry Extension’s external parasite guidance emphasizes proper identification and poultry-approved products when treatment is needed.
Call an avian vet, poultry veterinarian, or your local extension office if symptoms are severe, spreading, or not improving with basic management corrections. A dusting bath for chickens is useful flock enrichment, but a sick or heavily infested bird needs more than a better box of sand.
Seasonal Tips For Summer, Rain, And Winter
Dust bath care changes with the weather. In summer, hens may use the bath heavily during the cooler parts of the day, especially if it sits in dry shade. Make sure it does not become the only shaded area in the run, or dominant birds may guard it.
During rainy stretches, roof coverage is your best friend. A covered run, small awning, or raised container can keep the mix usable. If water seeps in from below, set the container on pavers or a well-drained base rather than directly on soggy ground.
Winter dust baths are easiest when you plan before freezing weather. Store a bucket of dry soil and sand in a shed or garage so you can refresh the bath when the run soil freezes solid. Do not put a dusty bath inside a tight, poorly ventilated coop just because it is cold outside. Air quality still matters.
Seasonal biosecurity matters too. USDA APHIS’s Defend the Flock program emphasizes practical disease-prevention habits such as keeping poultry areas clean, reducing risky contact, and being careful about what shoes, tools, and equipment bring into the flock area.
Final Thoughts
A good dust bath for chickens does not need expensive ingredients or a complicated build. Start with a dry protected spot, add loose soil and gritty sand, keep the texture earthy instead of powdery, and watch how your flock uses it. The hens will usually tell you quickly whether the setup feels right.
For beginners, the safest approach is simple: dry soil, gritty sand, a low container, good airflow, and regular clean-outs. Add optional ingredients cautiously, skip anything scented or chemically treated, and remember that a dust bath is part of flock care rather than a cure-all.
Once the dust bath is working, make it part of your normal coop check. Stir it, remove clumps, keep it dry, and adjust with the seasons. For more small-flock setup help, see our guide to chicken coop ventilation basics.