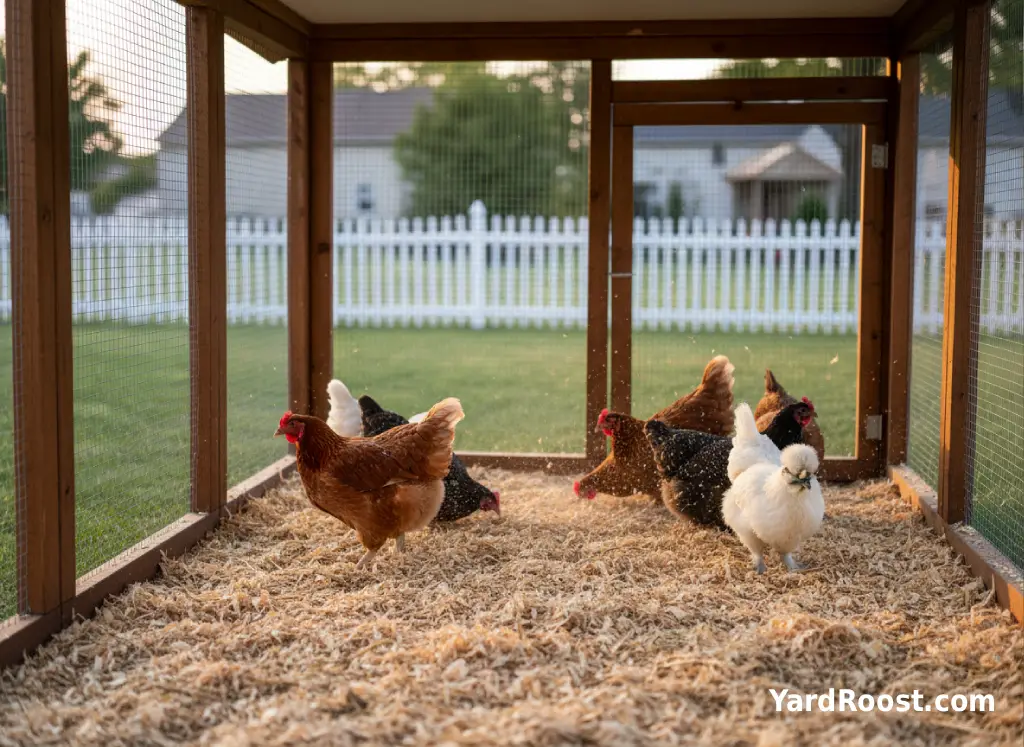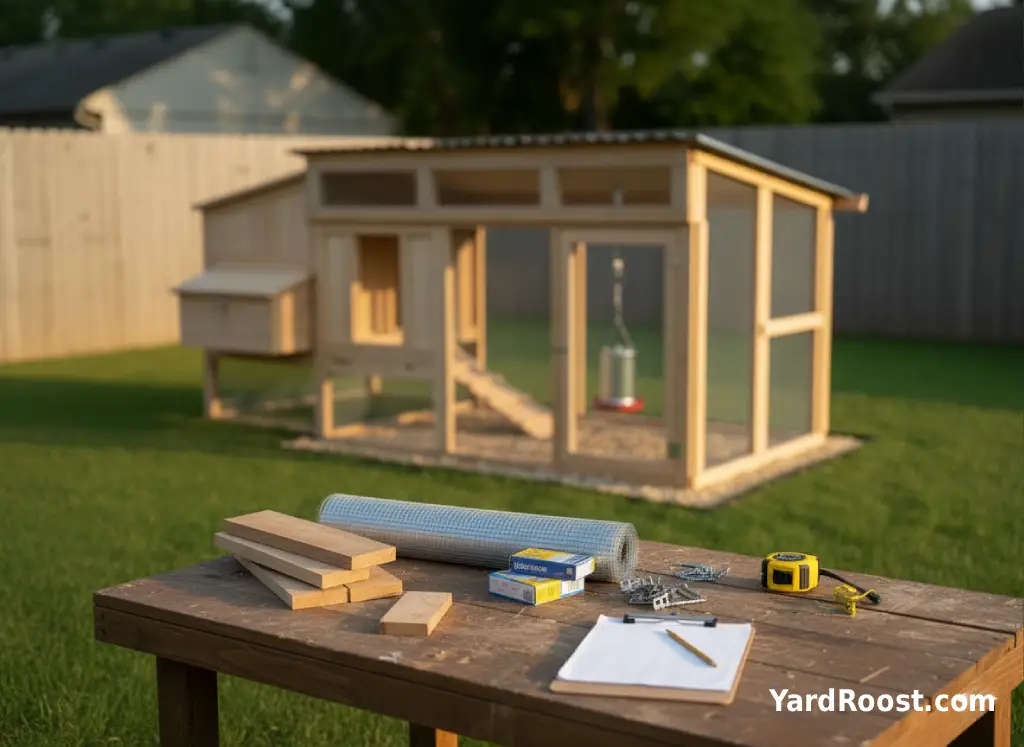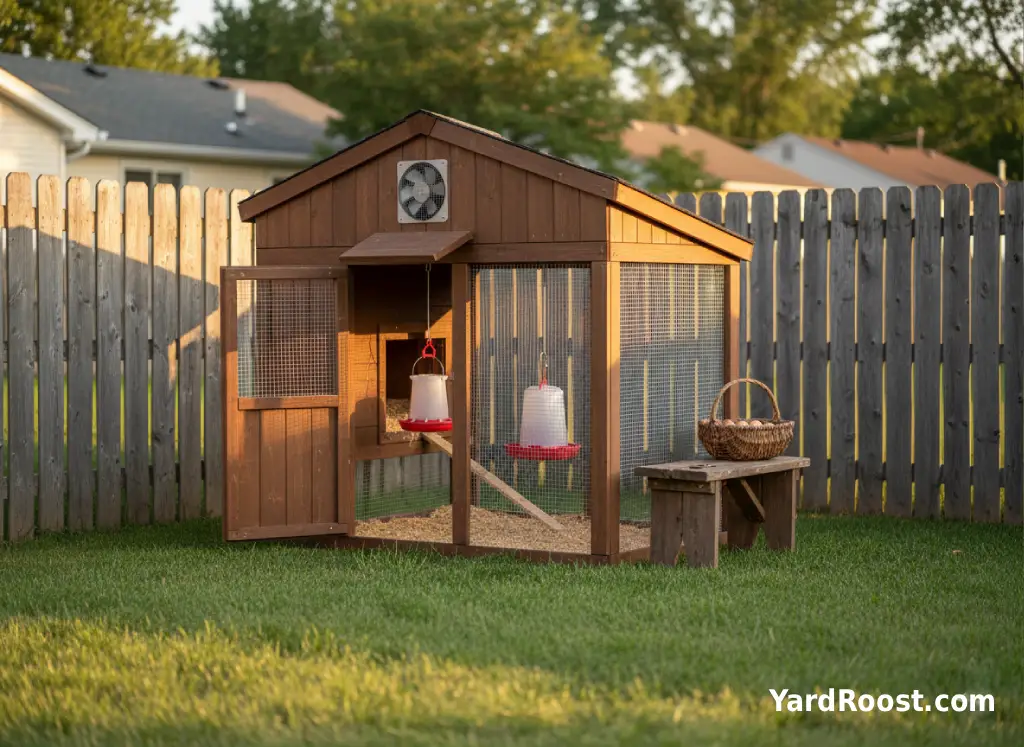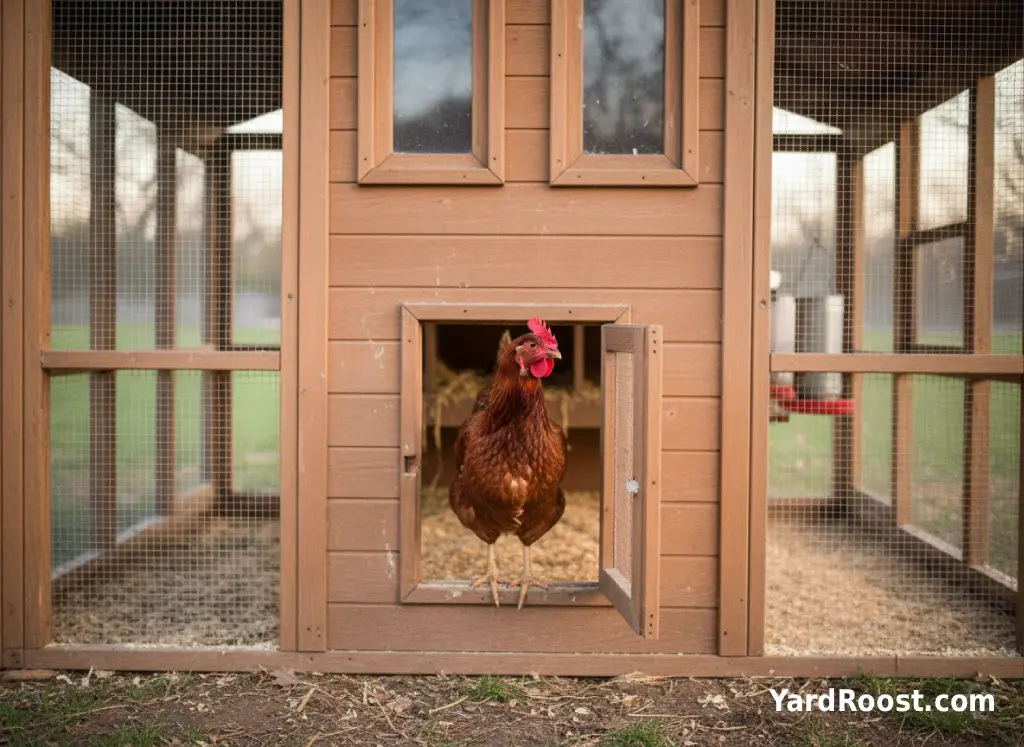
An insulated chicken coop can help a small backyard flock get through winter more comfortably, but insulation is only one part of the job. The bigger winter goal is simple: block drafts, keep bedding dry, provide fresh unfrozen water, maintain safe ventilation, and avoid turning the coop into a damp sealed box.
For beginners, the practical answer to how to keep chickens warm in winter is not to chase a cozy human-room temperature. Chickens already wear feather coats. A good winter chicken coop protects them from wind, wet bedding, predators, and moisture buildup while still letting stale air escape. University of Minnesota Extension notes that winter coop care should include moisture control, ventilation, fresh water, and careful heat decisions when temperatures drop.
YardRoost is not a veterinary service. If birds show serious signs of illness, injury, frostbite, weakness, labored breathing, or unusual behavior, contact an avian veterinarian, poultry veterinarian, or your local extension office.
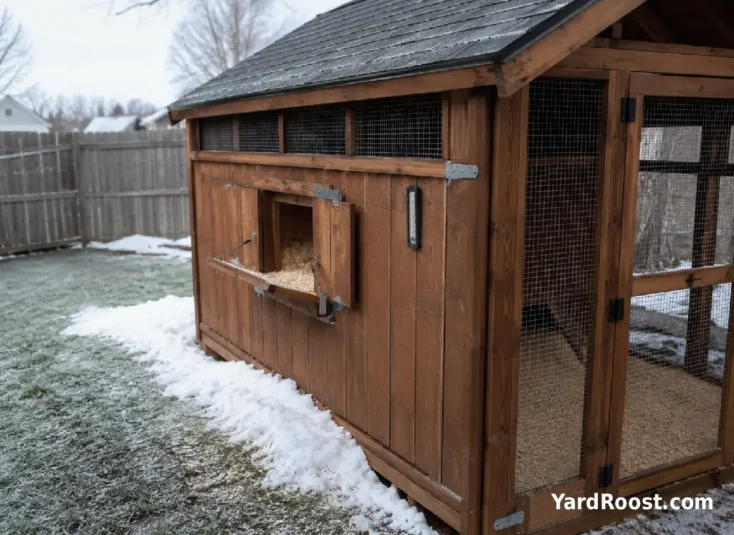
Does A Chicken Coop Need To Be Insulated?
A chicken coop does not always need to be insulated, but insulation can help in cold, windy climates, especially if the coop has thin walls, exposed framing, or many small air leaks. The important distinction is this: insulation slows heat loss, while ventilation removes moisture. You need both if you want a healthier chicken coop for the winter.
Most healthy, fully feathered adult chickens handle cold better than dampness and drafts. A dry, protected coop lets birds fluff their feathers and trap warm air close to their bodies. A wet coop chills them, raises ammonia concerns, and can contribute to frostbite risk when condensation settles on combs and wattles. University of Minnesota Extension specifically recommends managing manure and providing ventilation to control moisture in cold weather.
Chicken coop insulation is most useful when:
- The coop walls are thin plywood, pallet boards, or metal panels.
- Wind blows directly through cracks near the roost.
- Water freezes quickly inside the coop even when the pop door is closed.
- You live where winter temperatures regularly stay below freezing.
- The coop has enough ventilation above the birds but still loses heat through unfinished wall cavities.
If your winter chicken coop is already tight against drafts, dry, predator-safe, and well ventilated, insulation may be optional. If it feels like a shed with daylight showing through wall seams, insulating a chicken coop can make winter chores easier and the birds more comfortable.
What Actually Keeps Chickens Warm In Winter?
Warmth in a chicken coop comes from good design more than gadgets. Adult chickens generate body heat, settle close together at night, and cover their feet with their bodies while roosting. The coop’s job is to help them hold that warmth without creating stale, wet air.
The winter basics are:
- Dry bedding underfoot, especially below roosts where manure collects.
- No direct wind blowing across roosting birds.
- Wooden roosts wide enough for chickens to sit comfortably and cover their toes.
- High ventilation that releases moist air without creating a draft at perch level.
- Free access to clean water that has not frozen.
University of Minnesota Extension suggests roosts should generally start at least 12 inches above the coop floor and provide about 9 inches of roost space per chicken, with wood preferred over materials that hold cold.
A common mistake we see is treating warmth as the only winter goal. A sealed coop may feel warmer for a few hours, but chicken breath and manure add moisture. If that moisture cannot leave, the coop can become damp, smelly, and harder on the flock than a slightly colder but dry coop.
Best Materials For Chicken Coop Insulation
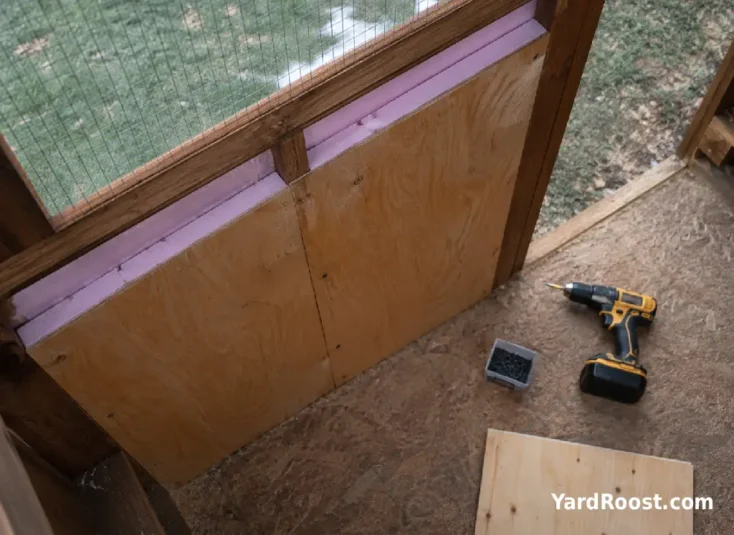
The best insulation for chicken coop walls is the kind your chickens cannot peck, scratch, swallow, or nest inside. Foam board, fiberglass batts, mineral wool, and reflective panels can all be used in different coop builds, but the material should be fully enclosed behind plywood, boards, or another durable interior wall surface. University of Minnesota Extension recommends closing off insulation so chickens cannot peck or scratch at it and so rodents cannot get into it.
| Insulation Material | Where It Can Work | Backyard Coop Caution |
|---|---|---|
| Rigid Foam Board | Wall cavities, roof panels, small coops | Must be covered because chickens may peck exposed foam |
| Fiberglass Batts | Framed wall cavities | Must be sealed behind solid panels and kept dry |
| Mineral Wool | Walls or ceilings where moisture resistance matters | Still needs a covered interior surface |
| Reflective Panels | Supplemental lining in mild winter areas | Works best with an air gap and should not replace ventilation |
| Straw Bales Outside Walls | Temporary wind blocking around exposed walls | Keep away from heaters and watch for rodents and moisture |
For an insulated pallet chicken coop, pay extra attention to gaps. Pallet boards often leave uneven cracks, nail holes, and thin spots. The safer approach is usually to frame the wall, add insulation inside the cavity, and cover the interior with plywood or boards so the birds only touch a smooth, cleanable surface.
Avoid using loose plastic, torn feed bags, exposed foam, or fluffy insulation where birds can reach it. If the inside wall cannot be wiped, swept, or inspected for pests, it will be harder to manage during winter.
How To Insulate A Chicken Coop For Winter
Insulating a chicken coop works best when you start with air leaks, not insulation sheets. First, stand inside the coop during daylight and look for gaps. Then check again on a windy day. Any crack that sends a cold stream across the roost is a draft problem; any high vent that lets moist air escape above the birds is usually a ventilation feature.
Use this basic sequence:
- Remove old damp bedding and inspect the floor, corners, roofline, and wall seams.
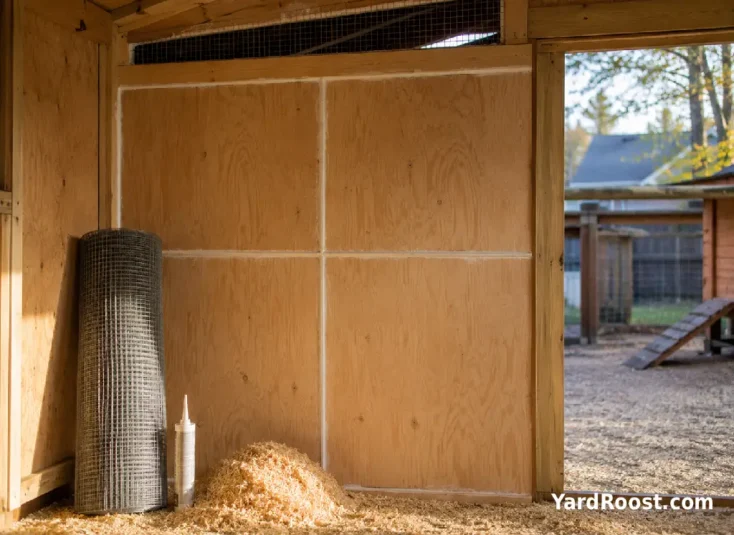
- Seal low cracks and direct drafts with wood trim, caulk, or weather-safe sealant.
- Leave high ventilation open above roost level.
- Add insulation inside wall or roof cavities where it can stay dry.
- Cover insulation with plywood, boards, or another peck-resistant surface.
- Recheck latches, predator gaps, and rodent entry points before the first hard freeze.
If you are learning how to insulate a chicken coop for the first time, keep your plan simple. Wall cavities and the roof are usually better targets than the floor. A floor packed with hidden insulation can trap spills, manure moisture, or rodents if it is not built well. Dry bedding is easier to manage and replace.
Editorial note: The best winter upgrades are often boring. Sealing a thumb-wide gap near the roost may help more than adding a fancy panel heater to a drafty coop.
For more detail on airflow and roost placement, see our internal guide to coop ventilation basics.
Ventilation Still Matters In An Insulated Chicken Coop
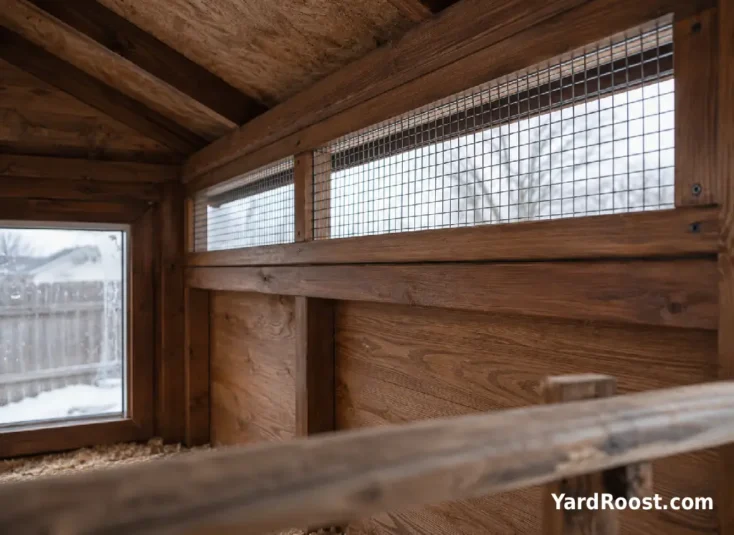
Ventilation is the winter detail beginners are most tempted to close. It feels strange to add vents after working so hard to keep the coop warm, but chickens add moisture every night through breathing and manure. If that moisture stays trapped, it can condense on cold surfaces and make frostbite more likely.
Penn State Extension explains that small coops need air movement without drafts, and that dampness or ammonia buildup can signal inadequate ventilation. Vents or windows should not open directly over the birds’ perching area.
Good winter ventilation usually looks like controlled airflow high in the coop:
- Roofline vents covered with hardware cloth.
- A small upper window cracked on the leeward side during milder weather.
- Moist air leaving above the roost, not cold air blasting across birds.
- No ammonia smell when you open the coop in the morning.
If you smell a sharp ammonia odor, see moisture on windows, or find bedding damp under the roost, do not solve it by adding heat first. Remove soiled bedding, improve airflow, and check whether waterers are spilling. University of Minnesota Extension gives similar guidance: ammonia smell or moisture collecting on surfaces means ventilation and manure management need attention.
Winter Bedding, Water, And Feed Make Or Break The Setup
Insulation cannot make up for wet bedding, frozen water, or feed that attracts rodents. In a small backyard flock, winter care becomes easier when you treat the coop like a moisture-control system.
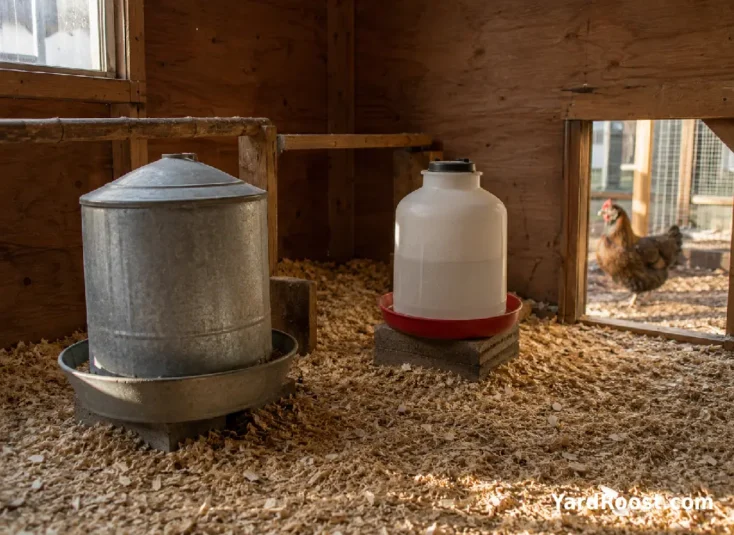
Dry bedding should feel loose, not slick or matted. The area under the roost usually needs the most attention because manure builds up there overnight. Some keepers use poop boards or trays under roosts so they can scrape manure frequently without replacing all the bedding. Others use a managed deep-bedding approach with fresh dry material added on top and a full cleanout later. Either way, the bedding should not smell sharp or feel wet.
University of Minnesota Extension notes that manure management is key to controlling moisture and describes 4 to 6 inches of straw or shavings as one deep-bedding option, with spring cleanout needed if that method is used.
Water is just as important as warmth. University of Maine Cooperative Extension recommends fresh, potable water at all times and suggests nipple systems where possible to reduce manure-tainted water, waste, and wet bedding.
Feed should stay dry and rodent-resistant. Store bags in a covered metal can or other sturdy container, and avoid leaving spilled feed in the coop overnight. In winter, rodents are looking for the same shelter and calories your chickens need.
Should You Use A Chicken Coop Heater For Winter?
A chicken coop heater for winter should be a last, careful decision, not the first fix for a cold coop. Many backyard flocks do well with dry bedding, draft control, ventilation, and unfrozen water. Heat may be useful during extreme cold, for vulnerable birds, or when coop temperatures fall very low, but it also adds electrical and fire risk.
University of Minnesota Extension recommends supplemental heat when coop temperatures fall below 35°F and says any product should be approved for use around chickens and livestock, installed according to directions, and managed with fire safety in mind. It also warns against hanging heat lamps by the cord and recommends keeping wires away from poultry, water, and flammable litter.
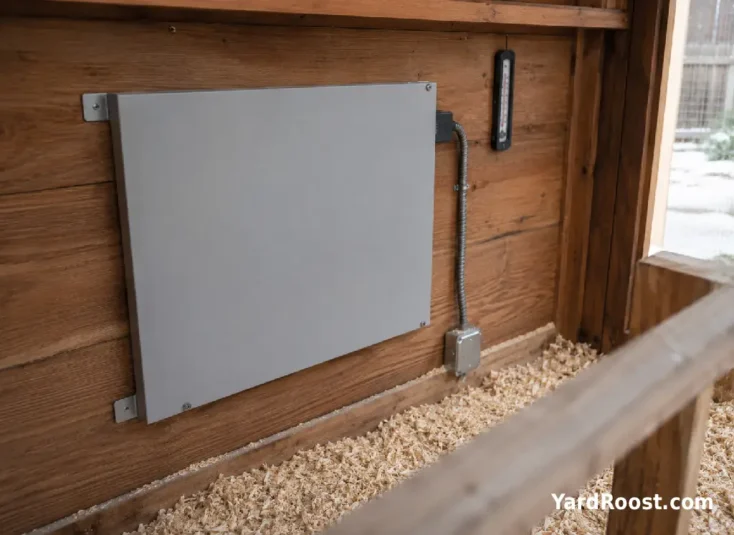
For most small-flock owners, radiant panels are usually easier to manage safely than heat lamps because they warm nearby birds rather than trying to heat the whole coop air. Even then, the setup needs:
- A product rated for poultry or livestock use.
- Secure mounting where birds cannot knock it down.
- Protected cords away from beaks, water, and bedding.
- No long-term extension-cord power to the coop.
- A thermometer near roost height so you know the actual coop temperature.
Heating a chicken coop in winter can backfire if it encourages condensation, creates a fire hazard, or makes birds less acclimated to normal outdoor cold. If you do add heat, think safety, not comfort. The goal is to prevent dangerous cold stress, not create a heated room.
Common Winter Coop Mistakes To Avoid
Winter problems usually start small. A blocked vent, a dripping waterer, or one loose wall seam can turn into frostbite risk, odor, rodents, or stressed birds before the keeper notices.
A few mistakes are especially common:
- Sealing every vent because the coop feels cold.
- Leaving exposed insulation where chickens can peck it.
- Using chicken wire instead of hardware cloth on vents or predator gaps.
- Letting waterers spill into bedding.
- Running heat lamps with loose cords, dusty bulbs, or bedding underneath.
- Ignoring morning ammonia smell because the coop looks clean from the doorway.
A common mistake we see is insulating the walls but forgetting the roofline. Warm, moist air rises. If it hits a cold ceiling with no escape route, condensation can drip back down into the bedding. That is why a winter coop should have both insulated surfaces and high ventilation.
Also check local ordinances, HOA rules, and zoning before making major coop changes, especially if you are adding permanent electrical work, expanding a run, or moving the coop near a property line. Backyard chicken rules vary widely by city and neighborhood.
Winter Health, Biosecurity, And When To Get Professional Help
Cold weather can make flock problems more noticeable. Birds may spend more time indoors, manure builds up faster, and fresh wild-bird pressure can increase around feeders and open water. USDA APHIS emphasizes biosecurity as a key practice for reducing disease risk in poultry, including backyard flocks.
Good winter biosecurity is practical, not complicated:
- Keep feed covered so wild birds and rodents are not invited into the coop area.
- Use a covered run or secure netting where wild-bird contact is a concern.
- Keep dedicated coop shoes or boots outside the house.
- Wash hands after handling birds, eggs, feeders, waterers, or bedding.
- Clean poultry equipment outdoors, not in the kitchen sink.
The CDC reminds backyard flock keepers that poultry can carry germs such as Salmonella, recommends handwashing after handling poultry or items in their environment, and advises keeping birds and poultry equipment outside the home.
Call an avian vet, poultry veterinarian, diagnostic lab, or local extension office if you see birds that are weak, unable to stand, not eating or drinking, breathing with difficulty, showing swollen or discolored combs or wattles, developing severe frostbite, or acting unusually. Do not guess at medications or use internet treatment recipes. For winter health issues, the safest first steps are usually to isolate the affected bird where appropriate, keep it protected from cold stress, provide access to water and feed, observe symptoms carefully, and get qualified guidance.
A Simple Winter Chicken Coop Checklist
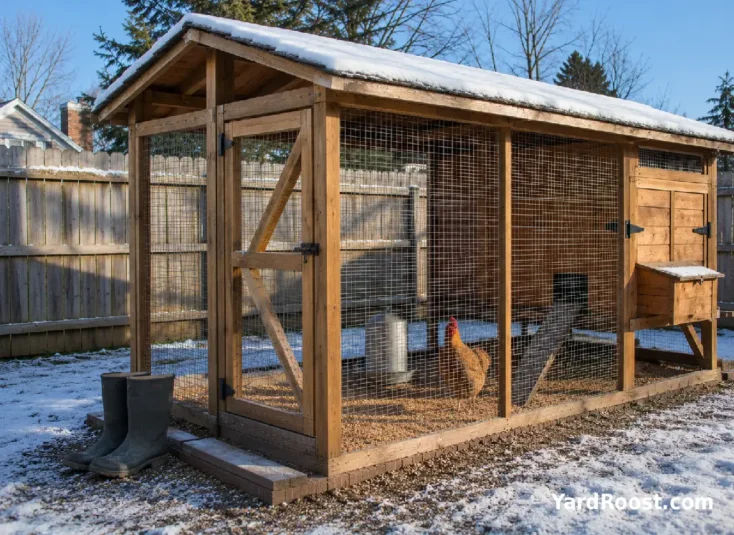
Before the first hard freeze, walk through the coop with a flashlight, a screwdriver, and a practical eye. You are not trying to build a luxury cabin. You are trying to give chickens a dry, calm, draft-protected place to sleep.
Use this checklist:
- Roosts are dry, wooden, stable, and away from direct drafts.
- Low cracks are sealed, but high vents remain open and predator-proof.
- Insulation is fully covered so birds and rodents cannot reach it.
- Bedding is dry, loose, and refreshed under the roost as needed.
- Water stays available and does not spill into bedding.
- Feed is stored in a rodent-resistant container.
- Electrical equipment, if used, is rated for coop use and safely installed.
- Eggs are collected often so they are less likely to freeze and crack.
- Birds are observed daily for cold stress, bullying, or unusual behavior.
An insulated chicken coop is worth considering when winter wind, thin walls, or unfinished framing make the coop hard to manage. Just remember that insulation is not a substitute for ventilation, dry bedding, safe water, predator protection, and daily observation.
Build for dry air first, warmth second, and safety always. That simple order will prevent more winter flock problems than almost any expensive upgrade.