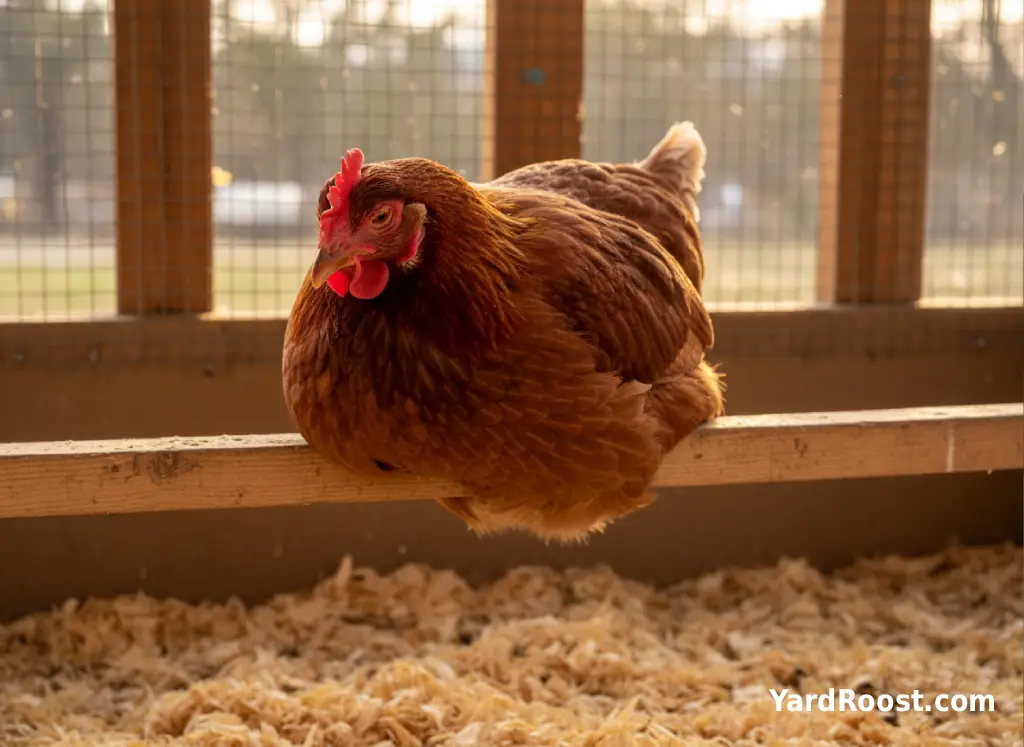
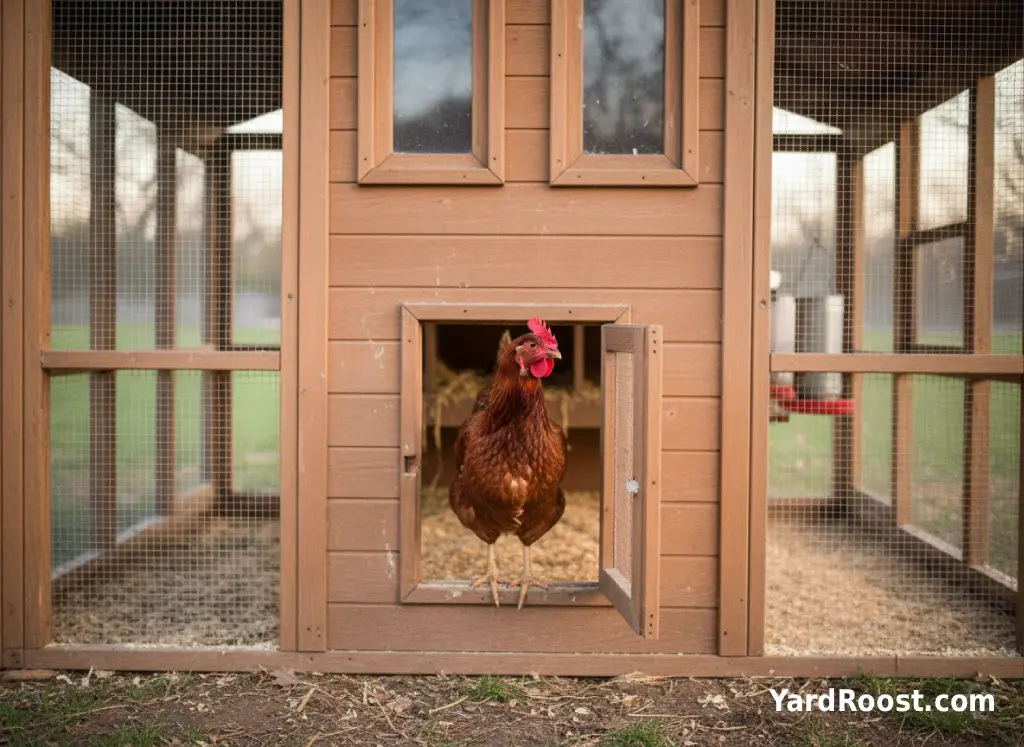
A good roost chicken coop setup does two things at once: it gives your birds a comfortable, secure place to sleep, and it keeps poop out of nest boxes (which helps keep eggs cleaner). If your hens insist on sleeping in the nest boxes, fight for the “best” spot, or leave you a nightly mess under the wrong corner of the coop, the fix is usually not complicated—it’s the roost design.
The trick is balancing comfort and safety. Chickens want to sleep off the ground, but a roost that’s too high can mean hard landings. They want the highest spot in the coop, but if the highest spot is your nest box roof, that’s where they’ll camp. And they’ll use the roost you built… only if it feels stable, isn’t slippery, and has enough personal space for the whole flock.
This guide walks through chicken coop roosting bars (size, material, and placement), then gives practical chicken coop roost ideas you can actually build—especially if you’re working with a small coop, a backyard shed conversion, or a coop with a low ceiling.
Why Roosts Matter More Than Most People Think
Roosting is normal chicken behavior. At dusk, your flock is looking for the safest “tree branch” in the coop—up off the floor, away from drafts, and ideally higher than their neighbors. When you give them a good option, you’ll see calmer bedtime routines and fewer dirty eggs.
Roosts also help you manage where manure lands. If your birds sleep on a dedicated bar, you can place bedding or a droppings board under that area and keep the rest of the coop cleaner. One common mistake we see is building a beautiful coop interior, then forgetting that the birds will spend 8–10+ hours a night pooping wherever they sleep. A well-placed roost turns that reality into something you can clean quickly.
Pick A Roost Bar Shape And Material Your Chickens Will Use
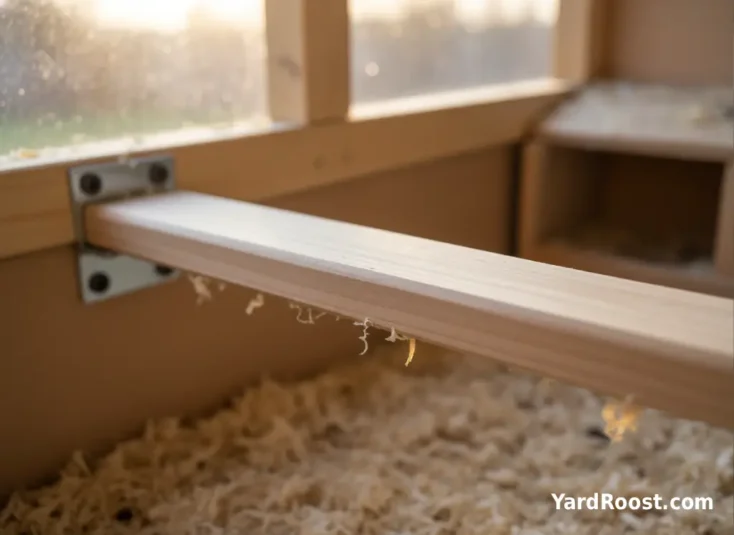
For most backyard flocks, a wooden roost is the simplest win: it’s warm underfoot, easy to mount, and easy to modify later. Many keepers like a wider, flatter surface (think a 2×4 used “flat” as a perch) so birds can rest with feet more supported—especially in winter when they tuck toes under feathers.
If you prefer round roosts, keep them wood—not metal. Metal can feel cold and slippery, and it can be harder for birds to grip confidently. University of Maine Extension also notes avoiding metal pipe and leaning toward non-metal roost materials.
Quick build tips that prevent common headaches:
- Sand splinters and sharp corners. Rough edges can lead to foot irritation and birds avoiding the bar.
- Skip tiny dowels for standard breeds. Many birds do better with a perch that doesn’t force an all-night “grip.”
- Make it removable if you can. A roost you can lift out makes deep-clean days much easier.
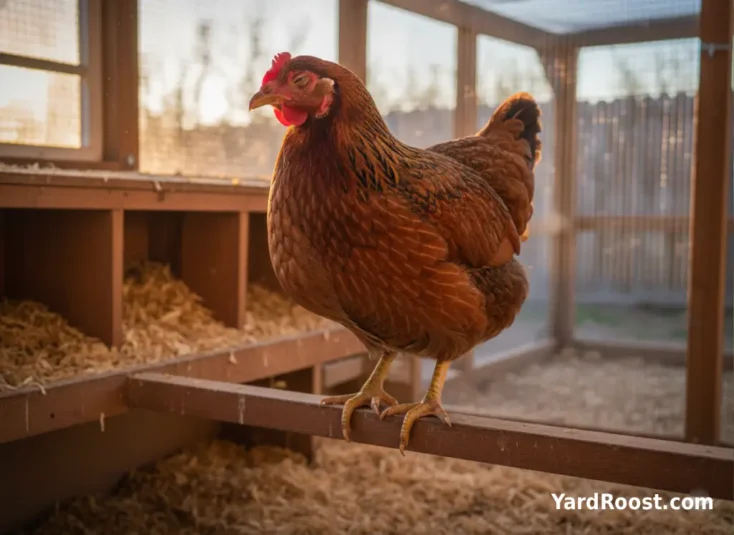
How High Should A Roost Be In A Chicken Coop?
If you want one “starter range” that works in many backyard coops, aim for a roost roughly 18–24 inches above the floor—high enough to feel secure, low enough to reduce crash landings. Oregon State University Extension describes roosting poles commonly set about 2 feet off the floor in backyard coop designs, and University of Minnesota Extension mentions setups slanting up to around 24 inches.
But height is not one-size-fits-all. Heavy breeds, older hens, or birds with limited mobility often do better with the lower end of that range (or with “step” roosts). If your birds thump down hard in the morning or hesitate to jump up at dusk, lower the bar or add an intermediate step.
Two placement rules that prevent the most drama:
- Keep roosts higher than nest boxes, or hens will sleep where you want them to lay. University of Maryland Extension explicitly recommends keeping roosts higher than nesting boxes.
- Don’t place roosts above feeders or waterers. That’s a fast track to contaminated feed and wet bedding. University of Kentucky’s Urban Poultry publication calls this out directly.
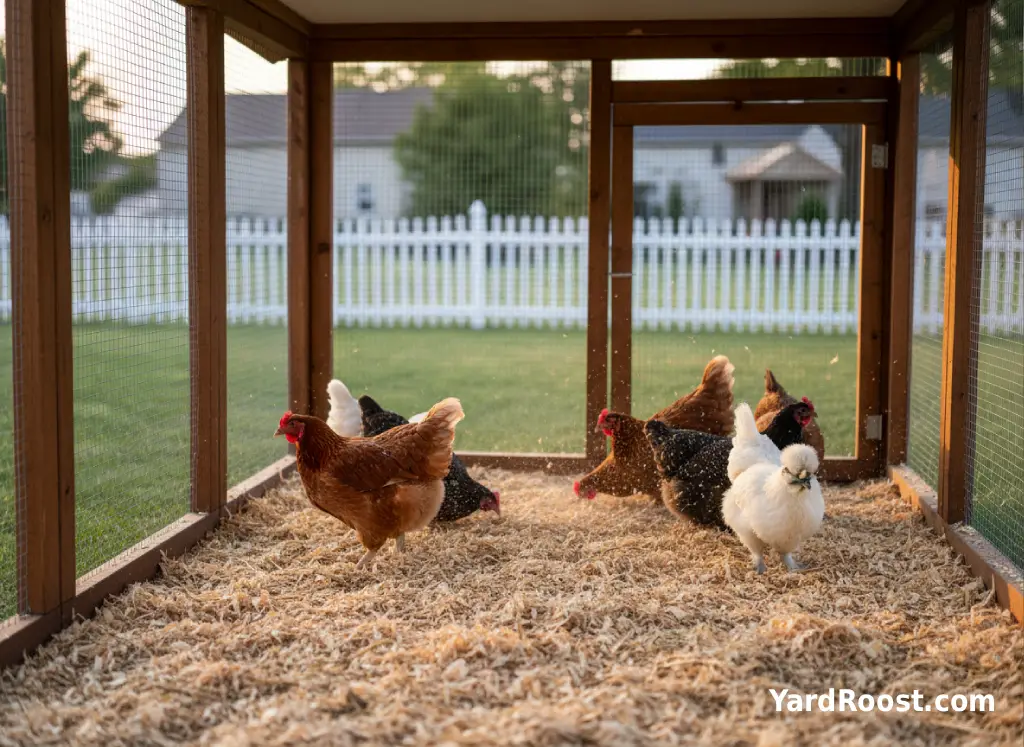
Roost Space And Spacing That Prevent Nighttime Squabbles
If your coop roosts feel “mysteriously unpopular,” the flock may simply be crowded. Virginia Tech Extension recommends providing about 8–10 inches of perch space per chicken.
Spacing between bars matters just as much as total length. You’re trying to prevent birds from stacking directly above each other (and pooping on the birds below), while still using your coop space efficiently. Different extensions describe slightly different builds, but you’ll see a consistent theme: give enough separation that bodies and tails don’t collide. For example, Oregon State University Extension notes about 10 inches between poles in one common layout, while University of Kentucky’s guidance describes “rungs of a ladder” with wider spacing and emphasizes safety near walls and obstacles.
Practical spacing checkpoints that work for many backyard coops:
- Start with roughly 12–18 inches between parallel roost bars for standard-sized birds, and adjust based on what you see at bedtime.
- Keep roosts away from walls and hard obstacles so birds can hop up and down without banging wings—University of Kentucky notes at least 13 inches from walls or other objects.
- If you have multiple roost levels, avoid putting a “prime” bar directly over another bar unless you’re okay with the lower one getting bombed nightly.
Sources: Virginia Tech Extension, Oregon State University Extension, and University of Kentucky Extension.

A Quick Roost Planning Cheat Sheet
| What You’re Deciding | Good Starting Guidance | Where It’s Supported |
|---|---|---|
| Perch space per bird | About 8–10 inches per standard chicken | Virginia Tech Extension |
| Roost height (most backyard coops) | Roughly 18–24 inches above the floor (lower for heavy/older birds) | Oregon State University Extension; University of Minnesota Extension |
| Distance from walls/obstacles | Aim for at least ~13 inches of clearance | University of Kentucky Extension |
| Keep birds out of nest boxes at night | Make roosts higher than the nest boxes | University of Maryland Extension/td> |
| Keep feed/water cleaner | Don’t place roosts above feeders or waterers | University of Kentucky Extension |
Think of this table as a starting point. Watch what your flock does at dusk for a week—then tweak. Chickens give very honest feedback.
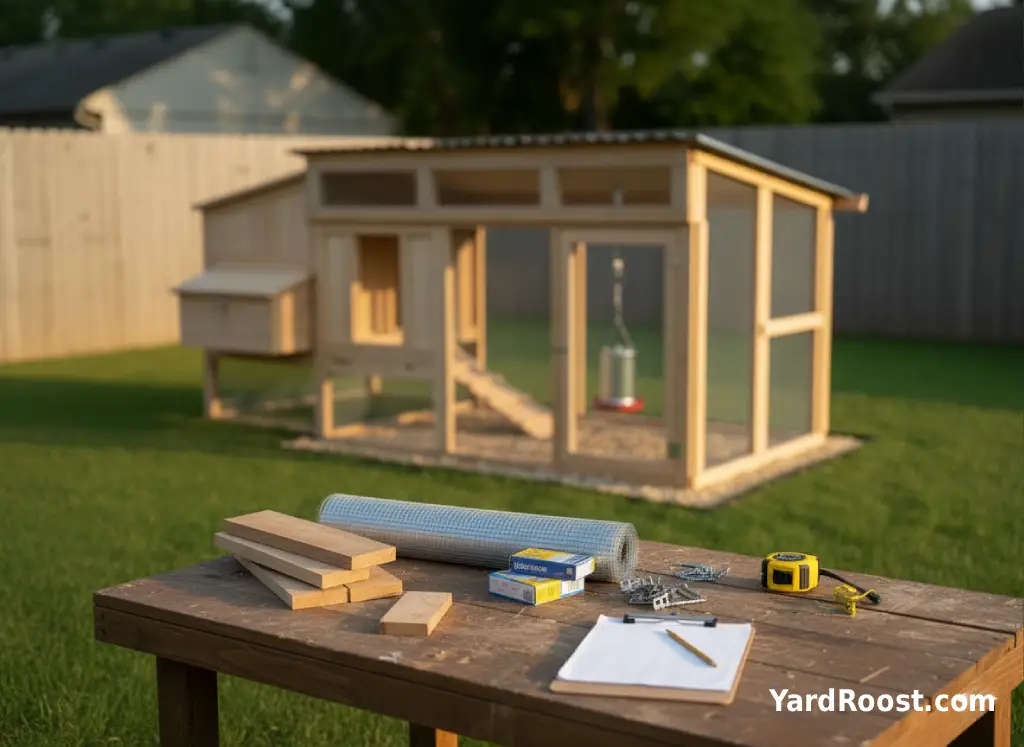
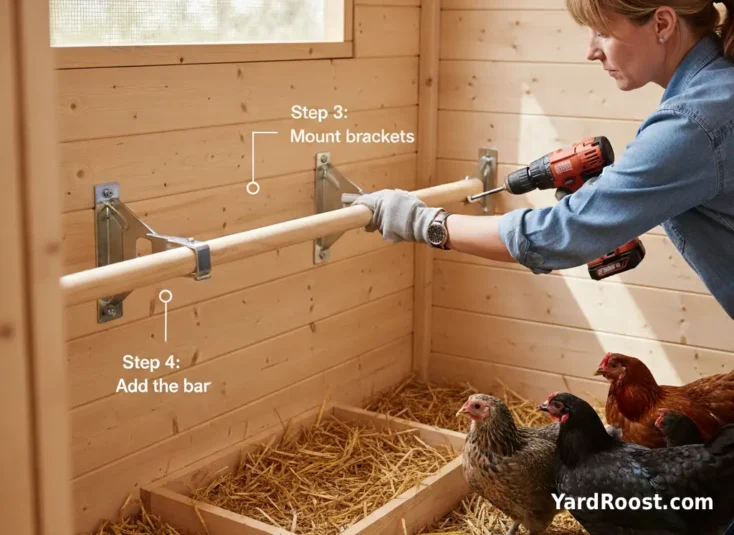
Simple Step-By-Step: Install Roosting Bars In A Chicken Coop
If you’re building chicken coop roost bars from scratch, keep the first version simple. You can always upgrade after you learn how your flock likes to sleep.
- Pick the location. Choose a dry area with good airflow that won’t draft directly at bird level. (If you’re still dialing in airflow, see Chicken Coop Ventilation Guide.)
- Set height and clearance. Start around 18–24 inches high for many backyard flocks, and keep clearance from walls/obstacles so wings don’t smack.
- Mount brackets or ledgers. Use sturdy supports that won’t wobble. Roosts that flex are often ignored.
- Add the bar and test for roll. Push down hard on the center. If it twists or rolls, your birds won’t trust it at night.
- Plan for clean-up. Put bedding or a droppings board under the roost zone, and avoid placing it over feeders/waterers.
Sources: Oregon State University Extension (layout examples) and University of Kentucky Extension (clearances and hygiene).
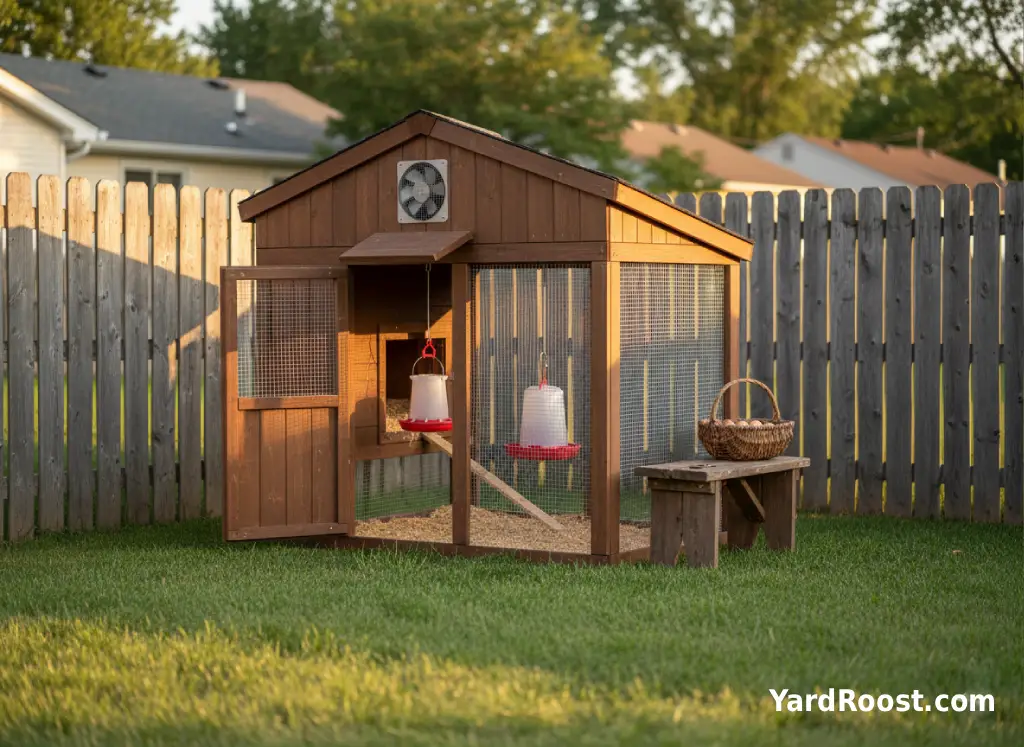
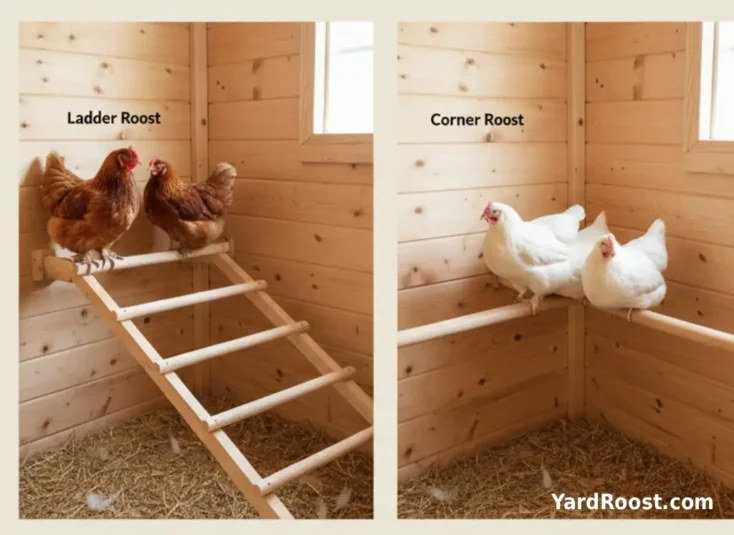
Chicken Coop Roost Ideas For Small Coops And Tight Spaces
Not every chicken coop with roosting bars has room for a long, straight “tree branch” bar. If your coop is narrow, low-ceilinged, or built from a shed, these layouts tend to work well:
- Ladder roost (two or three rungs): birds can step up gradually, and you can keep the top rung from getting dangerously high.
- Corner roost: two bars meeting at a right angle can turn unused corners into sleeping space—just maintain clearance from walls and keep it stable.
- Hinged/flip-up roost: a roost that swings up makes weekly coop cleaning under the roost far less annoying.
A common mistake we see is installing multiple levels, then placing them so close together that the top bar becomes a poop cannon for the lower bar. If you want “tiered” roosting, stagger them like stairs rather than stacking directly above.
Sources: Oregon State University Extension (bed vs ladder formations) and University of Kentucky Extension (safe spacing and clearance).
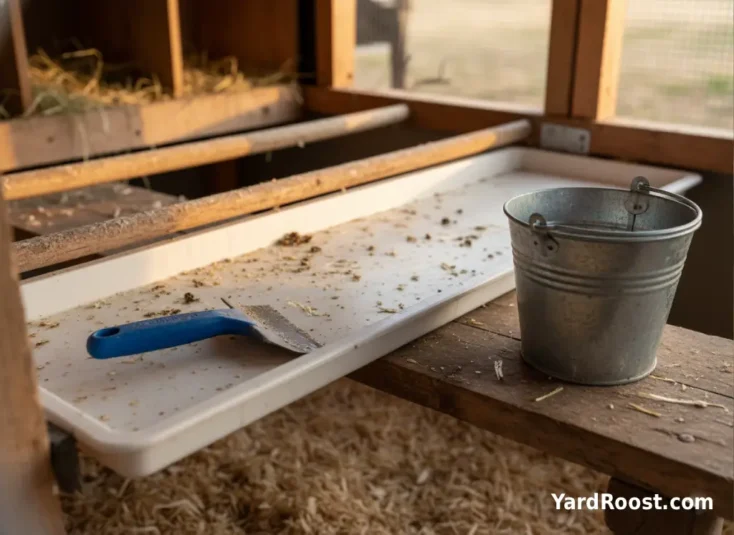
Keeping Roosts Clean Without Making It A Big Weekly Project
Most coops get gross where birds sleep—because that’s where the manure falls. Instead of trying to “clean the whole coop” constantly, focus on the roost zone. University of Kentucky Extension notes the birds spend the night on roosts and highlights cleaning under roosts weekly as a practical routine.
Two low-drama ways to stay ahead:
- Scrape-and-dump routine: If you use a droppings board, a 2-minute scrape once a week can keep ammonia smells down and bedding drier.
- Deep litter where it makes sense: If you rely on bedding under roosts, keep it dry and fluffy. Wet bedding is where odors and fly issues ramp up fast—when you smell ammonia, you’re already behind.
If you’re dealing with nighttime moisture (condensation) more than manure, don’t just add more bedding—fix airflow. Good ventilation should move moist air out high while avoiding a direct draft on birds at roost level.
Sources: University of Kentucky Extension (cleaning practices) and University of Minnesota Extension (housing/roost setup concepts).
Rooster In A Chicken Coop: Roosting And Flock Dynamics
A rooster in a chicken coop often wants the highest perch, and the flock will typically sort out a pecking order around roost spots. Your job is to make sure there’s enough roost length that “who sleeps where” doesn’t become an every-night argument. That’s where generous perch space (and smart spacing between bars) pays off.
Three practical rooster-friendly tweaks:
- Add roost length before adding roost height. More room reduces squabbles without increasing injury risk.
- Avoid single “throne” designs. A lone top bar can lead to guarding behavior; two equal-height options often calm things down.
- Check your local rules. Some cities/HOAs restrict roosters (especially crowing birds). Build flexibility into your coop so you can adjust if needed.
Sources: Virginia Tech Extension (perch-space guidance) and University of Maryland Extension (general housing/management principles).
Seasonal Roost Tweaks For Winter To Summer Comfort
Roosts can be a comfort upgrade in winter and a cleanliness upgrade in summer—if you plan for moisture and airflow. In cold months, birds often appreciate a perch that lets them rest with feet supported and tuck toes under feathers. In hot months, the priority shifts to keeping the roosting area dry and well-ventilated, because warm, damp air plus manure smell is a rough combo.
Two seasonal checks we recommend:
- Winter: Make sure the roosting area stays dry and draft-free at bird level, while moist air can still escape up high. Chickens generally handle cold better when they’re dry and out of drafts (insulation is less important than ventilation done right).
- Summer: Confirm that roosts aren’t positioned where birds have to sleep in stagnant air. If the coop feels stuffy at dusk, adjust ventilation before adding fans or gadgets.

Common Mistakes To Avoid With Chicken Coop Roosts
- Roost lower than nest boxes: Hens will sleep in the boxes, then you’ll fight dirty eggs. Keep roosts higher than nests.
- Roost above feed or water: It seems convenient until everything below gets soiled overnight.
- Not enough perch space: Crowding leads to pushing, pecking, and birds sleeping on the floor. Aim for about 8–10 inches per bird as a starting point.
- Too close to walls/objects: Birds avoid awkward perches where they can’t hop up safely.
- Too high, no “step” option: High roosts can mean hard landings—especially for heavy breeds and older hens.
Editorial note: A common mistake we see is building roosts like a ladder, then spacing rungs so tightly that birds can’t sit comfortably without getting bumped. If bedtime looks crowded, widen spacing or add length before you add height.
When To Call An Avian Vet
We’re not veterinarians, and roost issues can sometimes show up as real physical problems—especially if birds are jumping from awkward heights or using rough, unstable perches. If you notice any of the signs below, it’s worth calling an avian vet (or a vet comfortable with backyard poultry) for proper evaluation.
- Limping that lasts more than a day, or a bird that won’t bear weight
- Swollen feet, obvious heat in the footpad, or a persistent sore/blackened spot
- Repeated falls from the roost or trouble getting up at dusk
- Open wounds, bleeding, or signs a bird is being severely bullied at night
Safe first steps while you arrange help: lower the roost, add a step-up bar, and make the sleeping area easier to access so birds aren’t forced into hard jumps. Also confirm roost stability and clearance from walls/objects—poor placement can lead to injuries.
Hygiene And Biosecurity Around Roosts And Coop Cleanup
Roosts concentrate manure, and manure concentrates risk—mostly because it’s easy to forget how often you touch coop surfaces, latches, and buckets. The CDC’s backyard poultry guidance emphasizes washing hands with soap and water right after handling poultry, eggs, or anything in their environment.
Two habits that make a real difference:
- Keep a dedicated pair of “coop shoes” and don’t wear them into the house.
- Wash hands (or use hand sanitizer as a backup) after scraping roost areas, collecting eggs, or moving anything in the coop.
Good chicken coop roosting is less about fancy carpentry and more about watching what your flock chooses at bedtime. Start with a stable bar, a sensible height, and enough space for everyone to settle without shoving. Then tighten up the details that keep the coop cleaner: keep roosts higher than nest boxes, avoid placing roosts over feed and water, and make the “poop zone” easy to scrape or refresh. When those basics are right, you’ll see a calmer coop at dusk and fewer messy surprises in the morning.
If you’re still experimenting, treat your first build like a prototype. Make the roost removable, test spacing for a week, and adjust before you commit to permanent mounts. And if you’re dealing with repeated falls, persistent limping, or obvious foot problems, lower the roost and call an avian vet—comfort and safety matter more than having the “highest” perch.
Want the next easy upgrade? Add a droppings board under your main roost and check your airflow at bird level (your nose is a great ammonia detector). Your future self—with cleaner boots and cleaner eggs—will thank you.