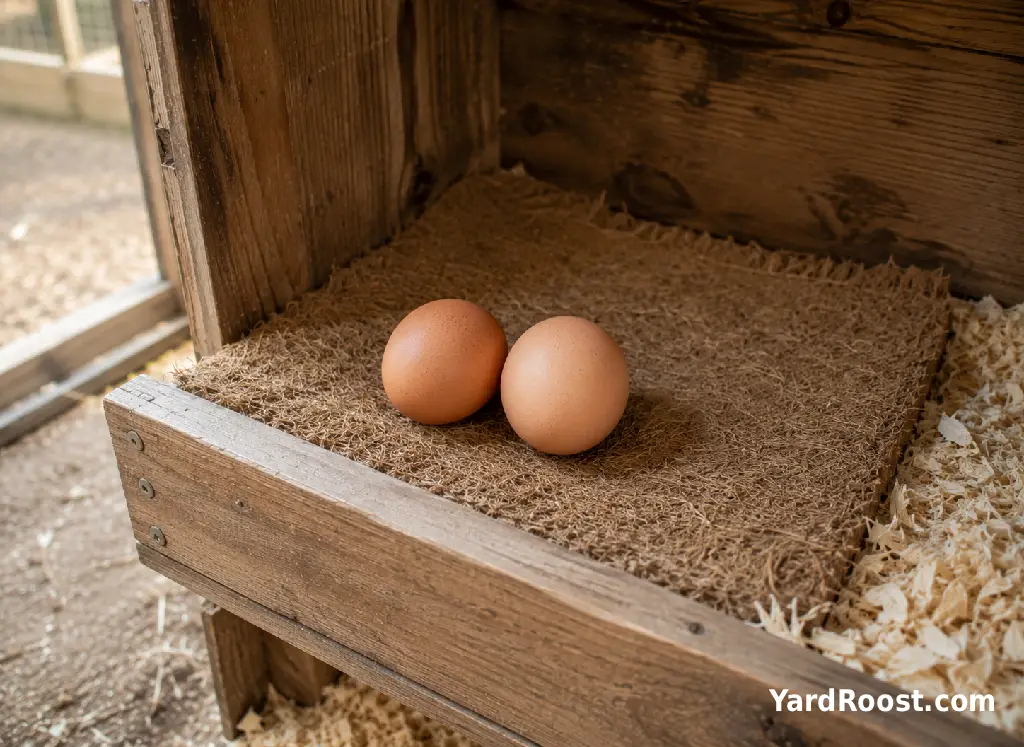
Chicken nesting pads give hens a cushioned surface for laying and can make nest-box maintenance easier. They are not essential—clean, dry pine shavings or another suitable loose nesting material can also work—but a well-fitted pad is less likely to be scratched out of the box before the hen lays her egg.
The best chicken nesting pads are not necessarily the thickest or most expensive. A useful pad fits the box, stays reasonably flat, dries quickly, and is simple enough to clean or replace before it becomes damp and dirty. Material matters, but everyday management matters more.
This guide compares disposable fiber, hemp, molded synthetic, and washable nesting box pads. It also covers sizing, installation, cleaning, and the problems a new pad cannot solve by itself.
What Chicken Nesting Pads Actually Do
A nesting pad creates a defined laying surface between the egg and the bottom of the box. Depending on its construction, it may provide cushioning, help keep eggs away from small amounts of debris, and reduce the amount of loose material hens kick onto the coop floor.
Good nest box pads for chickens should help with four practical jobs:
- Provide a stable surface that does not slide or bunch easily.
- Cushion eggs against the wood or metal bottom of the box.
- Allow droppings, feathers, and broken-shell debris to be removed promptly.
- Make it easy to notice moisture, pests, or damage during egg collection.
A pad is not a substitute for a dry coop or a properly designed nest. Penn State Extension advises keeping nest-box bedding different from floor litter and maintaining it in a clean, dry condition. The same publication notes that plastic or artificial-turf nest pads can be used in egg-production housing.
Pads also will not stop hens from sleeping in the boxes, crowding one favorite nest, or tracking mud inside. Those problems require changes to the coop setup and daily routine, not simply a different pad.
Comparing Common Nesting Pad Materials
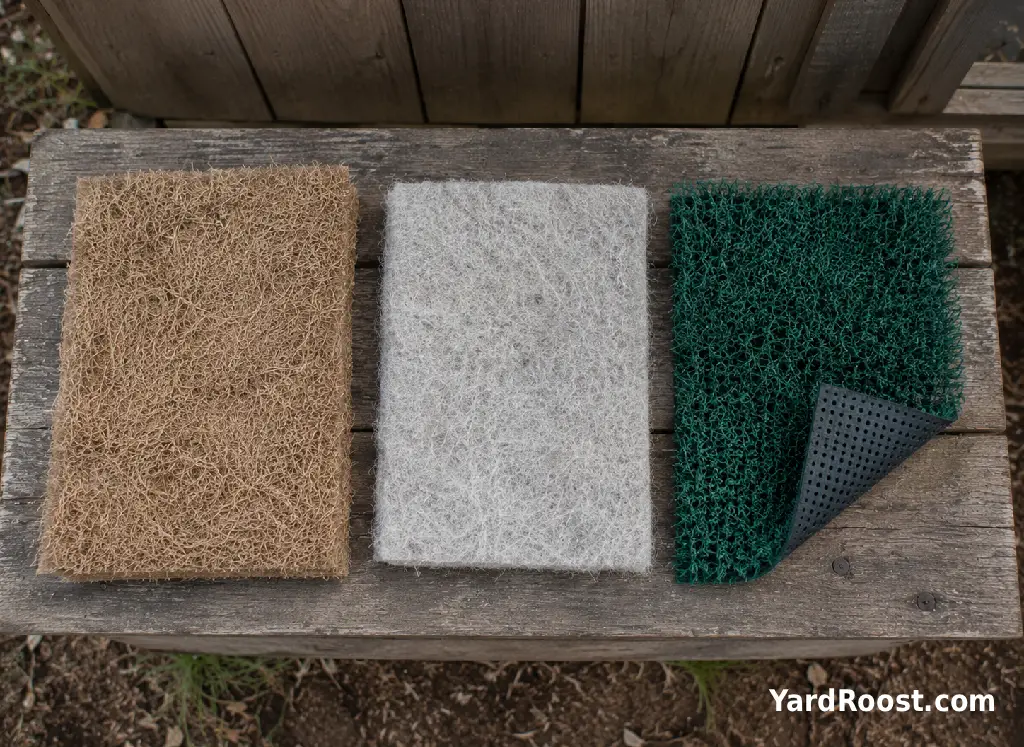
Most poultry nesting pads fall into two broad categories: disposable plant-fiber pads and reusable synthetic pads. Both can work in a small backyard flock. The better choice depends on your nest-box dimensions, climate, cleaning preferences, and how aggressively your hens rearrange nesting material.
| Pad Type | Practical Strengths | What to Check | Often Suits |
|---|---|---|---|
| Hemp or other plant-fiber pad | Soft surface, natural appearance, easy to replace | Whether fibers loosen, mat down, or remain damp | Keepers who prefer disposable natural materials |
| Excelsior or wood-fiber pad | Springy texture that helps cradle eggs | Loose strands, thin spots, and how securely the backing fits | Standard wooden nest boxes |
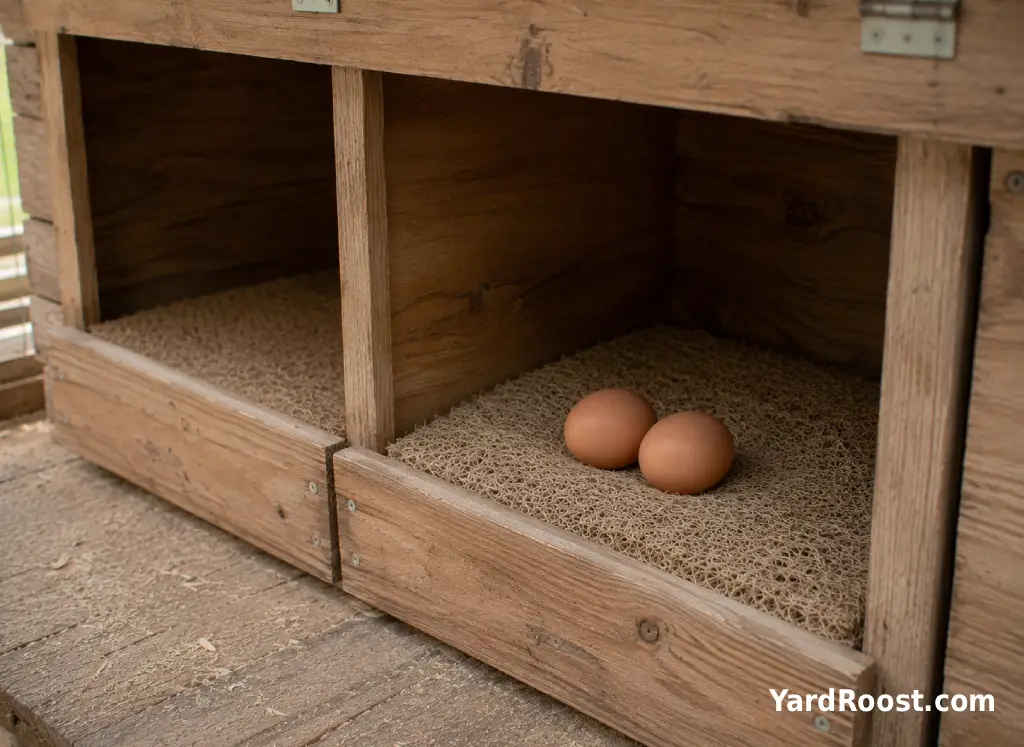
| Molded synthetic-fiber pad | Reusable, resilient, and difficult for many hens to scratch apart | Backing quality, drainage, sharp edges, and cleaning access | Hens that repeatedly kick out loose bedding |
| Washable turf-style pad | Can be lifted out and cleaned when the product is designed for washing | Whether moisture or manure collects beneath the surface | Keepers willing to maintain a rotation of clean pads |
Plant-fiber pads are convenient when you prefer to remove the entire soiled surface rather than scrub it. Reusable pads reduce routine disposal, but they are only economical when they tolerate repeated cleaning without curling, cracking, or retaining odors.
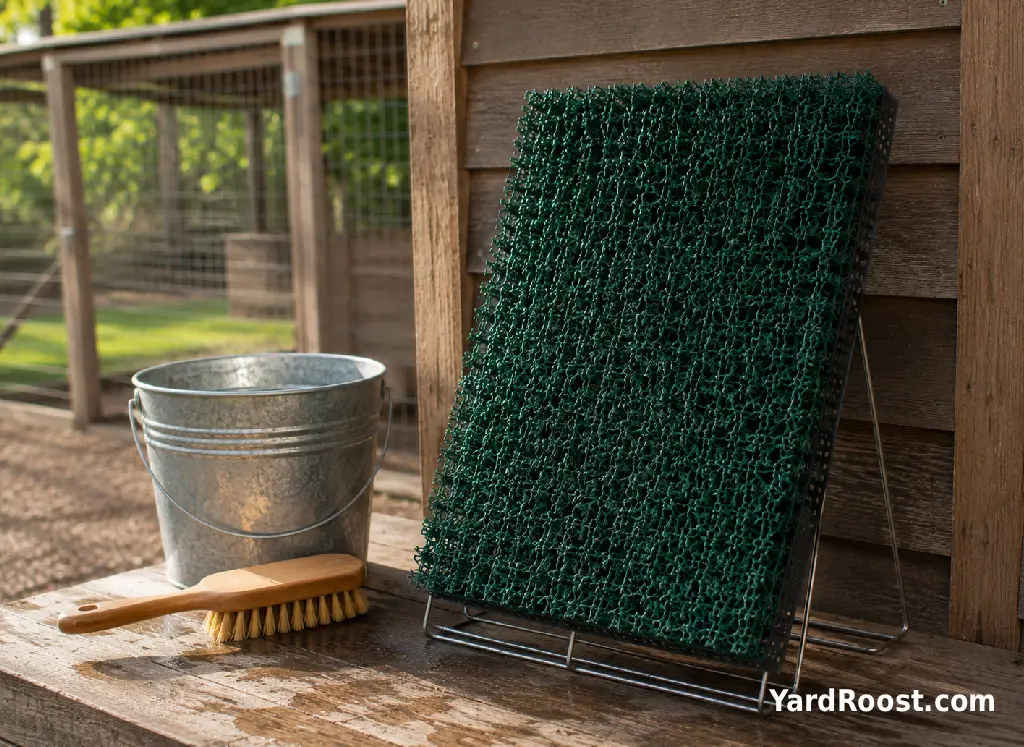
Do not assume every synthetic chicken nesting pad is machine washable. Follow the product label. Some pads can be rinsed, while others may deform under hot water, strong pressure, or heated drying.
How to Choose the Right Pad for Your Nest Box
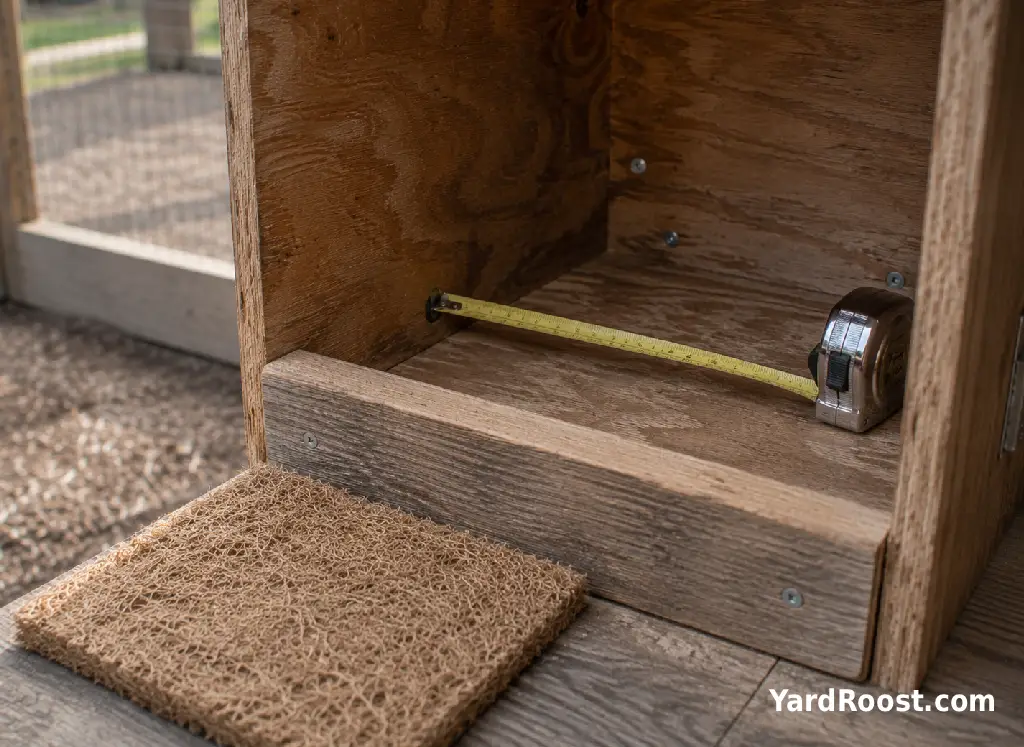
Measure the usable floor of each nest before ordering. Product names such as standard, large, or universal are not dependable measurements, especially in homemade coops.
A 12-by-12-inch box is commonly used for an average-sized laying hen. Mississippi State University Extension describes a 12-by-12-by-12-inch nest as a practical size and suggests roughly one box for every four to six hens. A Chicken Coop Size Calculator can help estimate the total floor and nesting space needed for your flock. Actual boxes vary, and large-bodied breeds may need more room.
Check these details before buying:
- Inside width and depth: Measure between the walls, not across the outside of the box.
- Doorway and front lip: Confirm that a thick pad will not make the opening awkward or interfere with the retaining board.
- Floor construction: Look for protruding screws, splinters, wire edges, or wide gaps that could damage the pad or a hen’s feet.
- Manufacturer trimming instructions: Cut a pad only when the maker says it can be trimmed safely.
- Replacement availability: A specialty shape is less useful when matching replacements are difficult to find.
A pad should cover most of the laying surface without folding up the walls. A narrow border around the edge is usually less troublesome than a pad that is forced into the box and buckles in the center.
For a coop with several differently sized boxes, measure each one. Backyard coops are often less uniform than they appear, and a difference of even an inch can determine whether a pad stays flat.
How to Install Nesting Box Pads
Installation is simple, but placing a new pad over an old mess defeats the purpose. Start with the nest completely empty so you can inspect the floor and corners.
- Remove the old pad, loose bedding, feathers, shell fragments, and dried droppings.
- Scrape away stuck material and clean the box using a poultry-safe method appropriate for its construction.
- Allow the wood, metal, or plastic box to dry fully before covering it.
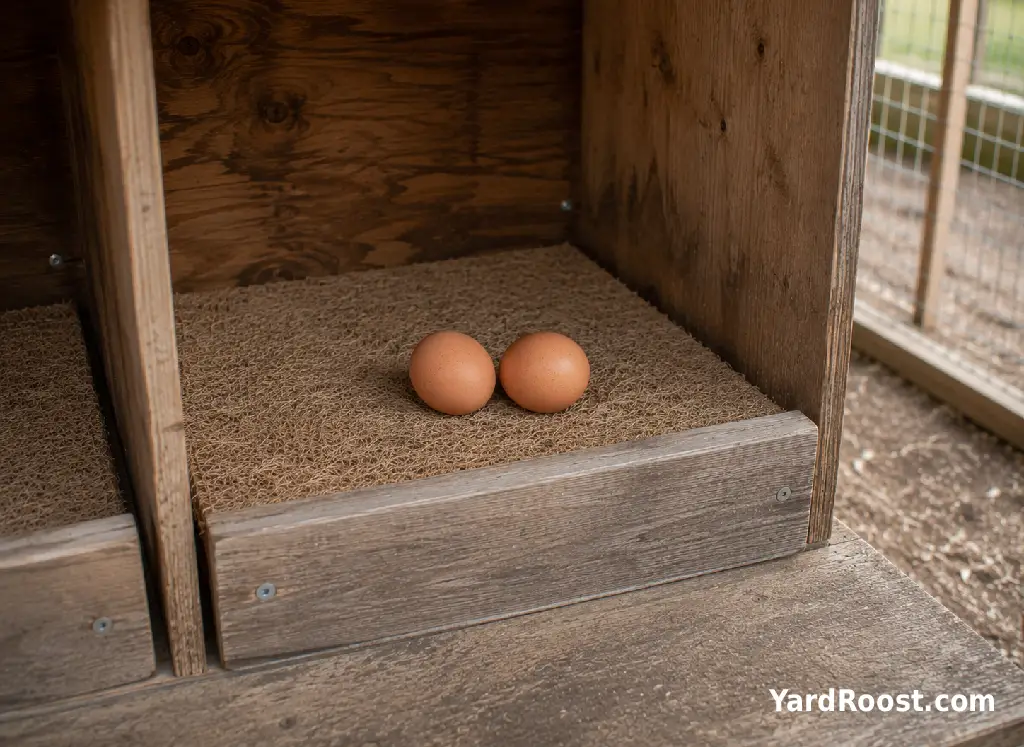
- Set the pad flat, pressing the corners down without forcing them.
- Check the pad after the hens use it for the first day and reposition it if it has shifted.
Many boxes benefit from a low front retaining lip that helps keep both the pad and eggs inside. The lip should not create a sharp edge or make the hen squeeze through an undersized opening.
Fasteners are usually unnecessary. Staples, exposed wire, screws, adhesives, and improvised clips can create foot or skin hazards and make thorough cleaning more difficult. Choose a better-fitting pad or adjust the wooden retaining lip instead of attaching the pad with exposed hardware.
Some keepers add a light handful of loose shavings on top of a molded pad because their hens prefer rearranging material before laying. That can work, but keep the layer thin enough that you can still inspect the pad for dampness and droppings.
Cleaning and Replacing Nest Box Pads
The most useful cleaning schedule is based on what you see and smell, not on the calendar alone. Look at each nest while collecting eggs. Remove fresh droppings, broken-egg residue, wet material, and heavily soiled loose bedding as soon as you find them.
At least once a week, lift each pad and inspect the surface underneath. The University of Minnesota Extension includes weekly nest cleaning and replacement of nesting material in its farm-fresh egg safety checklist. It also recommends collecting eggs two or three times daily and keeping the chicken house clean and dry.
Use this simple decision rule:
- Dry and lightly dusty: Shake or brush the pad out, inspect it, and return it.
- Localized dry dropping: Remove the contamination completely and check beneath the pad.
- Damp, sticky, or egg-soaked: Remove the pad immediately and replace it with a clean, dry one.
- Curled, torn, thin, or permanently misshapen: Retire it rather than trying to flatten it repeatedly.
- Persistent odor after proper cleaning: Replace the pad and inspect the box for moisture trapped in seams or wood.
Reusable pads should be cleaned according to their label and dried completely before being returned to the coop. Keeping one spare pad for each box makes this easier. A damp washable nesting box pad placed back into a shaded nest can remain wet much longer than expected.
YardRoost editorial note: The underside is easy to forget. A pad can look acceptable from above while damp debris accumulates between the backing and the nest-box floor.
Wear dedicated coop footwear or clean it after working around manure, and wash your hands after handling dirty nesting material or eggs. For a broader routine, see our practical chicken coop cleaning guide.
Are Hemp Nesting Pads a Good Choice?
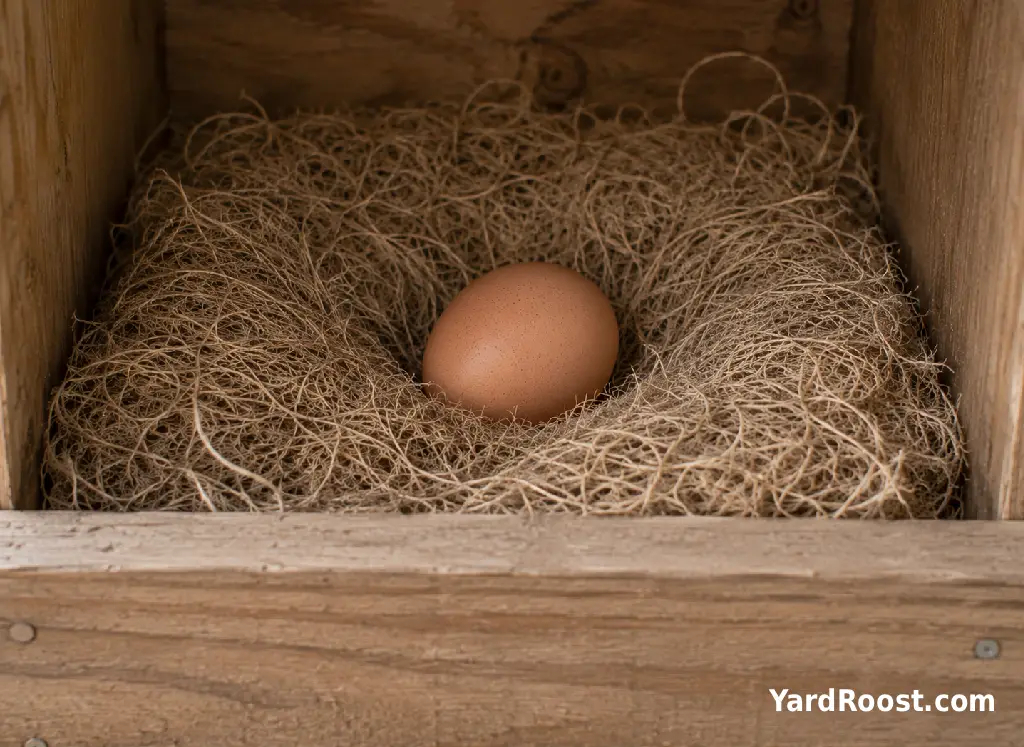
Hemp nesting pads appeal to keepers who prefer a plant-based, disposable surface. Dense hemp fibers can create a soft nest and may stay in place better than a loose pile of long straw, although performance varies by pad construction and hen behavior.
Evaluate hemp nesting pads for chickens by looking at the product rather than relying on the material name alone. A loosely assembled mat may pull apart quickly, while a dense pad with a sturdy backing may hold its shape for longer.
Before buying, check:
- Whether the pad contains only the materials you expect.
- Whether it is sized for the inside of your particular boxes.
- How easily loose strands pull away from the backing.
- Whether the pad can be spot-cleaned or is intended for full replacement.
- Whether your local composting method accepts the used material.
Do not compost a heavily contaminated pad simply because it is labeled natural. Consider what is on it, whether the product includes synthetic backing or binders, and how your compost pile is managed.
Hemp fiber nesting pads are often most convenient for a keeper who prefers quick replacement over washing. In a coop where hens frequently soil the boxes, a reusable pad and a ready supply of spares may be more practical.
Common Mistakes to Avoid
A nesting pad is a small coop purchase, but several common mistakes can make it ineffective.
Buying by Product Label Instead of Measurement
Standard-sized chicken nest box pads may not fit a homemade, vintage, or repurposed nest. Measure the floor first and compare actual dimensions.
Leaving a Wet Pad in Place
A pad does not need to be completely covered in manure to require removal. Rainwater, a broken egg, condensation, or wet feet can create a damp area underneath it. Lift the pad rather than judging only the top surface.
Washing Without Allowing Complete Drying
Returning a reusable pad while it is still damp can transfer moisture to an unfinished wooden box. Rotate clean spares so drying does not have to be rushed.
Using One Pad to Correct a Coop Problem
Repeatedly dirty nests may point to hens sleeping in the boxes, muddy access routes, a roof leak, overcrowding around a favorite nest, or inadequate roosting space. Replacing the pad every day treats the result without correcting the cause.
Adding Too Much Loose Material on Top
A deep pile can hide droppings and keepers may assume the pad underneath is clean. Use only enough loose material to suit your hens while preserving easy inspection.
YardRoost editorial note: A common mistake we see is keeping an old pad because it still looks thick. Thickness is not the deciding factor. A pad should be replaced when it no longer stays dry, flat, intact, and cleanable.
When Dirty or Broken Eggs Continue
Changing pads may improve the laying surface, but persistent egg problems usually deserve a wider inspection.
First, check whether hens are sleeping in the nests. Droppings that appear overnight are a strong clue. Make sure the flock has usable roost space positioned away from the boxes, and remove any temporary obstruction that makes the nest feel like the easiest sleeping spot.
Next, consider nest availability and traffic. University of Minnesota Extension recommends approximately one nest for every four to five layers, while Mississippi State University Extension suggests one for every four to six hens. These are practical starting points rather than guarantees; hens may still crowd into one preferred box.
Penn State Extension recommends a 12-by-12-inch nest for average-sized hens and links adequate nest availability with reducing crowding and egg damage.
Also check for:
- A leak, condensation, or damp wall behind the box.
- Mud being carried from the run to the nest entrance.
- A thin or displaced pad that exposes the hard floor.
- Sharp fasteners or rough edges inside the box.
- Eggs left in a busy nest for long periods.
- Hens scratching or pecking at already cracked eggs.
Collecting eggs more frequently can reduce the time they spend under additional hens or in a contaminated nest. Discard eggs with cracked shells and follow reliable food-safety guidance for cleaning, refrigeration, and handling. University of Minnesota Extension advises keeping eggs dry, discarding cracked eggs, and washing hands before and after handling or cleaning eggs.
If you find blood, a heavy pest infestation, repeated abnormal droppings, a hen straining, marked lethargy, or continuing shell problems, changing the pad is not an adequate response. Contact an avian veterinarian, poultry veterinarian, or your local extension office for appropriate guidance.
More setup details are available in our beginner guide to chicken nesting boxes.
A Practical Final Choice
For most backyard flocks, the best nesting pad is the one that fits securely and supports a routine you will maintain. Choose a disposable hemp or wood-fiber pad when quick replacement is more appealing than washing. Choose a reusable molded or turf-style pad when you have clean spares, suitable washing space, and enough drying time.
Whichever material you select, inspect beneath it regularly. Keep the boxes dry, collect eggs often, and replace any pad that becomes wet, damaged, difficult to clean, or permanently misshapen.
Start by measuring one nest box and testing a small quantity rather than buying a full-coop supply immediately. Watch how your hens use the pad for a week. A pad that remains flat in one flock may be dismantled by another, and that real-world trial tells you more than a product description.
Chicken nesting pads can make daily egg collection neater and nest maintenance more predictable. They work best as one part of a well-designed nesting area—not as a replacement for good roost placement, dry housing, regular inspection, and prompt egg collection.