A chicken coop light can make winter chores easier, illuminate a dim interior, or help mature hens maintain egg production as days shorten. It should not, however, turn the coop into a brightly lit room all night.
Chickens generally do not need artificial light while they sleep. They naturally return to the roost near dusk and benefit from a predictable period of darkness. For most backyard flocks, the best lighting plan is simple: use natural daylight whenever possible, add a modest task light for chores, and use a timer before sunrise only when you deliberately choose supplemental winter lighting.
The fixture matters as much as the schedule. Coop dust, moisture, curious beaks, loose bedding, and rodents make improvised electrical setups risky. A dependable light should be securely mounted, protected from birds, and bright enough for its purpose without glaring into the roosts or nest boxes.
Here is how to choose between wired, battery, and solar chicken coop lights while protecting your flock’s natural routine.
Do Chickens Need Light at Night?
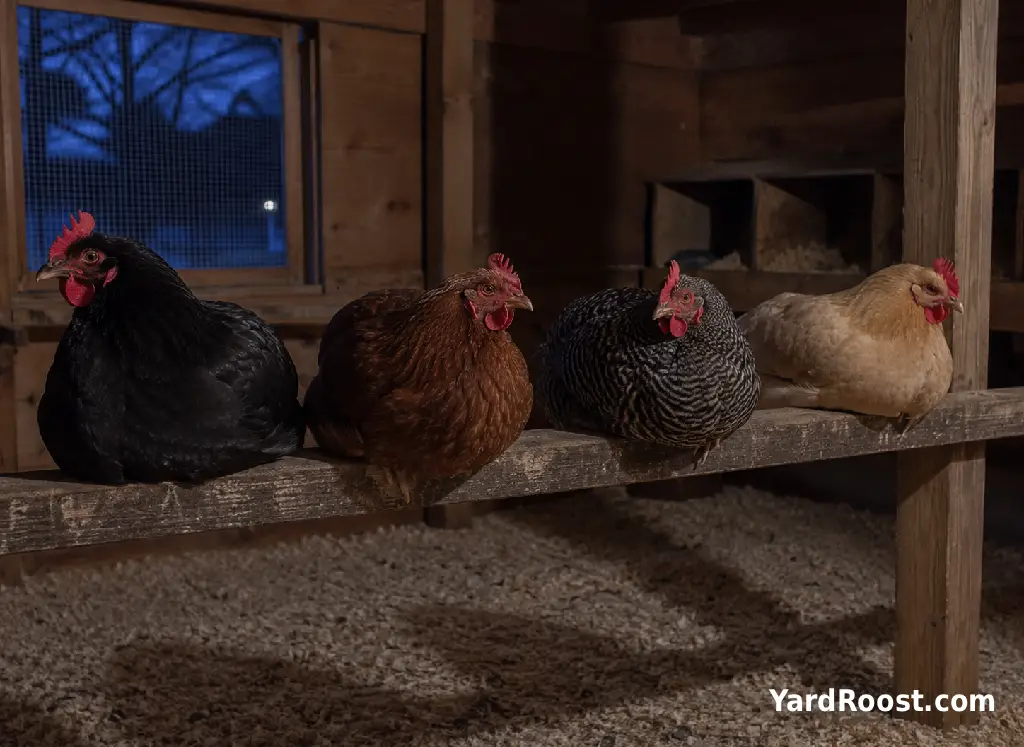
No. Healthy adult chickens do not normally need a light left on overnight. Darkness is part of their daily rest period, and a continuously illuminated coop can interfere with the normal rhythm of roosting and sleeping.
Leaving a bright light on until late evening can also create a practical problem. Chickens do not see well in darkness. If an artificial light switches off suddenly after the sun has set, hens that are still eating or moving around may struggle to find the roost. University of Minnesota Extension recommends adding production lighting before sunrise so that the natural sunset remains the flock’s signal to settle for the night.
A brief light for checking a bird, collecting a late egg, or securing the coop is different from all-night lighting. Keep that visit short, use the lowest useful brightness, and give the flock a moment to settle before leaving.
For occasional nighttime checks, a headlamp is often less disruptive than switching on a bright ceiling fixture. Aim it toward the floor rather than directly at the birds.
When a Coop Light Is Actually Useful
Not every coop needs permanent lighting. A well-positioned window may provide enough daylight for feeding, laying, and routine cleaning. Artificial lighting becomes useful when it solves a specific problem rather than simply making the coop look brighter.
- Morning and evening chores: A task light helps you inspect water, bedding, latches, and birds during short winter days.
- A naturally dark coop: A shaded or windowless interior may need modest daytime illumination around the feeder and floor.
- Winter egg production: A controlled pre-dawn schedule can extend the total daily light available to mature laying hens.
- Temporary observation: Portable light can help you check for a leaking waterer, damaged hardware, or a bird that did not roost normally.
The intended job determines the setup. A manually operated task light does not need the same timer accuracy as a light used to manage the flock’s photoperiod. Likewise, a solar unit that works well for five minutes of evening chores may not provide consistent enough timing for winter egg production.
Artificial lighting should not be used to compensate for dirty windows, overcrowding, damp bedding, inadequate ventilation, poor feed, or illness. Fix the underlying management problem first. Our guide to chicken coop ventilation can help when the interior feels stale, damp, or unusually dark because openings have been covered.
Wired, Battery, or Solar Chicken Coop Light?
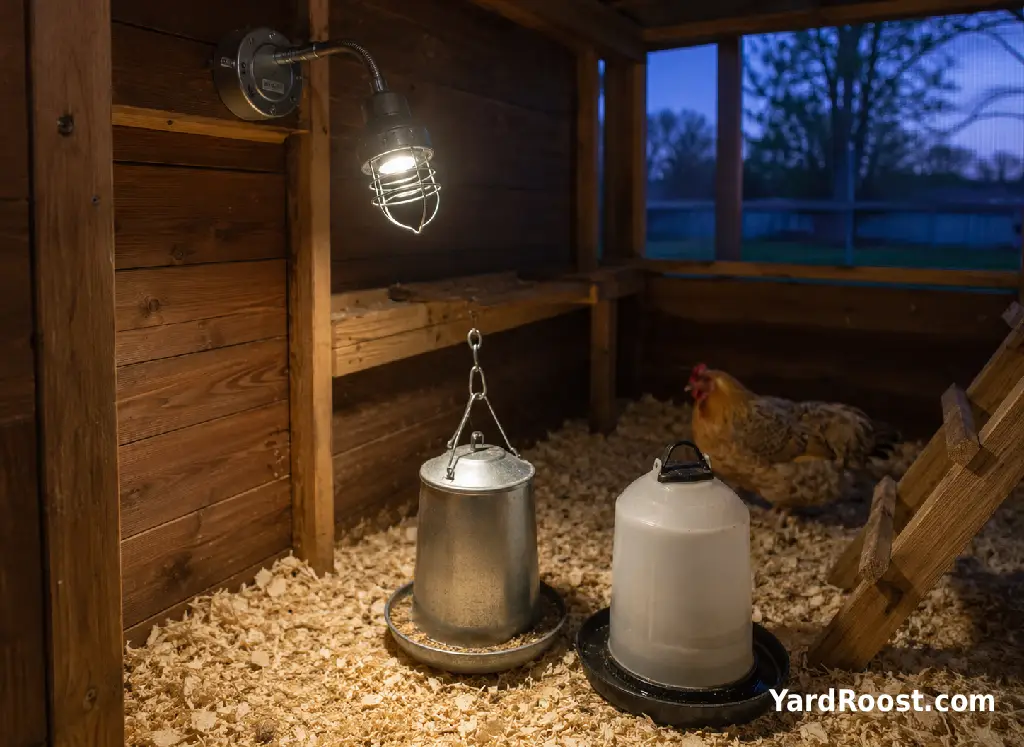
The best light depends on how often you need it, whether electricity is already available, and how dependable the schedule must be.
| Light Type | Best Use | Main Advantage | Watch For |
|---|---|---|---|
| Wired LED | Daily chores or timed winter lighting | Consistent output and reliable timer operation | Safe permanent wiring, dust, moisture, and cord protection |
| Solar Light | Occasional task lighting in an off-grid coop | No electrical cable running from the house | Shade, cloudy weather, short winter charging days, and limited timer controls |
| Rechargeable Battery Light | Temporary inspections or small coops | Portable and easy to remove for charging | Declining battery charge and unsecured mounting |
A wired LED is usually the most dependable option for a chicken coop light with a timer. Choose a simple, modest-output fixture rather than a high-powered shop light. The goal is even visibility, not daylight-level brilliance.
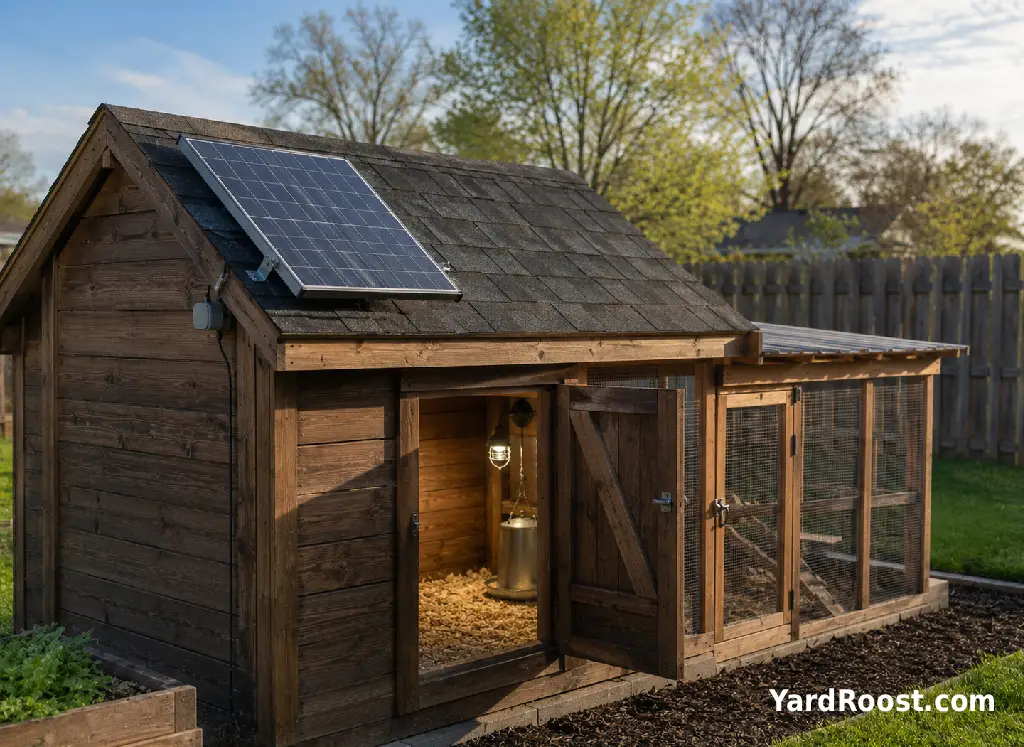
A solar chicken coop light works best as a convenience light. Position the panel where it receives direct sun rather than under a roof overhang or tree canopy. Keep in mind that winter is when you may want lighting most, but it is also when the panel receives shorter days and may be covered by snow, leaves, or dirt.
Before buying a solar unit for a laying schedule, confirm that it has a true programmable timer. Many inexpensive models use motion sensors or switch on automatically at dusk, which is the opposite of the preferred pre-dawn lighting pattern.
Rechargeable lights are useful when you need flexibility. Mount them so hens cannot knock them down or peck at the battery compartment, and remove them promptly if the casing cracks or becomes wet.
How to Place and Install a Light Safely
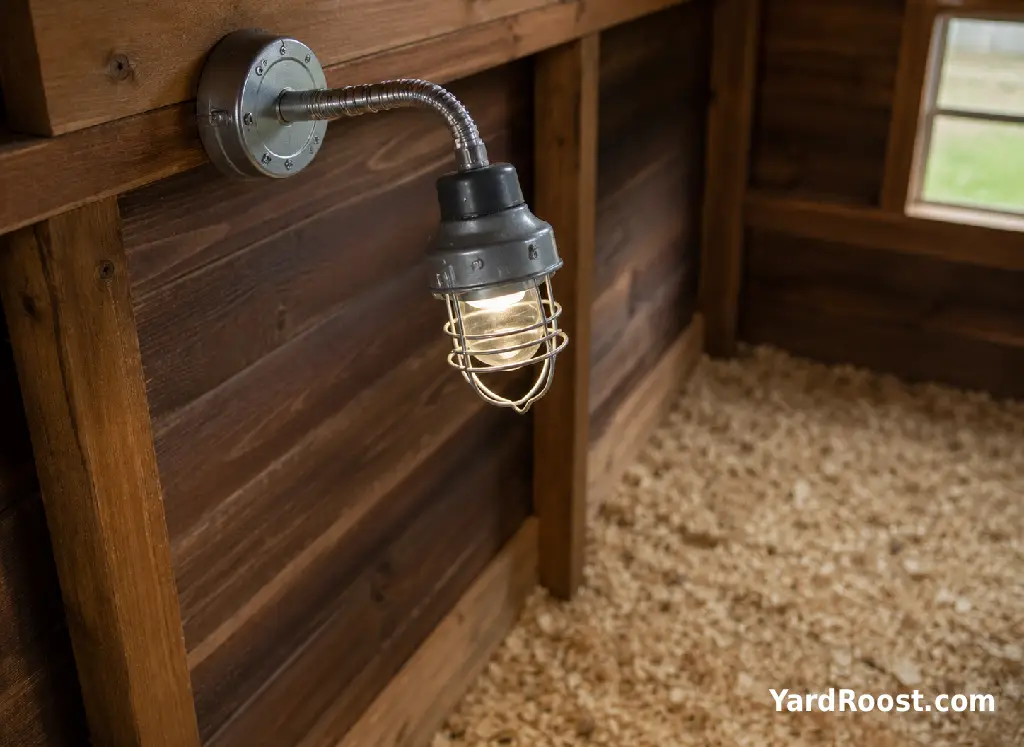
A chicken coop combines several conditions that are hard on electrical equipment: airborne dust, moisture, feathers, rodents, water containers, and combustible bedding. Treat the installation as an agricultural outbuilding project, not as a place for a loose household lamp.
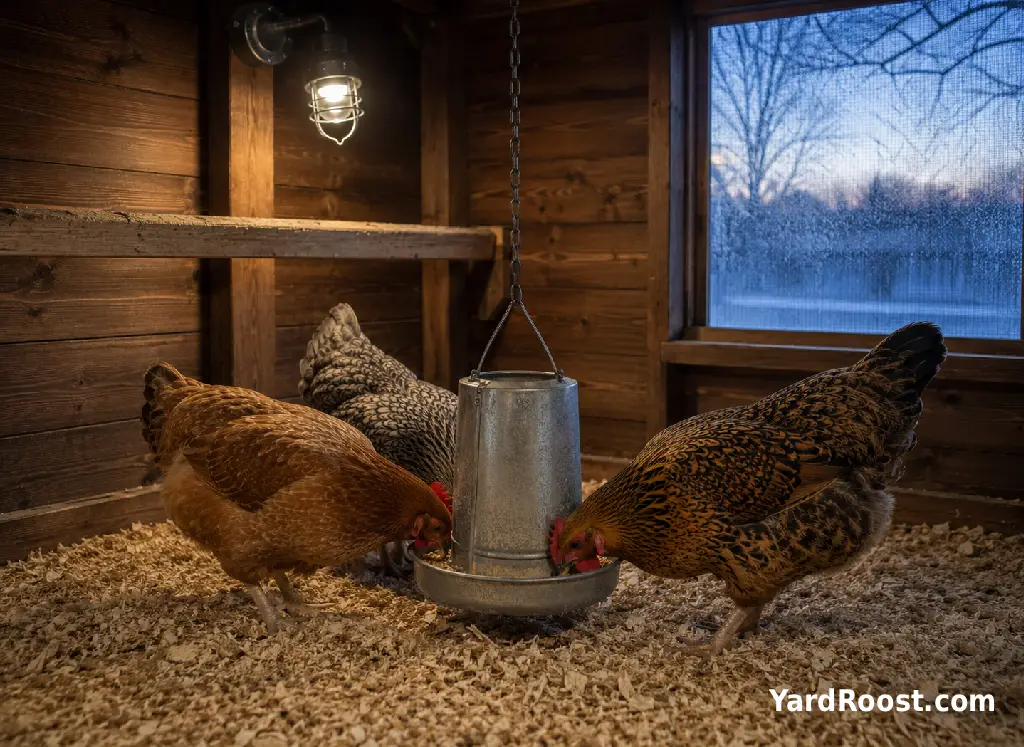
Mount the fixture above normal chicken activity, but avoid placing it directly over a waterer, nest box, or roost. Hens should not be able to perch on it, strike it while flying down, or reach the wiring from a nearby shelf.
- Use a fully enclosed or guarded fixture rated for the environment described by its manufacturer.
- Secure wires inside conduit or another poultry-resistant protective system.
- Keep plugs, connections, and timers away from water and accumulated dust.
- Do not rest fixtures on rafters, bedding, nest boxes, or improvised hooks.
- Replace damaged cords, cracked housings, and loose mounts immediately.
University of Minnesota Extension advises keeping wires away from poultry, water, and flammable litter. It also recommends using extension cords only temporarily and working with a professional electrician when installing permanent power in a coop.
Light placement affects flock behavior too. Direct the light toward the central floor, feeder, or work area rather than creating a bright hotspot around the nests. Penn State Extension cautions against bright lighting near nesting areas because excessive brightness can contribute to nervous behavior and picking problems.
Do not use a heat lamp merely because you need light. A heat lamp produces concentrated heat and introduces a different level of fire risk. For ordinary illumination, a low-heat LED in a suitable protected fixture is the more practical choice.
Setting Up a Chicken Coop Light With a Timer
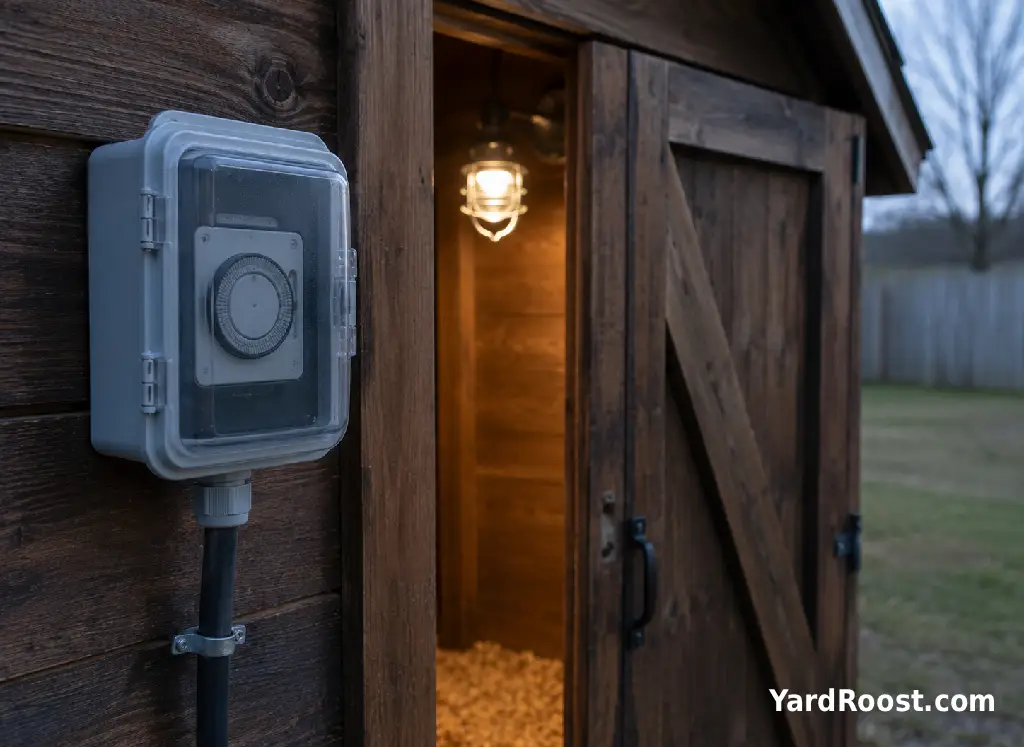
A timer keeps the lighting routine consistent when sunrise shifts through fall and winter. For a small backyard flock, consistency matters more than creating a complicated schedule.
Use this basic process:
- Decide on the purpose. Task lighting can remain manually controlled. Egg-production lighting needs a repeatable schedule.
- Check the natural day length. Note the approximate times of sunrise and sunset in your location.
- Add light before sunrise. Let natural dusk end the hens’ day so they can find the roost normally.
- Change the schedule gradually. Avoid suddenly adding several hours in one night.
- Recheck the timer regularly. Power interruptions, daylight-saving changes, battery failure, and seasonal sunrise shifts can alter the schedule.
For example, suppose a winter day has about 10 hours between sunrise and sunset. A keeper targeting approximately 14 total hours could schedule four hours of light before dawn. This is only a planning example; your actual sunrise, sunset, flock age, and management goals will determine the timing.
Penn State Extension recommends changing the photoperiod slowly, by no more than one hour per week. Small adjustments are easier on the flock than an abrupt jump from a short natural day to a long artificial one.
Place the timer somewhere dry, protected, and easy to inspect. After setting it, visit the coop during one complete on-and-off cycle. Confirm that the light turns on as expected, that the flock is calm, and that the timer does not shut the birds into sudden darkness after sunset.
Chicken Coop Lighting for Egg Production
Shorter days are one reason egg production often declines in fall and winter. Molting, age, nutrition, weather stress, broodiness, and individual variation can also affect laying, so light is only one part of the picture.
Supplemental winter light is optional. Some keepers prefer to let hens follow the natural seasonal cycle, accepting fewer eggs during the shorter days. Others provide a controlled amount of morning light to maintain a steadier laying routine. Either approach can fit a responsibly managed backyard flock.
| Management Goal | Lighting Approach |
|---|---|
| Natural seasonal rhythm | Use natural daylight and allow winter production to decline |
| Moderate winter laying support | Aim for about 14 total hours using a pre-dawn timer |
| Maximum extension-style production schedule | Some programs use up to 16 total hours for mature layers, with a reliable dark period |
University of Minnesota Extension recommends about 14 hours of total daily light for egg production. Penn State Extension guidance commonly places mature layers in a 14-to-16-hour range and warns against exceeding 16 hours because hens still need darkness and sleep.
For a small backyard flock, about 14 total hours is a reasonable, conservative target when supplemental lighting is used. More light is not automatically better. An overly long or abruptly changed day can leave birds restless and may increase flock tension.
Production lighting is intended for physically mature laying hens. It should not be used to rush immature pullets into laying. Increasing day length can stimulate reproductive development, so pullet lighting should be managed cautiously and with guidance appropriate to their age.
Do not assume that adding a bulb will correct a sudden laying decline. Check for molting, access to a complete feed, frozen or unavailable water, environmental stress, and signs that a hen may be unwell. Contact an avian veterinarian or your local extension office when reduced laying occurs with lethargy, breathing difficulty, marked weight loss, abnormal droppings, or other concerning changes.
Our insulated chicken coop guide covers ventilation, bedding, and other seasonal factors that deserve attention alongside lighting.
What About Red Lights?
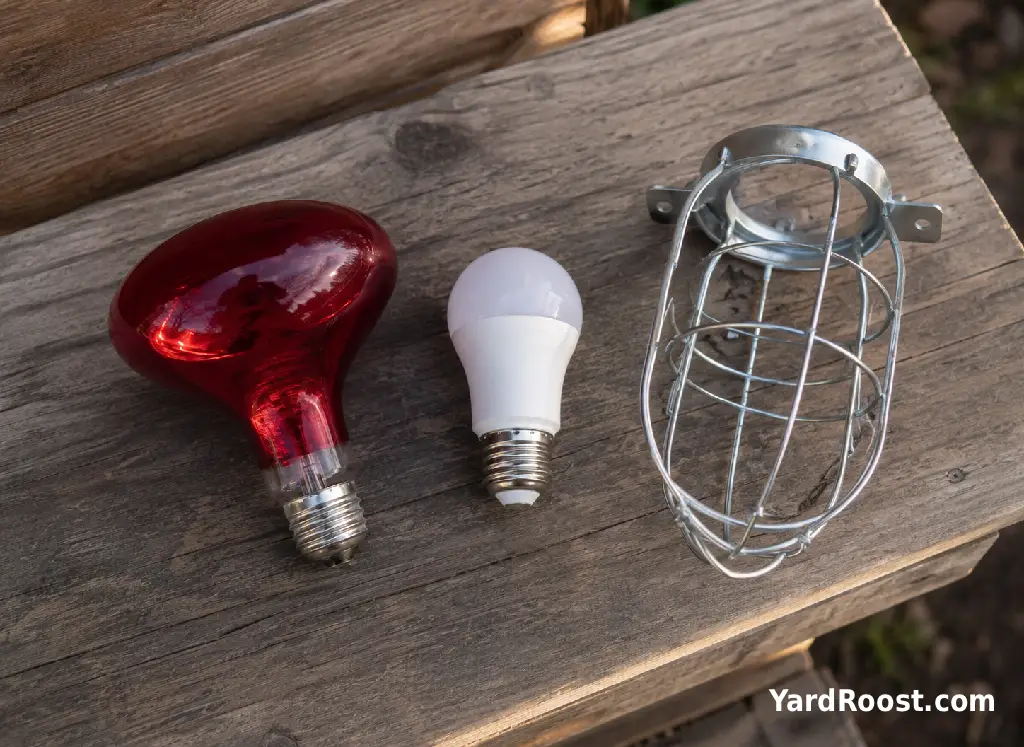
A red light for a chicken coop is sometimes marketed as calmer or less disruptive than white light. It may appear less glaring to the keeper, but it is still artificial light and should not be treated as a substitute for a normal dark period.
There is usually no need to buy a red bulb for routine chores or winter laying support. A modest, evenly distributed white LED can provide practical visibility without flooding the coop with brightness. Keep it away from nest boxes and avoid rapidly flashing, color-changing, or motion-triggered modes inside the sleeping area.
Be especially careful with the term red light because it is also used for red heat-lamp bulbs. A heat lamp is a heating appliance, not simply a colored coop light. It requires an approved fixture, secure mounting, substantial clearance from bedding, and strict attention to the manufacturer’s fire-safety instructions.
If you already use a red-tinted task light, operate it briefly and evaluate the birds rather than relying on the bulb color alone. Restless pacing, repeated jumping from the roost, increased pecking, or reluctance to settle are signals to reduce the brightness, adjust the location, or shorten the operating time.
Common Mistakes to Avoid
Most lighting problems come from making the coop brighter, hotter, or more complicated than it needs to be. A simple light that is securely installed and used on a predictable schedule is usually the safer choice.
- Leaving the light on all night: Give the flock a reliable dark period for roosting and rest.
- Adding evening hours instead of morning hours: A sudden lights-out after sunset can leave hens unable to find the roost.
- Making a large schedule change at once: Extend or reduce the light gradually rather than adding several hours overnight.
- Using a loose clamp lamp: Secure every fixture independently so a bumped clamp or chewed cord cannot drop it into bedding.
- Running permanent power through an extension cord: Have a qualified electrician plan a safer long-term installation.
- Pointing bright light into nest boxes: Keep nests relatively dim and direct useful light toward the aisle, feeder, or work area.
- Expecting a solar light to perform identically every day: Check its charge and timer through cloudy weather before relying on it.
YardRoost editorial note: A common mistake we see is buying the brightest available light and then trying to control it with a timer. Start with the lowest practical brightness instead. You should be able to see the floor, feeder, waterer, and birds clearly without creating sharp glare or brightly illuminated nest boxes.
Recheck the setup after the first dusty week, the first hard freeze, and any major storm. Look for condensation inside housings, loose fasteners, chewed wiring protection, snow covering a solar panel, or a timer that has lost its settings.
A Simple Lighting Plan for Most Backyard Coops
For many small flocks, the right plan is straightforward. Let natural daylight handle most of the day, use a protected LED only when chores require it, and keep the coop dark overnight.
When winter egg production is a goal, install a reliable timer and add the extra light before dawn. Begin with small schedule changes, aim for approximately 14 total hours for mature laying hens, and preserve an uninterrupted period of darkness. Check the timer as sunrise changes rather than setting it once and forgetting it for the season.
A solar chicken coop light can be a useful off-grid task light, but test it under actual winter conditions before depending on it. For a permanent wired system, keep fixtures, cords, and connections away from birds, water, dust buildup, and bedding, and use a qualified electrician for the installation.
Most importantly, watch the flock. Calm hens that eat, drink, lay, and settle on the roost normally are giving you better feedback than the brightness number on a product box. Choose the least complicated setup that solves your real lighting problem, inspect it regularly, and switch it off when its job is done.