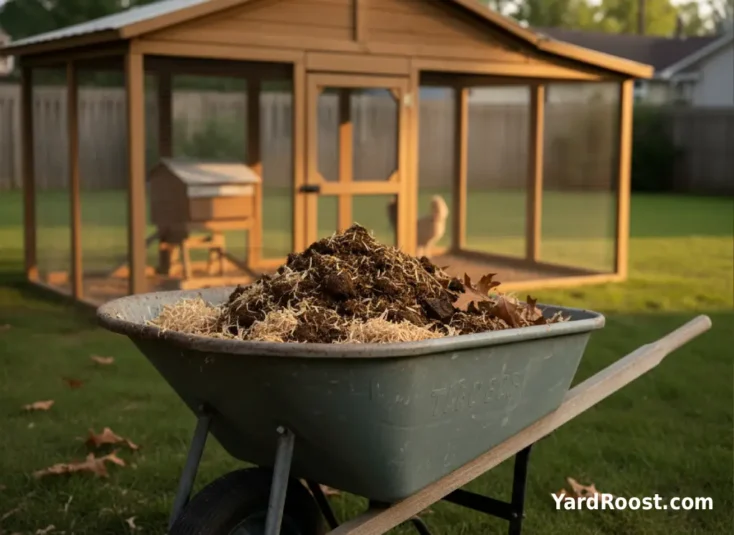
Chicken poop is “powerful” in the garden—and that’s exactly why it needs a smart plan. Fresh manure is high in nitrogen and moisture, and if you toss it straight into beds, it can burn plants and raise food-safety risks. The good news: a simple compost bin for chicken manure turns coop clean-outs into a stable, earthy chicken manure compost you’ll actually want to use.
This guide is built for small-flock keepers who want a bin that stays easy: less stink, fewer flies, fewer “why is this attracting every raccoon in the county?” moments. We’ll cover bin placement, what to mix with manure, how to manage moisture and airflow, and what “finished” composted chicken manure really looks like. We’ll also talk about safe handling—because public health guidance around backyard poultry hygiene matters any time you’re dealing with manure (Sources referenced in this article include CDC and multiple university Extension programs).
What Makes Chicken Manure Different in a Compost Pile
Most coop waste isn’t just manure—it’s manure plus bedding (pine shavings, straw), spilled feed, feathers, and a little dirt. That mix is a composting advantage if you use it well. Chicken manure compost tends to run “too hot” on nitrogen, which is why piles made from mostly manure can smell like ammonia and attract flies. The fix is simple: add enough carbon-rich “browns” (dry leaves, straw, shredded cardboard) and keep the pile aerobic (meaning it gets oxygen).
A fast, low-odor pile usually lands near a balanced carbon-to-nitrogen ratio. Multiple Extension resources recommend aiming around 30:1 for efficient composting, with a practical “browns + greens” blend instead of counting exact grams (Sources: Colorado State University Extension; Cornell CALS). If your chicken compost manure pile smells sharp or sour, that’s often a sign you need more browns and/or more airflow.
Two quick, practical checks:
- If it smells like ammonia: add a layer of browns (2–4 inches), then turn or fluff the pile to bring in oxygen.
- If it’s slimy or matted: break up clumps and mix in dry, fluffy browns (shredded leaves/cardboard) to open air spaces.
Choosing the Right Compost Bin Style for Coop Waste
You don’t need a fancy system, but you do need a bin that supports three things: airflow, easy turning, and critter resistance. For most backyard keepers, these are the go-to options:
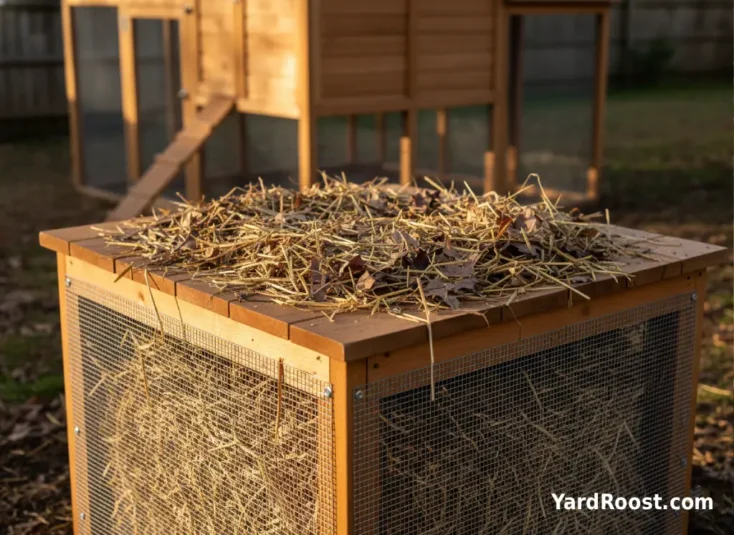
- Open bin with hardware cloth sides: great airflow and easy to build; line it with hardware cloth (not chicken wire) if rodents are an issue.
- Enclosed tumbler: tidy and convenient for kitchen scraps, but can be undersized for coop clean-outs and may struggle to heat evenly if overloaded.
- Three-bin system (recommended if you have space): one bin “active,” one “finishing,” one “empty/ready,” which makes composting chicken manure feel less chaotic.
Placement matters more than people think. Put the bin where you can reach it with a wheelbarrow, where runoff won’t flow into a kids’ play area, and where you won’t mind checking it a couple times a week in summer. If you’re planning a covered run upgrade soon, it’s handy to keep the bin near the coop—but not so close that flies hover at your back door.
One more real-world note: if bears are common in your region, treat compost like feed storage—keep it secured and consider placing it inside a fenced area. (A compost pile can smell like buffet night.)
What to Put In (and Leave Out) of a Chicken Manure Compost Bin
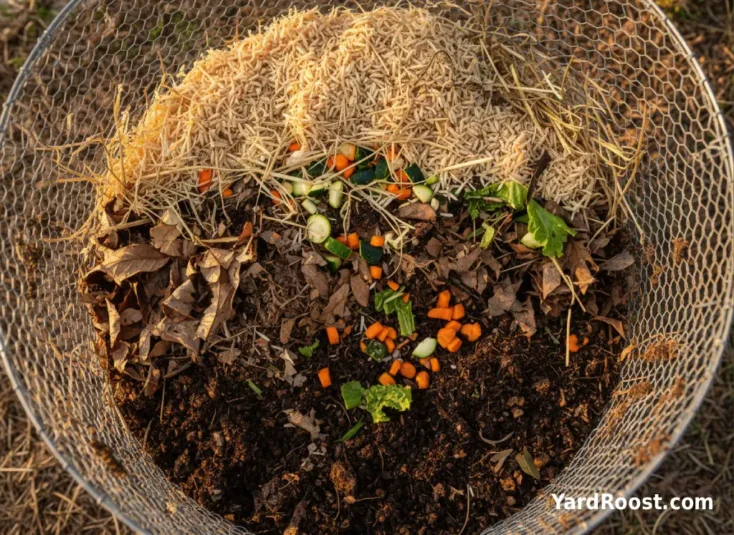
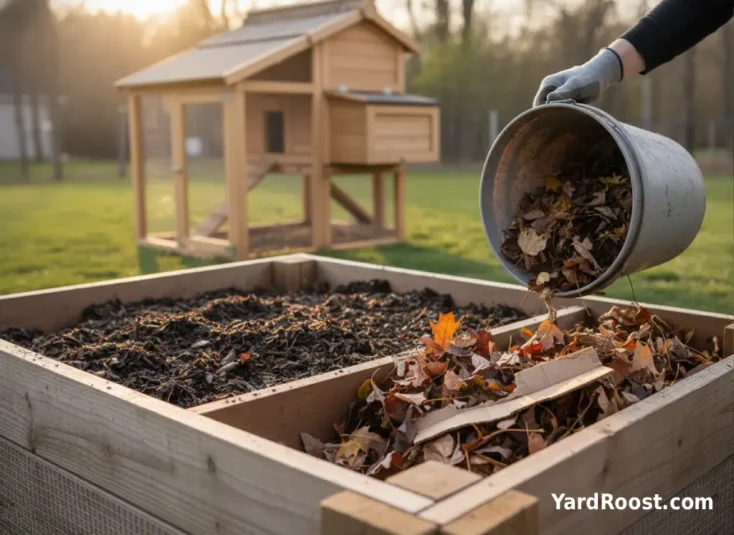
The easiest way to keep chicken manure and compost working together is to think in layers: coop waste (nitrogen + moisture) gets paired with browns (carbon + fluff). If you clean the coop weekly, you’ll naturally add in batches—perfect for layering.
Good additions: coop clean-outs (manure + bedding), dry leaves, straw, shredded paper/cardboard (plain, non-glossy), wood shavings in moderation, garden trimmings, and small amounts of kitchen veggie scraps.
Skip these in a backyard chicken manure compost bin: meat/dairy/grease (pests), pet waste (pathogens), glossy/treated wood scraps, and large volumes of ash. Also avoid adding heavily soiled bedding if it’s contaminated with spilled chemicals or pesticides—composting doesn’t “fix” that problem.
If you want a simple target, aim for a mix that doesn’t look like “all poop.” Many Extension sources emphasize that composting works best when the overall blend isn’t nitrogen-heavy (Sources: Colorado State University Extension; University of Nebraska–Lincoln Extension).
A Simple 6-Step Process for Composting Chicken Manure
If you’ve ever asked “how do you compost chicken manure without it turning gross?”, this is the repeatable routine. It’s not complicated—it’s just consistent.
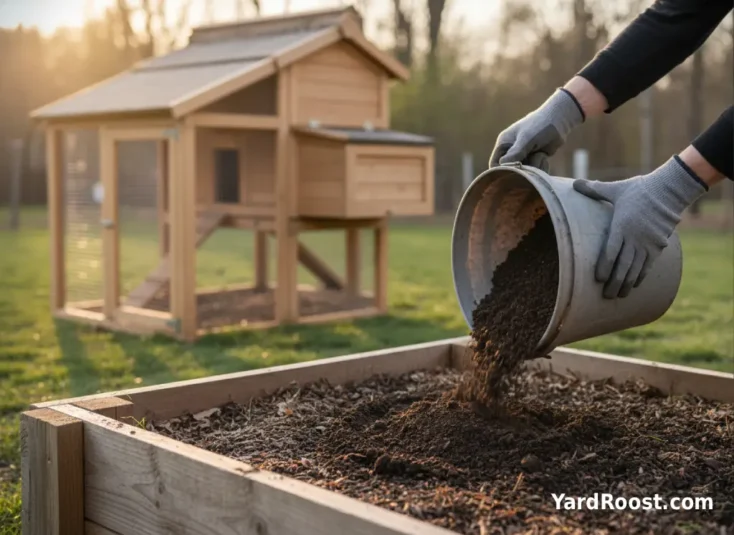
- Start with a brown base. Put down a fluffy layer of dry leaves, straw, or shredded cardboard to keep airflow at the bottom.
- Add coop waste, then cap with browns. Every time you add manure/bedding, cover it with a carbon layer (think: manure disappears under browns).
- Keep moisture at “wrung-out sponge.” If it’s dusty-dry, sprinkle water. If it drips when squeezed, add dry browns and turn.
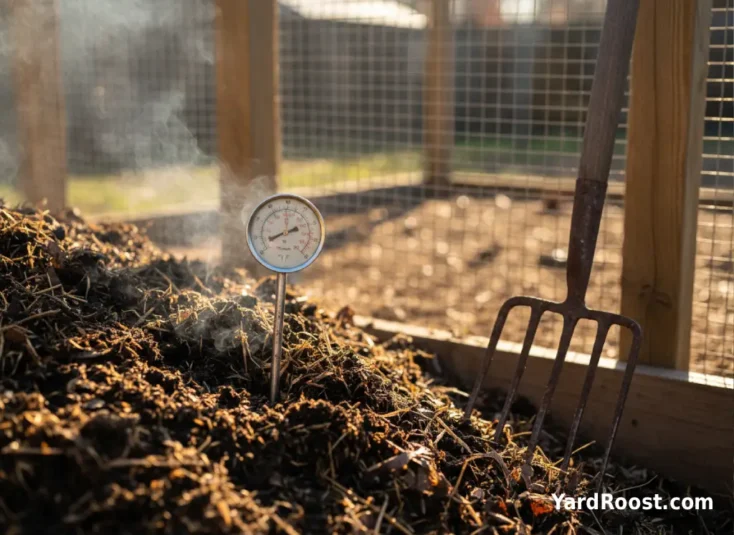
- Track heat if you want faster, safer compost. Hot composting guidance commonly targets at least 131°F for multiple days to reduce pathogens (Sources: Penn State Extension; USDA Agricultural Marketing Service).
- Turn to re-oxygenate and re-heat. Turn when temps stall, odors appear, or the center looks compacted. Even a quick “fork-fluff” helps.
- Let it cure. After the hot phase, compost should cool and stabilize near outdoor temperatures before use (Source: University of Arizona Cooperative Extension).
For folks who like a benchmark: USDA compost process definitions used in organic standards include specific time/temperature combinations (for example, maintaining 131–170°F for set periods depending on the composting system, with turning requirements for windrows) (Source: USDA Agricultural Marketing Service). Backyard bins aren’t always run like certified systems, but those numbers are a useful north star if your goal is a cleaner, more finished compost with fewer concerns.
Managing Odor, Flies, and Rodents (Mixed Format)
Most compost bin frustration comes down to three problems: too wet, too nitrogen-heavy, or too accessible. The fix is usually “add browns, add air, and block entry,” in that order. Recommended compost conditions often include a balanced C:N blend and moisture that’s damp but not soggy (Source: University of Nebraska–Lincoln Extension).
- Odor (ammonia): add more browns and turn the pile. Strong ammonia smell is a classic “too much nitrogen, not enough carbon” sign (Sources: Colorado State University Extension; Cornell CALS).
- Flies: always cap fresh additions with browns; don’t leave manure exposed on top.
- Rodents: keep feed out of the compost, use hardware cloth, and avoid tossing whole eggs or fatty scraps into the pile.
- Too wet: mix in dry leaves or shredded cardboard and turn to restore airflow.
A common mistake we see is treating the compost bin like a trash can: manure goes in, nothing gets covered, and it turns into a smelly, matted mess. If you remember only one habit, make it this: every manure addition gets a brown “lid”. It’s the difference between chicken manure compost and “a problem you can smell from the driveway.”
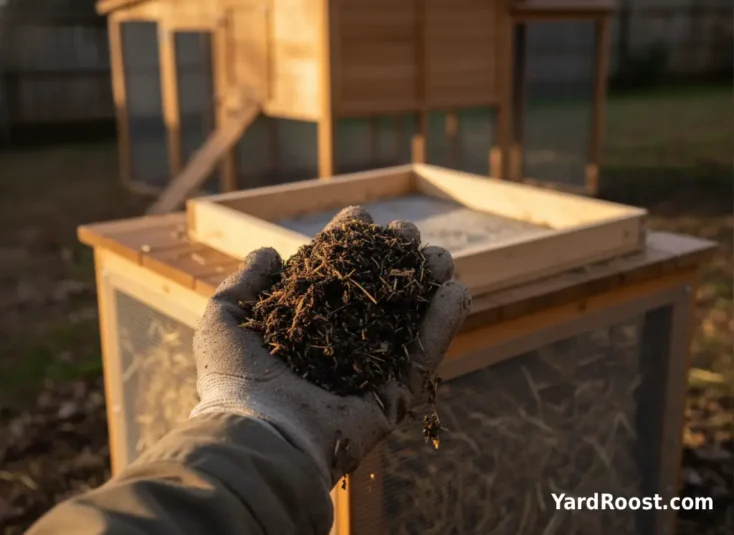
When Is Composted Chicken Manure Ready to Use?
Finished compost shouldn’t look like “chicken bedding with a few dark spots.” It should look and smell like soil: dark, crumbly, and earthy with no sharp manure odor. You may still see a few woody bits—especially if you use straw—but recognizable clumps of fresh manure or matted shavings mean it needs more time.
Time varies with weather, bin size, and how often you turn. Instead of chasing a calendar, use these readiness checks:
- Temperature: after the active phase, the pile cools and stays close to outdoor temperature.
- Smell: earthy and mild, not ammonia or sour.
- Texture: mostly fine and crumbly; original materials are hard to identify.
University Extension guidance on treated compost emphasizes a hot phase followed by a curing period where compost stabilizes (Source: University of Arizona Cooperative Extension). That curing step is where compost becomes easier on plants and easier for you to handle.
If you want to sift compost for potting mixes or top-dressing, a simple screen over a wheelbarrow works well. The leftovers go right back into the next batch as a “starter.”
How to Use Chicken Manure Compost Safely in a Yard or Garden
Once you have compost with chicken manure that’s finished and cured, it’s a fantastic soil-builder. But “safe” has two parts: plant safety and people safety.
Plant safety
Cured compost is much less likely to burn plants than fresh manure. Use it as a top-dressing, mix it into new beds, or add it to planting holes lightly rather than packing it in. If you’re unsure whether your compost is fully finished, use it around ornamentals first and let it age longer for veggie beds.
People safety
CDC has repeatedly emphasized handwashing after contact with backyard poultry or their environment, and that includes manure handling and anything around the coop (Source: CDC). The CDC has also noted that using chicken manure that has gone through a complete composting process can help reduce contamination risk compared with using fresh manure (Source: CDC archived guidance).
Two habits we recommend every time you handle chicken manure and compost:
- Keep dedicated gloves/tools for coop and compost jobs, and wash hands with soap and water right after (Source: CDC).
- Keep kids away from the compost area and don’t store compost where it can spill near play spaces.
If you want to tighten your overall “clean coop” workflow, our coop cleaning routine guide pairs well with a compost system, especially for keeping bedding dry and reducing ammonia smell in the coop itself.
Quick Reference Table: Targets for a Healthier Compost Pile
| What You’re Watching | Helpful Target | What to Do If You Miss It |
|---|---|---|
| Carbon:Nitrogen balance | Often cited around 25:1 to 40:1 (many guides aim near 30:1) | If it smells like ammonia, add browns and turn for oxygen (Sources: UNL Extension; CSU Extension). |
| Moisture | Moist like a wrung-out sponge (commonly ~50–60% in rapid compost guidance) | If soggy, add dry browns and turn; if dusty, lightly water and mix (Source: UNL Extension). |
| Hot-compost temperature (pathogen reduction guidance) | At least 131°F for multiple days is a common benchmark | If it won’t heat, increase pile size, add greens (manure), add browns for structure, and turn for oxygen (Sources: Penn State Extension; USDA AMS). |
| Curing / finishing | After hot phase, compost cools and stabilizes near outdoor temps | If it still smells sharp or looks “raw,” keep curing and turn occasionally (Source: University of Arizona Cooperative Extension). |
Common Mistakes to Avoid (So You Don’t Quit in July)
| Mistake | Fix |
|---|---|
| Not adding enough browns. | Keep a “browns stash” — leaf bags, cardboard, straw — right next to the bin so you can cap every addition. |
| Letting it go anaerobic. | Turn when it smells sour, looks slimy, or compacts into a heavy mat. Air is non-negotiable for good compost. |
| Building a pile you can’t access. | If it’s hard to turn, you won’t turn it. Design for a pitchfork and wheelbarrow from day one. |
| Treating compost like a feeder. | Keep spilled feed out of the compost as much as possible; it invites rodents fast. |
| Using compost before it’s cured. | Let it stabilize. “Finished” should look like soil and stay cool near outdoor temperatures. Source: University of Arizona Cooperative Extension. |
For more on keeping bedding drier (which makes composting easier), see deep litter method pros and cons—it can work well, but it’s not the best fit for every keeper or climate.
Conclusion: Make the Bin Easy, and You’ll Actually Use It
A compost bin for chicken manure doesn’t have to be perfect to be effective. What matters is the habit loop: add coop waste, cap with browns, keep it damp-but-not-soggy, and turn when it needs air. If you can hit a reliable hot phase and then give it time to cure, you’ll end up with composted chicken manure that’s easier to handle, friendlier to plants, and less likely to cause odor or pest issues (Sources referenced in this article include USDA Agricultural Marketing Service and multiple university Extension programs).
Keep it simple for the first month. Don’t chase a “pretty pile”—chase a pile that you can manage on a busy week. Once you’ve got the rhythm, you can scale up to a two- or three-bin system and start producing steady, garden-ready chicken manure compost all season.
If you want one next step: set up a browns stash (dry leaves, straw, cardboard) within arm’s reach of your bin. That single change prevents most beginner compost failures—and makes composting chicken manure feel like part of your coop routine, not an extra chore.