A good coop door is one of those backyard chicken details that seems small until the first stormy night, stuck latch, or raccoon visit. If you are learning how to build a chicken coop door, the goal is not just making a panel that swings or slides. The goal is a door your chickens will use easily, you can operate with cold or muddy hands, and predators cannot pry open.
For most backyard coops, you will be thinking about two different doors: a small chicken pop door and a larger human access door. Some coops also need a run or chicken pen door so you can step inside to clean, refill water, and collect stray eggs. University of Georgia Cooperative Extension reminds flock owners to check local ordinances and HOA rules before keeping chickens, and its predator guidance includes mesh protection around the bottom edge of coops and roaming areas.
This guide keeps the build beginner-friendly: simple lumber, common tools, sensible measurements, and safety-first hardware. We will also cover DIY automatic chicken coop door ideas, where they help, and where they can create new problems if they are not tested carefully.
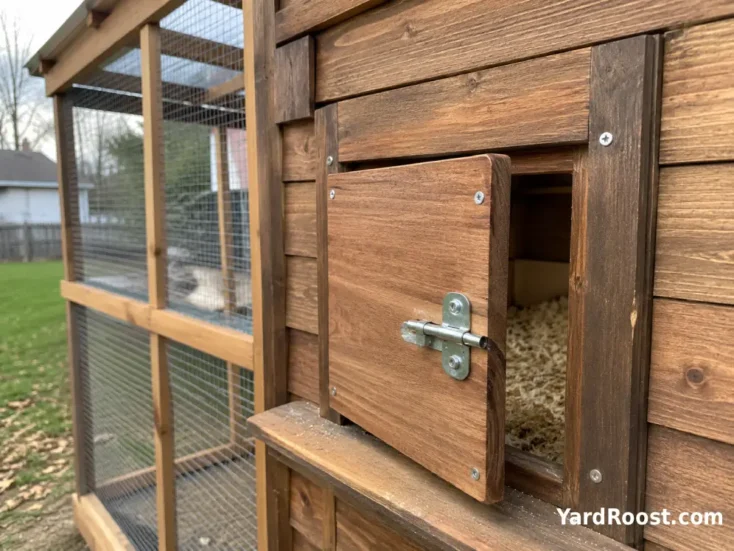
What A Good Chicken Coop Door Needs To Do
A chicken coop door has three jobs: let chickens move safely, let you manage the coop without frustration, and close tightly enough that predators cannot push, pull, dig, or reach through it. A pretty door that leaves a half-inch gap at the bottom is not finished. A strong door with a latch you hate using will eventually be left unsecured on a rushed evening.
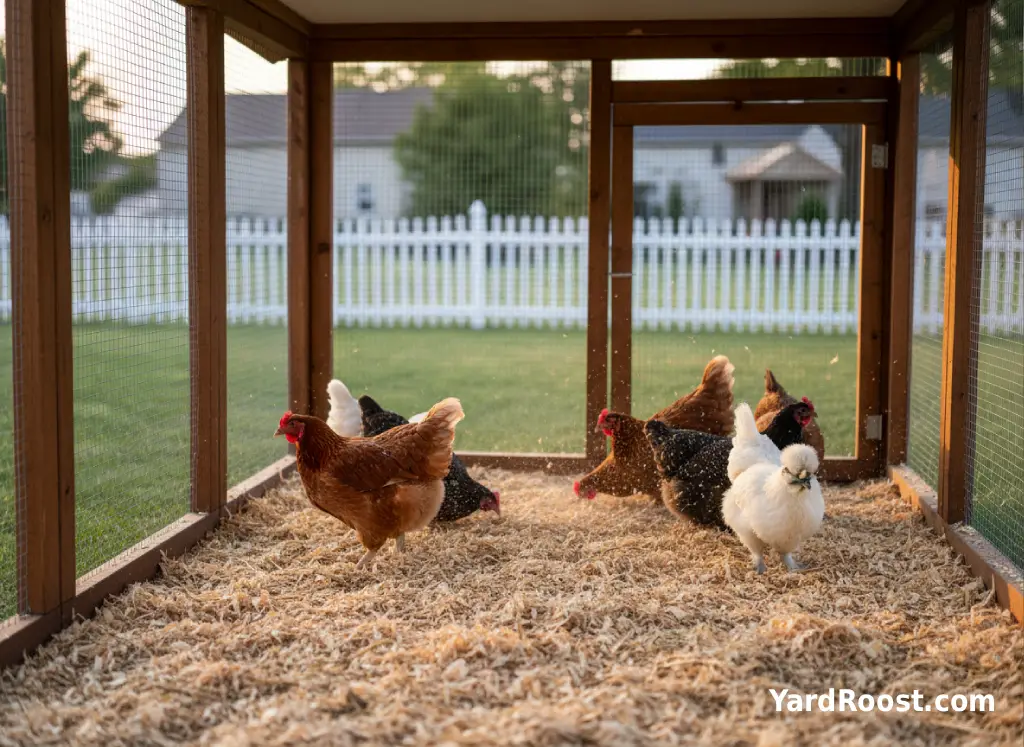
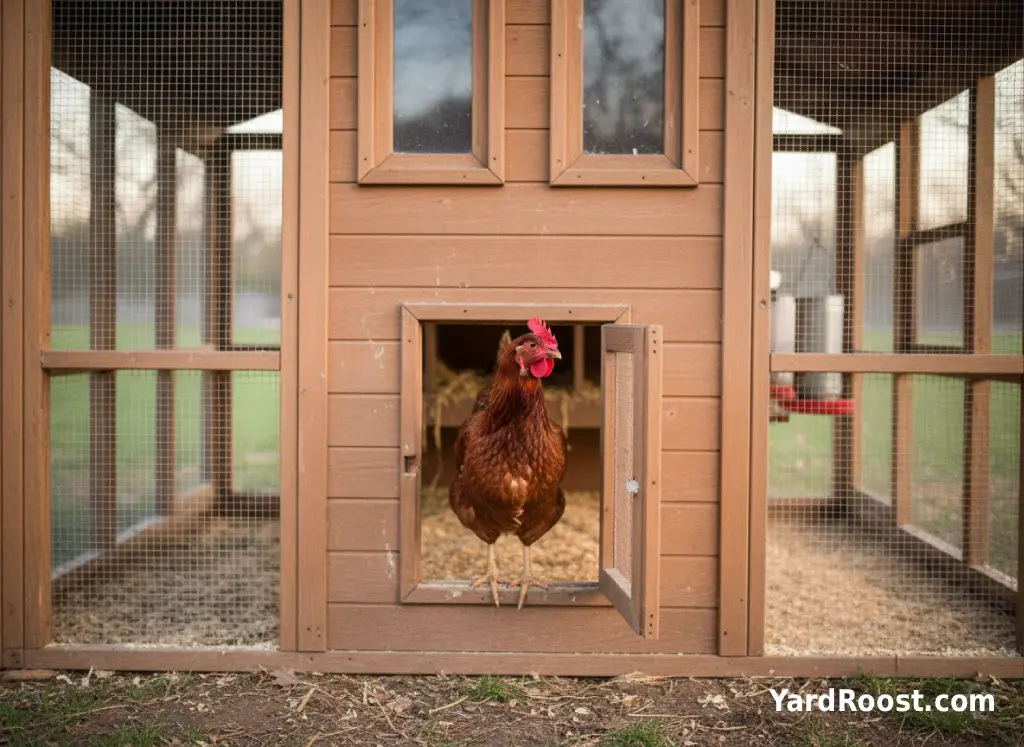
For a standard backyard laying flock, a common starting size for the chicken pop door is about 10 to 12 inches wide and 12 to 14 inches tall. Large breeds may need more room. Bantams can use a smaller opening, but a slightly generous pop door is usually easier than one that causes birds to crowd or scrape their backs.
The larger human door should be wide enough for real chores. Think about carrying a waterer, a bag of pine shavings, a feeder, or a sick bird crate. If your shoulder hits the frame every time you step in, the door is too small for daily use.
Use this quick planning table before cutting wood:
| Door Type | Beginner-Friendly Starting Point | Best Use |
|---|---|---|
| Chicken Pop Door | About 10–12 inches wide and 12–14 inches tall | Daily chicken access between coop and run |
| Human Coop Door | Wide enough to carry a feeder or bedding bag | Cleaning, inspection, repairs, and catching birds when needed |
| Chicken Pen Door | Comfortable human width with secure hinges and latch | Access to the run for chores and maintenance |
| Automatic Pop Door | Same bird opening, with tested motor and backup access | Convenience for opening and closing on a schedule |
A good door also supports ventilation instead of blocking it. University of Minnesota Extension notes that air exchange helps prevent moisture buildup and poor air quality in a coop, especially during cold weather. A door should not be your only ventilation plan, but it should not trap damp air either. For more on that, see our guide to coop ventilation basics.
Why Most Chicken Coops Need Two Doors
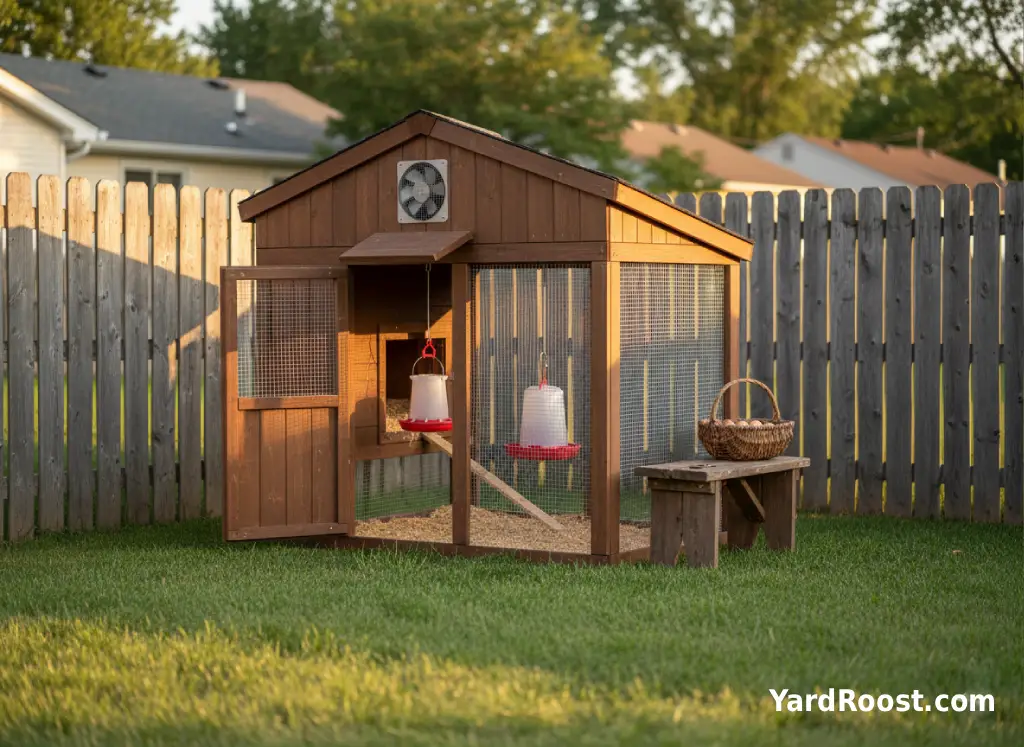
The practical answer to why chicken coops have two doors is simple: one door is for chickens, and one door is for people. The small door keeps the bird opening efficient and easier to secure. The larger door lets you clean, inspect, repair, and reach the inside of the coop without crawling through a bird-sized hole.
That setup matters more than beginners expect. Chickens usually move in and out of the pop door at dawn and dusk, while you may need access at any time of day. Keeping those jobs separate prevents awkward compromises. A giant bird opening can be drafty and harder to predator-proof. A tiny human access point makes normal care harder, and hard chores tend to get delayed.
A two-door coop also gives you better control during cleaning or flock checks. You can close the pop door to keep birds in the run while you scrape droppings boards, change bedding, or inspect the roost area. You can open the human door without every hen crowding the threshold.
For small backyard flocks, the best layout is usually a pop door that opens into a secure run and a human door that opens from the outside. A Chicken Coop Size Calculator can help you plan enough interior and run space before choosing the door layout. If the coop is inside a fully enclosed run, make sure the human door still has a latch that works from both sides. Getting accidentally latched inside a run is funny only after someone lets you out.
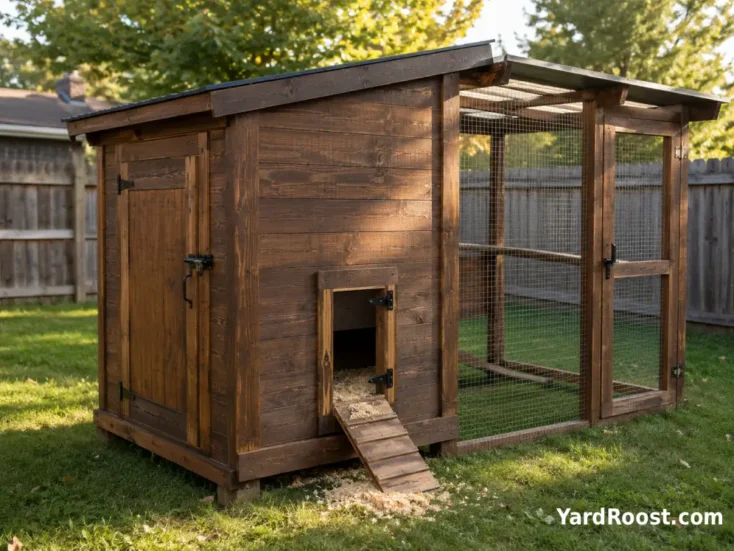
Tools And Materials For A DIY Chicken Coop Door
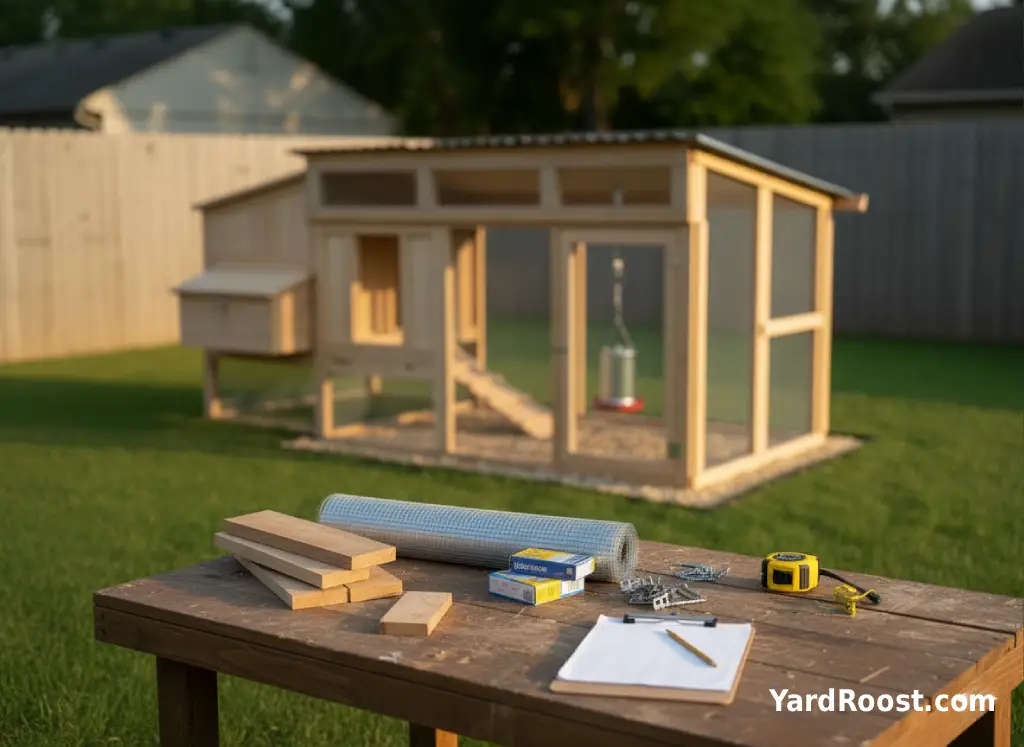
You do not need cabinet-making skills to build a reliable chicken coop door DIY style. You do need straight cuts, exterior-rated fasteners, a door that stays square, and hardware that can handle weather.
- Exterior-rated plywood or boards for the door panel
- 1×3, 1×4, or 2×2 lumber for a simple frame
- Exterior screws instead of light indoor screws
- Two sturdy hinges for a swinging door, or track material for a sliding pop door
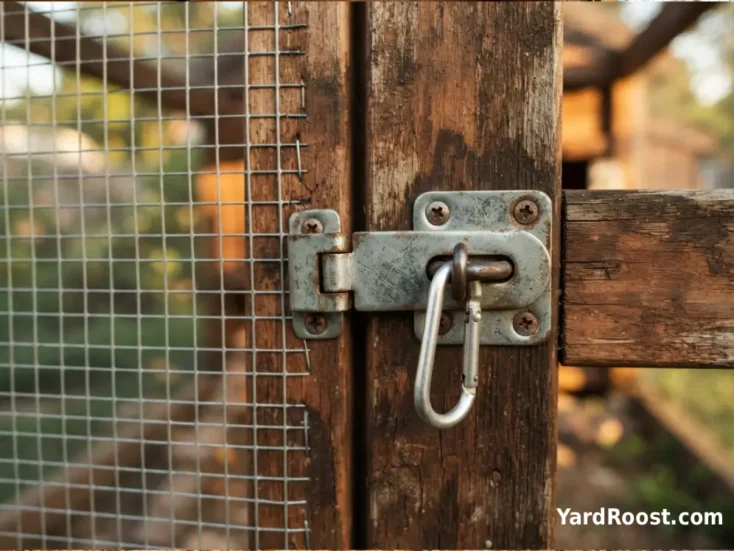
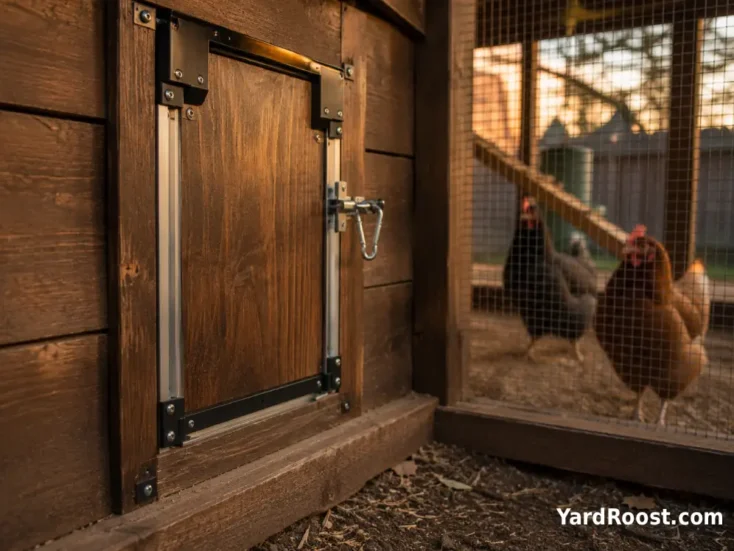
- A predator-resistant latch, such as a hasp with a carabiner or locking clip
- Galvanized hardware cloth for any screened portion or run door
- Drill, saw, tape measure, square, pencil, clamps, and eye protection
For the chicken-facing side, avoid sharp wire ends, exposed screw tips, splintered edges, and sticky finishes. If you paint or seal the door, let the finish cure fully before the birds can peck at it. The door will live in dust, manure moisture, rain splash, and temperature swings, so choose practical durability over decorative trim.
University of Minnesota Extension’s poultry hut instructions use hardware cloth on the lower half of the structure and notes that chicken wire can leave openings large enough for some ground predators to reach through, while hardware cloth works better lower down. That is a useful principle for coop and run doors: use stronger mesh where predators can push, paw, chew, or reach.
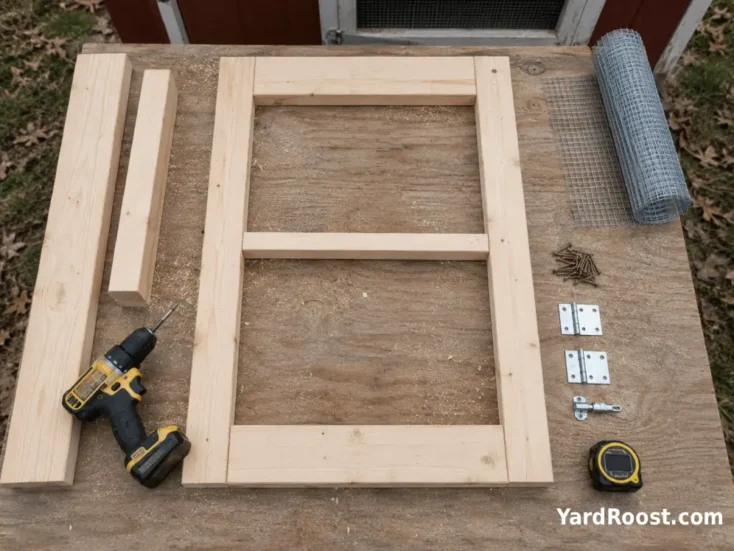
How To Build A Chicken Coop Door In Six Steps
Here is an easy DIY chicken coop door method for a swinging pop door or small service door. The same basic approach works for many backyard coops; adjust the size to your birds, your coop wall, and your chores.
Step 1: Measure The Opening
Measure the rough opening at the top, middle, and bottom. Use the smallest measurement, then leave a modest clearance so the door can open after the wood swells in humid weather. For a pop door, the finished opening should let your largest hen walk through without crouching hard or scraping feathers.
Step 2: Build A Simple Frame
Cut two vertical pieces and two horizontal pieces from 1x or 2x lumber. Assemble them into a rectangle with exterior screws. Use a square before tightening everything. If the frame is crooked now, the door will fight you later.
Step 3: Add The Door Face
Attach exterior plywood or boards to the frame. Keep the chicken side smooth. If you are using boards, avoid gaps that can widen over time. A diagonal brace can help a larger swinging door stay square.
Step 4: Dry-Fit Before Mounting
Hold the door in place and check the swing. Look for rubbing at the threshold, top corner, and latch side. It is easier to shave a tight edge now than after the hinges are fully installed.
Step 5: Install Hinges And Latch
Use two hinges for a small pop door and three for a taller human door. Mount the latch where you can reach it easily but where raccoons, dogs, and other animals cannot flip it open. A simple hook-and-eye latch alone is usually too easy for determined predators.
Step 6: Test It At Dusk
Close the door after the birds go in and check for light around the edges. If you can see a gap, a predator may be able to smell, paw, or work at that spot. Open and close the door several times with one hand, because real chores often happen while you are holding a feed scoop, flashlight, or waterer.
A common mistake we see is building the door flat on the ground, hanging it once, and calling it done. A better habit is to test it for three evenings in a row. Watch whether birds crowd the opening, whether bedding blocks the threshold, and whether the latch still lines up after the door has settled.
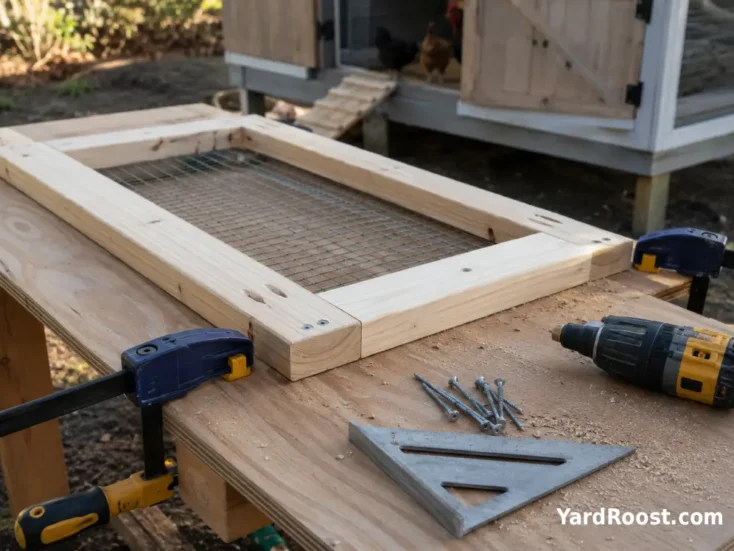
How To Build A Chicken Pen Door For The Run
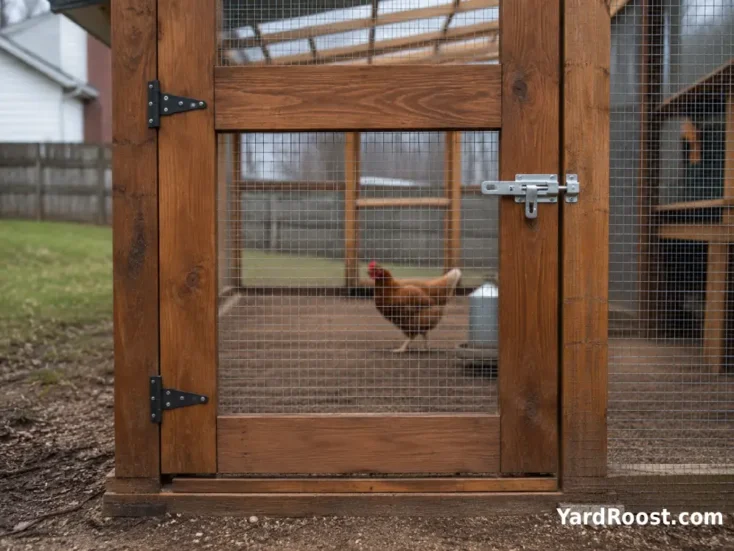
A chicken pen door, or run door, takes more abuse than a small pop door. You may push a wheelbarrow against it, bump it with feed bags, drag bedding across the threshold, and open it in rain, snow, or mud. Build it like a small outdoor gate, not like a lightweight cabinet door.
The frame should be stiff enough that it does not sag. A rectangular frame with a diagonal brace is a reliable beginner design. The diagonal brace should run from the lower hinge side up toward the outer latch side, helping transfer the weight back toward the hinges. Use exterior screws and predrill if the wood tends to split.
Cover the run door with galvanized hardware cloth, not loose poultry netting on the lower section. Fasten mesh with screws and washers or heavy-duty staples that cannot pull loose easily. Trim sharp wire ends and fold them away from birds and your hands.
At the bottom, pay close attention to the threshold. Predators and rodents often exploit weak ground-level gaps. UGA Cooperative Extension recommends mesh protection around the bottom edges of the coop and roaming area, extending above and below ground, and overhead protection for roaming areas against hawks and owls.
Make the run door swing outward when practical. That helps prevent chickens from crowding the door and slipping past your feet. In snowy climates, though, an outward-swinging door can be blocked by snow buildup, so leave room to shovel or consider a raised threshold that still closes tightly.
Latches, Hardware Cloth, And Predator Gaps
The latch is where many otherwise solid doors fail. Raccoons are especially good at manipulating simple closures, and dogs can shove or paw at a weak door until something gives. A safer latch takes at least two motions to open, such as lifting a hasp and removing a clip.
- Use a hasp with a carabiner, spring clip, or small lock.
- Avoid relying on hook-and-eye latches for exterior predator security.
- Place the latch where rain and manure will not jam it quickly.
- Check hinge screws monthly during the first season, because wood can shift.
- Use washers with hardware cloth so predators cannot peel mesh away from the frame.
Door gaps deserve the same attention as latches. A gap under the pop door can invite rodents. A loose corner can give a predator a starting point. A run door that drags on the ground may stop closing fully after bedding, mud, or frost builds up.
USDA APHIS recommends keeping wild birds and rodents out of poultry houses and coops, and securing feed and water so wildlife cannot contaminate them. Door design supports that biosecurity goal. A tight-closing door helps reduce uninvited visitors, spilled feed temptation, and contact with wildlife around your flock.
Editorial note: do your predator check at night with a flashlight. Stand outside the coop after the birds are shut in. Look for light leaks, loose mesh, latch movement, and any edge you can flex with your fingers. If your hand can wiggle it, a persistent animal may test it harder.
Should You Build A DIY Automatic Chicken Coop Door?
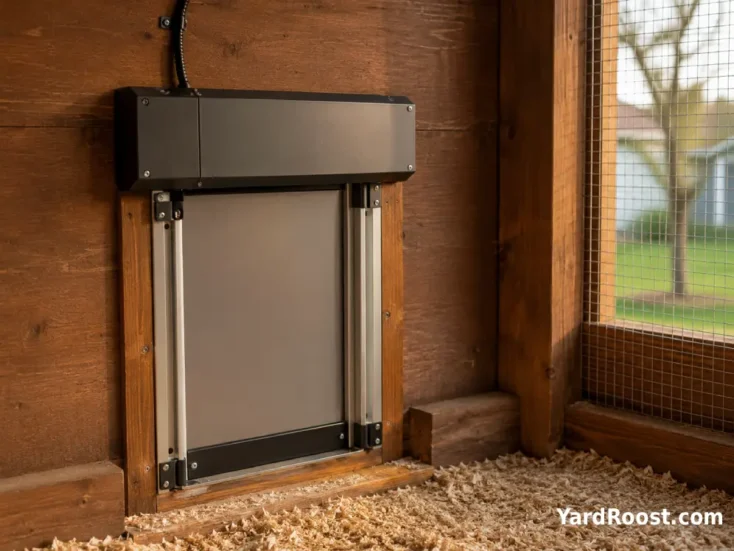
A DIY automatic chicken coop door can be helpful if your schedule changes, you leave before sunrise, or you cannot always be home right at dusk. The best automatic setup still starts with a safe physical door: smooth travel, no pinch points near birds, a secure closed position, and a manual backup.
The safest beginner approach is often to buy a reputable automatic door kit and build the coop opening around it, rather than inventing the motor, timer, sensor, and safety stop from scratch. A true DIY auto chicken coop door can work, but it adds electrical, weatherproofing, and reliability questions. The door must still close when it is dusty, cold, damp, and slightly out of level.
Before trusting any automatic door, test it while you are home:
- Run it every morning and evening for at least a week before relying on it.
- Watch whether the last hen enters before closing time.
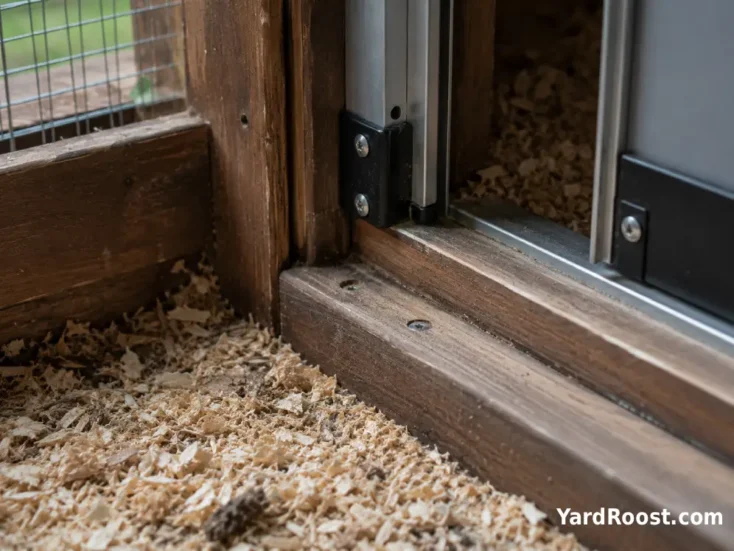
- Make sure bedding cannot jam the track.
- Keep a manual way to open the door during a power, battery, or motor failure.
- Check that wires are protected from pecking, moisture, and rodents.
University of Minnesota Extension cautions poultry keepers to keep wires away from birds, water, and flammable litter, to use extension cords only short term, and to work with a professional electrician for permanent electricity in a coop. That matters for DIY chicken coop automatic door projects. Convenience is not worth a shock, fire risk, or trapped flock.
Common Mistakes To Avoid
Most coop door problems come from small shortcuts. They do not always fail on day one. They fail after rain swells the wood, bedding piles up at the threshold, a latch loosens, or a predator tests the same weak corner night after night.
- Making the pop door too small: If birds hesitate or crowd, enlarge the opening before it becomes a daily traffic jam.
- Using weak mesh low on the run door: Hardware cloth is usually the better choice where predators can reach or push.
- Skipping the dry fit: Always test the swing or slide before final fastening.
- Installing a one-motion latch: Use a clip, carabiner, or lock so the latch takes more than a simple flip.
- Ignoring the threshold: Bedding, mud, and ice can stop the door from closing fully.
- Letting kids handle dirty coop hardware without washing up: Coop doors, latches, and tools can pick up manure dust.
CDC recommends washing hands with soap and water for 20 seconds after touching backyard poultry, their supplies, or eggs, and using dedicated coop shoes that stay outside the house. A door-building project is still a poultry-area project, so keep tools out of kitchens, supervise children, and wash up after working around the coop.
A common mistake we see is adding a cute handle or decorative latch before solving the boring problems: square frame, tight closure, strong mesh, and weather-resistant hardware. Build those first. Decoration can wait.
Seasonal Maintenance For Coop Doors
A chicken coop door changes with the weather. Wood swells in damp spells, shrinks in dry winter air, and loosens around screws after repeated use. The fix is not complicated, but it does need a routine.
In spring, check for rot at the bottom edge, especially if rain splashes against the coop wall. Tighten hinge screws and look for rusted hardware. In summer, make sure the door does not block airflow during hot, still evenings. If your coop gets stuffy when closed, improve vents rather than leaving an unsecured door cracked open.
Fall is the best time to prepare the door for winter. Clear the threshold, test the latch with gloves on, and make sure snow or frozen bedding will not stop the door from closing. University of Minnesota Extension notes that managing manure and ventilation helps control moisture in the coop, and moisture problems can contribute to winter issues such as condensation.
In winter, do not seal the coop so tightly that damp air has nowhere to go. A snug door is good. A damp, airless coop is not. If you smell ammonia or see condensation, treat that as a management signal. Clean wet bedding, improve high ventilation, and keep drafts away from roost level instead of simply shutting every opening.
When To Get Professional Help
Most simple coop doors are reasonable DIY projects. Get help when the door affects structure, electricity, local compliance, or flock safety in a way you are not comfortable judging.
Call a qualified electrician if you want permanent power for an automatic door, lights, heated waterer, camera, or outlet. Do not run a long extension cord through bedding as a permanent solution. If your automatic door has repeated failures, jams, or exposed wiring, stop relying on it until the problem is corrected.
Ask a skilled builder or contractor for help if you are cutting into a load-bearing wall, modifying a heavy shed door, or dealing with a sagging coop frame. A door that will not hang square may be telling you the wall, floor, or post is shifting.
Check local ordinances, zoning, and HOA rules before building a visible exterior run or changing coop placement. UGA Cooperative Extension specifically flags city ordinances and HOA checks as part of planning a backyard flock. YardRoost is not a legal service, so treat local rules as a must-check step, especially in suburban neighborhoods.
If a bird is injured by a door, trapped in a mechanism, or suddenly acting weak, bleeding, unable to walk, or distressed, separate the bird safely and contact an avian vet, poultry veterinarian, or local extension office for guidance. Do not guess at treatment or give medications without qualified advice.
Final Coop Door Safety Checklist
Before you call the project finished, close the door and test it like a tired chicken keeper and a curious predator would. It should work when you are in a hurry, when it is dark, and when the weather is not perfect.
- The door opens and closes without scraping.
- The largest bird can pass through comfortably.
- The latch takes more than one simple motion to open.
- There are no sharp wire ends, splinters, or exposed screw tips.
- Hardware cloth is firmly attached with staples or screws and washers.
- The bottom gap is small enough to discourage rodents and reaching predators.
- The threshold stays clear of bedding, mud, and ice.
- Automatic doors have been tested repeatedly and still have manual backup access.
- Electrical parts are protected from birds, water, bedding, and rodents.
- You can operate every latch from the side where you might realistically get stuck.
Building a safer door is not about making your coop complicated. It is about removing weak points before they become emergencies. A well-built door closes smoothly, resists weather, discourages predators, and makes daily chores easier for you.
Start with the simple version: a square frame, sturdy panel, reliable hinges, and a latch you trust. Add automatic features only after the basic door works. Once the door is finished, check it at dusk for the first few nights. That small habit can catch the loose screw, dragging threshold, or clever latch problem before your flock pays for it.