Good chicken coop ventilation is one of those “boring” topics that quietly fixes a whole list of problems—wet bedding, a funky smell, condensation on the windows, and that stale air that makes you want to hold your breath when you step inside. Ventilation isn’t about making the coop cold. It’s about exchanging damp, dirty air for fresh air so your flock stays dry and comfortable year-round.
If you’re a beginner, the tricky part is this: chickens need airflow, but they don’t need a breeze blowing across their roost at night. That’s where most coop designs go wrong—either they’re sealed up like a shed (humid, ammonia-y, and gross) or they’re basically a wind tunnel (drafty, especially in winter).
Below, we’ll break down ventilation for a chicken coop in plain language: where vents should go, how to tell if you have enough, when chicken coop ventilation fans make sense, and how to keep winter air moving without chilling your birds.
Why Coop Ventilation Matters More Than Most People Think
Chickens produce a surprising amount of moisture—through breathing and droppings—and that moisture has to go somewhere. If it can’t escape, it settles into bedding and wood, and you’ll start seeing classic “bad ventilation” signs: damp litter, condensation on windows, and ammonia odor. Multiple university extension resources emphasize that winter coops still need ventilation to remove moisture and ammonia, even while keeping out wind and precipitation (University of Minnesota Extension, Illinois Extension, University of New Hampshire Extension).
Ammonia is a big part of the story. Even at relatively low levels, it can irritate eyes and airways (for both you and birds). Extension guidance for poultry housing commonly recommends keeping ammonia low—often referenced as staying below roughly 25 ppm in poultry environments (Penn State Extension). Backyard keepers won’t be measuring ppm every day, so your practical takeaway is simpler: if the coop smells “sharp” or your eyes sting when you open the door, treat it as a ventilation-and-litter problem, not a “just add more bedding” problem.
If you use (or are considering) a layered bedding approach, our guide on managing deep litter in a chicken coop can help you do it without trapping moisture and ammonia.
Chicken Coop Ventilation vs Drafts: The Difference That Keeps Birds Comfortable
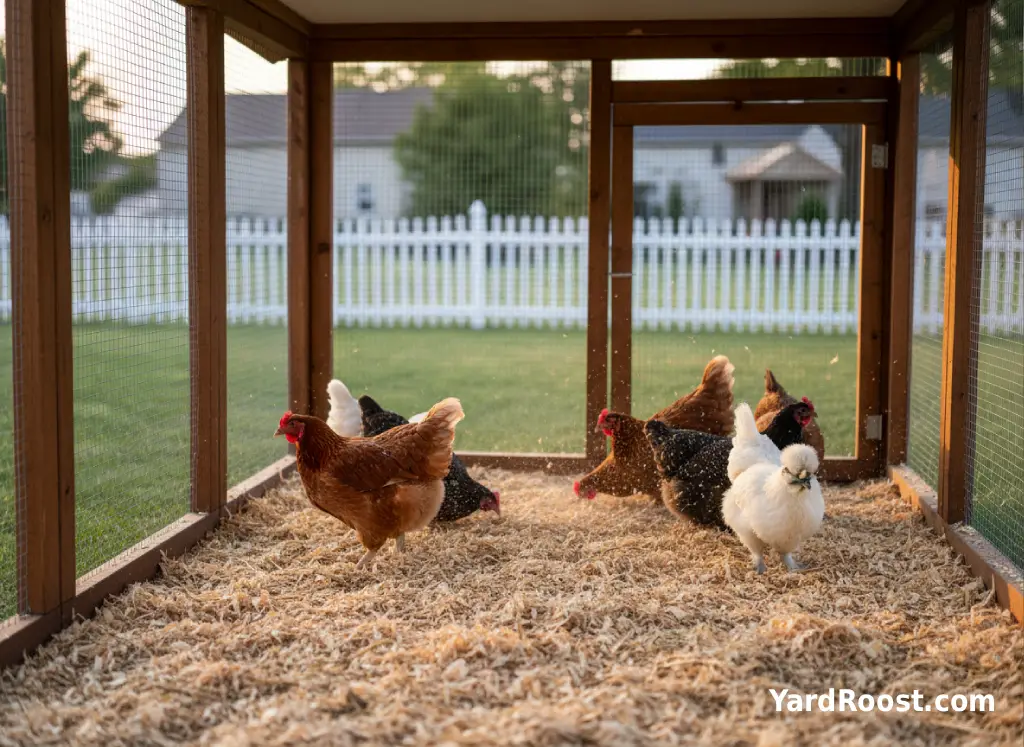
Ventilation is controlled air exchange. A draft is fast-moving air hitting the birds where they sleep. In practice, that usually means you want your main openings up high (near the roofline) so warm, damp air can rise and exit—while keeping “wind-level” cracks and openings blocked around roost height.
A simple way to picture it: birds roost in the “quiet zone.” Air moves above them, not through them. Several extension winter-care articles describe this balance—keep out wind and driving weather, but still allow moisture and ammonia to escape (Illinois Extension; University of New Hampshire Extension; University of Minnesota Extension).
Two quick rules we use in real backyard coops:
- Rule 1: Put your largest vents high, not low. If you can feel a breeze on your hand at roost height on a cold night, that opening likely needs to be redirected, reduced, or shielded.
- Rule 2: Block wind, not air. Cover problem spots (especially on the windward side) while leaving upper vents functional.
How Much Ventilation Does a Chicken Coop Need?
Backyard coop ventilation isn’t one magic number because it depends on your local weather, coop size, flock size, litter moisture, and wind exposure. Instead of chasing a perfect square-foot calculation, use outcome-based targets backed by extension guidance: the coop should stay dry inside, without strong odors or visible condensation (University of Minnesota Extension; Ohio State University Extension via Ohioline).
Use these “enough ventilation” benchmarks:
- Dry surfaces: No persistent condensation on windows/walls, especially in the morning.
- Dry bedding: Litter stays loose—not clumpy or slick—except right under the waterer if you’re using one inside.
- No eye-watering smell: If ammonia hits you when you open the door, increase ventilation and improve manure management (University of Minnesota Extension; Penn State Extension).
Practical sizing (conservative and realistic): plan for multiple upper vents you can adjust (open more in warm months, partially reduce on windy winter nights), rather than one big opening you can’t control. If you’re building or retrofitting, it’s easier to add two smaller vents than to “un-cut” one giant hole.
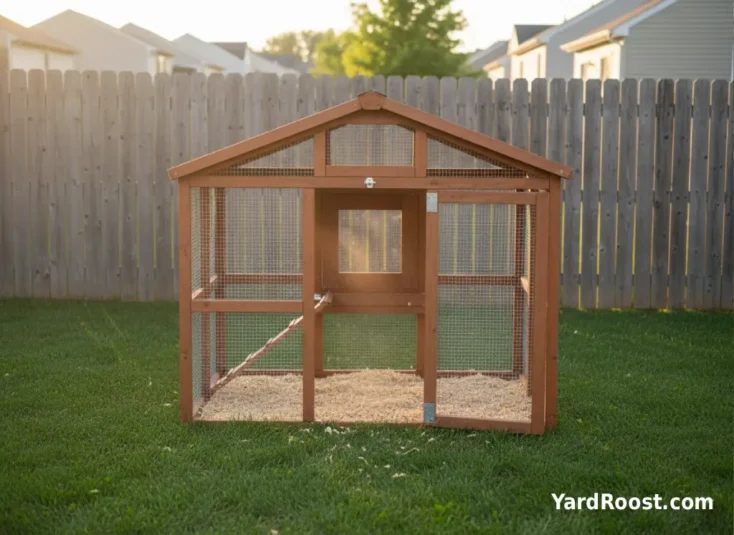
Ventilation Layout Ideas and a Simple “Diagram” You Can Copy
If you’ve ever searched for a “chicken coop ventilation diagram,” here’s the backyard-friendly version: small, protected air entry low + larger air exit high. The goal is gentle exchange, not gusts.
Copy-this layout (works for most small coops):
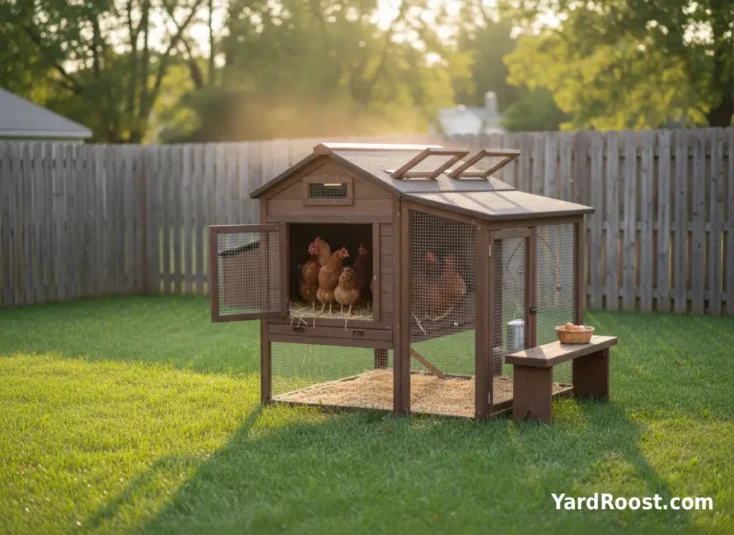
- High exhaust: Continuous vent under the eaves on one or two sides, or roof vents/cupola-style venting (Poultry Extension—University of Kentucky; University of Minnesota Extension).
- Low intake (controlled): A small, shielded opening on the opposite side, ideally not pointed directly at the roost.
- Predator-proofing: Cover every opening with sturdy hardware cloth and fasten it securely.
A common mistake we see is placing “nice big vents” at chicken height because it feels logical—fresh air for chickens, right? But at roost level, that’s how you get a nighttime draft. If your only available wall space is mid-height, add an interior baffle (a simple shield) so air is redirected upward rather than blowing straight across the perch.
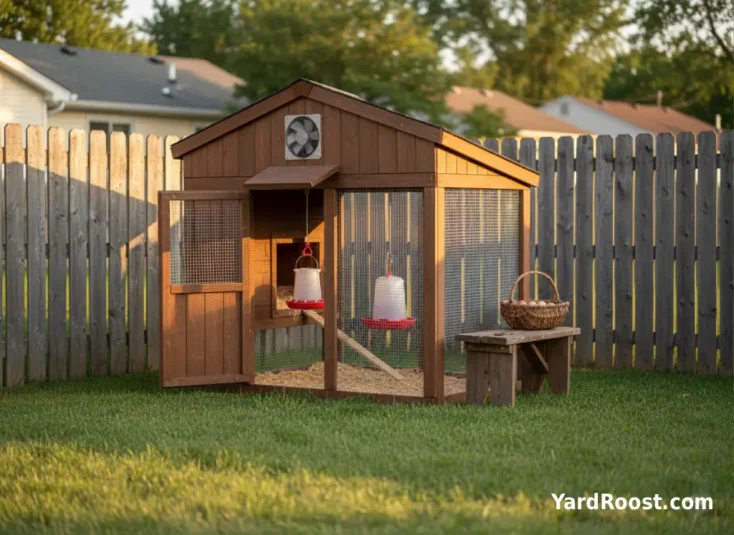
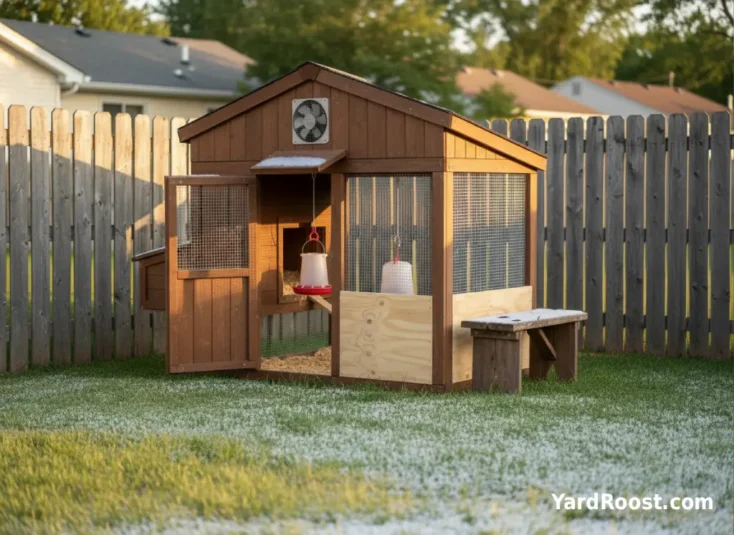
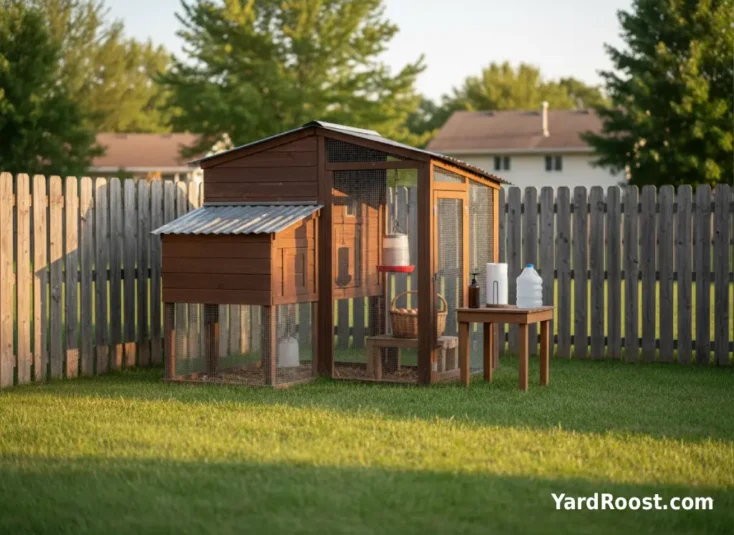
Chicken Coop Ventilation Fans: When They Help (and When They Don’t)
Most backyard coops don’t “need” fans if the vent placement is good. That said, chicken coop ventilation fans can be useful when your coop sits in a dead-calm spot, your climate is hot/humid, or your design can’t support enough high venting.
Fans are most effective when they’re helping stale, moist air leave the coop from up high (not blasting birds directly). Some extension winter-care guidance notes that small ventilation fans can help reduce moisture and ammonia in tight coops (Kansas State Research and Extension—county extension newsletter context).
Fan safety basics we recommend:
- Mount high: Treat it like an exhaust—pull air out near the roofline.
- Protect it: Use hardware cloth as a guard, and keep cords fully protected from pecking and moisture.
- Don’t chase “warmth”: If your coop is damp, more heat usually creates more moisture problems unless ventilation improves too (University of Minnesota Extension).
Chicken Coop Ventilation in Winter: Keep Air Moving, Not Birds Shivering
Winter is where keepers are most tempted to seal the coop tight. Extensions repeatedly warn against that because trapped moisture and ammonia create their own problems—wet litter, condensation, and increased frostbite risk when damp air settles on combs and wattles (University of Minnesota Extension; University of Arkansas Division of Agriculture; Illinois Extension).
What “winter ventilation” looks like in a real backyard coop:
Keep upper vents open year-round (you can reduce them slightly on brutal wind nights, but don’t eliminate them). Then, block direct wind—especially any opening that blows across the roost. If you have a window, opening it a crack on a calmer side of the coop (or using a breathable cover like burlap in a predator-safe way) is a common extension-style suggestion for managing airflow without creating a blast of cold air (University of Minnesota Extension; University of New Hampshire Extension).
How to Tell If Your Coop Ventilation Is Working
You don’t need fancy gadgets to know if you’re close—you just need repeatable checks. Several extensions suggest paying attention to condensation and ammonia smell as your early warning system (University of Minnesota Extension; Ohio State University Extension via Ohioline).
Try this simple routine for a week (especially during weather swings):
- Morning window check: If you see persistent condensation, increase upper ventilation and address wet litter.
- “First breath” test: When you open the coop, take a normal breath. If the air feels sharp or irritating, treat it as too-stale.
- Bedding squeeze: Grab a handful of litter. If it clumps easily or feels damp, fix water spills/leaks and improve airflow.
Here’s a practical troubleshooting table you can keep on your phone:
| What You Notice | Likely Ventilation Issue | Safe First Fixes |
|---|---|---|
| Condensation on windows/walls | Moist air trapped inside | Open upper vents more; remove wet bedding; fix leaks/spills (UMN Extension guidance) |
| Ammonia smell or eye irritation | Not enough air exchange + manure buildup | Increase ventilation; clean/manure-manage; keep litter drier (Penn State Extension; UMN Extension) |
| Breeze hitting roost at night | Draft at bird level | Block/redirect that opening; add baffle; shift roost away from windward side |
| Wet litter under waterer | Localized moisture source | Move waterer; add a drip tray; increase nearby airflow without aiming at roost |
Common Chicken Coop Ventilation Mistakes to Avoid
Most ventilation problems come down to a few predictable missteps:
- Sealing the coop “like a shed” for winter: It feels protective, but trapped moisture and ammonia build fast (University of Minnesota Extension; Illinois Extension).
- Big openings at roost height: Great airflow in summer, miserable drafts on cold nights. If air hits the birds while they sleep, redirect it upward.
- Thinking bedding alone fixes humidity: Bedding helps, but it can’t compensate for stale air. Dry litter + ventilation is the winning combo.
- Unprotected vents: Any vent is also a potential predator entry if it isn’t hardware-cloth covered and securely fastened.
A common mistake we see is trying to solve dampness by adding heat. In many backyard setups, more heat just increases humidity unless ventilation improves at the same time. Focus first on dry litter, leak control, and upper air exchange (University of Minnesota Extension).
When to Call an Avian Vet
We’re backyard keepers, not veterinarians—but ventilation problems can overlap with health issues, so it’s worth knowing when to get professional help.
If you improve ventilation and litter dryness and you still notice birds with concerning signs, contact an avian vet (or a poultry-experienced veterinarian), especially for:
- Labored breathing (open-mouth breathing at rest, obvious struggle, or persistent tail-bobbing)
- Sudden lethargy or a bird that isolates and won’t move much
- Swollen eyes/face or heavy discharge from eyes/nostrils
- Multiple birds affected at the same time
Safe first steps while you arrange help: increase fresh-air exchange (without creating a roost-level draft), remove wet litter, and ensure clean water and a dry resting area. For reference-level background on poultry respiratory irritation risks and environmental contributors, the Merck Veterinary Manual can be a helpful starting point.
Biosecurity and Family Safety Around the Coop
Ventilation is about air quality, but coop time also comes with a simple public-health reality: backyard poultry can carry Salmonella germs even when they look healthy. The CDC recommends washing hands with soap and water after touching birds, eggs, or anything in their environment, and keeping poultry supplies outside the home (CDC Healthy Pets, Healthy People; CDC backyard poultry outbreak guidance).
Two easy habits that fit real life:
- Keep hand sanitizer at the coop for quick use, then wash hands properly when you go inside.
- Use “coop shoes” that stay out of the house, especially during muddy seasons.
Bottom Line: Fresh Air Is the Goal—Not a Cold Coop
Proper chicken coop ventilation is less about complicated engineering and more about getting the basics right: openings high near the roofline, no direct drafts at roost height, and a coop interior that stays dry and doesn’t smell sharp. If you remember one thing, make it this: in winter, you’re fighting moisture and ammonia as much as you’re fighting cold. A dry, well-ventilated coop can feel dramatically more comfortable to a flock than a sealed-up, damp one.
Start small. Add (or open) upper vents, predator-proof them, and watch your results for a week: less condensation, drier litter, and cleaner air when you open the door. If you need extra help because your coop sits in a windless corner or your summers are brutal, a small exhaust-style fan mounted high can be a practical assist—but it should support good vent placement, not replace it.
When you’re ready to refine your setup, revisit your roost location, wind exposure, and adjustability. The “perfect” ventilation setup is the one you can tune with the seasons—without ever turning your coop into a wind tunnel.