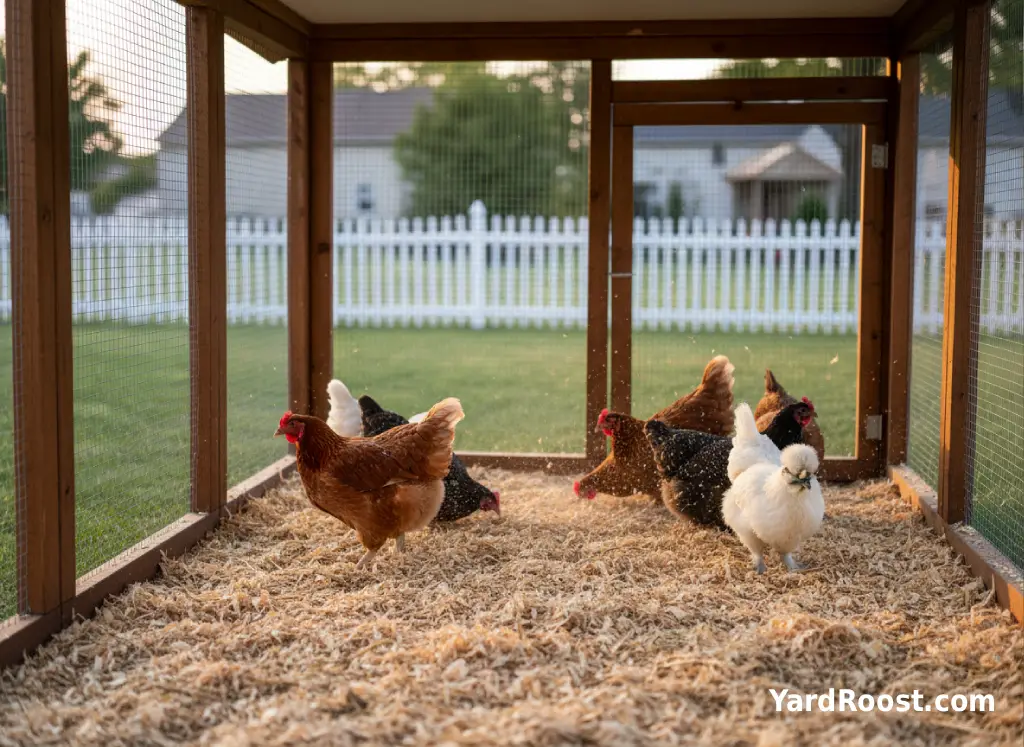
A good feeder does three things: keeps feed off the ground, keeps your birds from tossing it everywhere, and doesn’t turn into a nightly buffet for mice and rats. The nice part about going DIY is you can build something that fits your flock size, coop layout, and budget—without paying for features you don’t need. The tricky part is that “works” and “works well for months” are different things. A feeder that clogs, gets wet, or lets birds rake feed out will quietly drain your feed bag (and attract pests) one handful at a time.
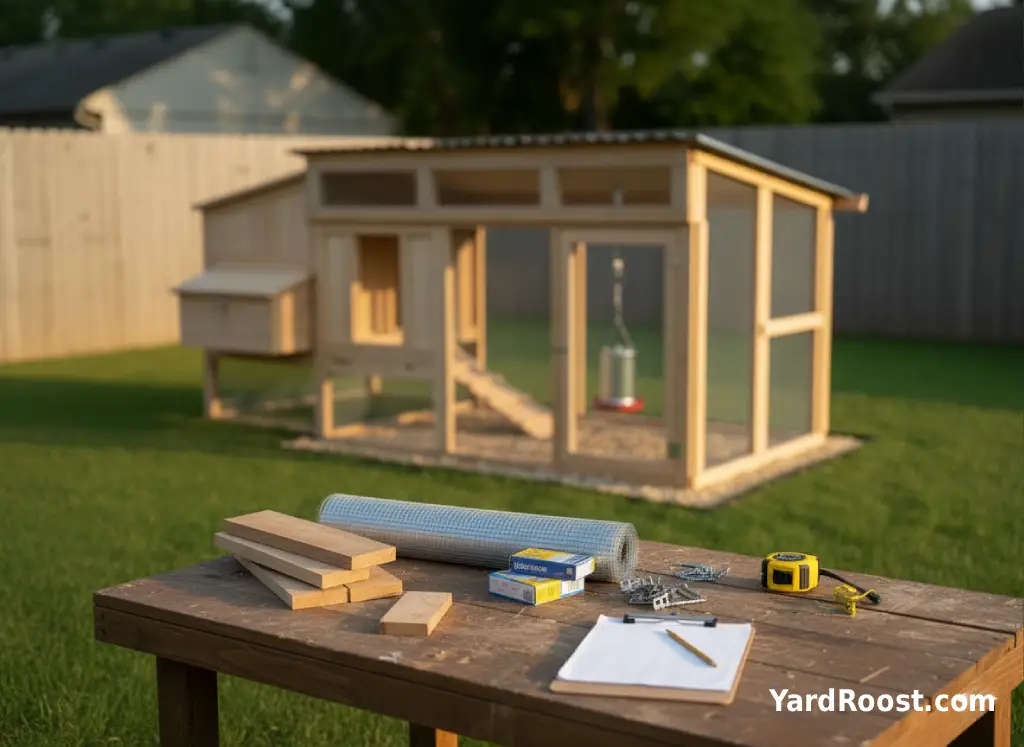
In this guide, we’ll walk through practical DIY chicken feeder options—especially popular “no waste” styles like a 5-gallon bucket feeder and PVC elbow feeders—plus a few safe, simple ideas for chicks. Along the way, we’ll point out the common build mistakes we see and how to avoid them. We’re not veterinarians, but we do lean on reliable guidance from land-grant university extension poultry programs and public health agencies when sanitation and flock health are involved.
What “No Waste” Really Means in a DIY Chicken Feeder
“No waste” doesn’t mean zero crumbs. It means your birds can’t rake feed out with their beaks, scratch it into the bedding, or stand on the feed and grind it into dust. Most backyard waste happens in three ways: (1) the feeder lip is too low, so they shovel feed out; (2) the opening is too big, so they “shop” for the good bits; (3) feed gets damp and clumps, so birds fling it aside looking for dry pieces.
Two practical benchmarks help you judge whether your DIY chicken feeder is doing its job:
- Ground check: After a normal day, spilled feed under/around the feeder should be “a few pinches,” not “a handful.” If you can scoop up more than a tablespoon or two per day for a small flock, it’s time to adjust.
- Refill rhythm: If your feed use suddenly jumps after switching feeder styles, assume waste first. Fix the feeder before assuming your flock suddenly got hungrier.
Sources we rely on for feeder fundamentals and waste reduction: University of Maryland Extension and Extension poultry resources (poultry.extension.org).
Pick the Right DIY Feeder Design for Your Flock and Coop
If you’re a beginner keeper, start with a design that’s easy to refill, easy to clean, and hard for birds to “fling.” The best DIY chicken feeder is the one you’ll actually maintain.
| DIY Feeder Style | Best For | Watch Outs | Waste Control |
|---|---|---|---|
| 5-Gallon Bucket Gravity Feeder | Small-to-medium flocks, simple builds, easy refills | Moisture intrusion, ports set too low, flimsy lids | High (when ports are sized/placed well) |
| PVC Elbow Feeder | Wall-mounted setups, tight spaces, targeted portions | Clogs from fines, sharp edges, rain blowing into openings | Medium-to-high (depends on elbow/guard design) |
| Treadle Feeder (Step-Open) | Rodent pressure, wild bird pressure, long-term setups | Training birds, heavier build, moving parts | Very high (when tuned and maintained) |
Two quick sizing rules worth using even for DIY:
- Feeder height: Set the feeder lip/opening around the birds’ back height to reduce scratching and spillage (a widely recommended extension best practice).
- Access space: If you use a trough-style opening, plan enough linear space that timid birds can eat—University of Maryland Extension suggests roughly 2–3 inches of feeder space per bird as a baseline for laying hens/meat birds.
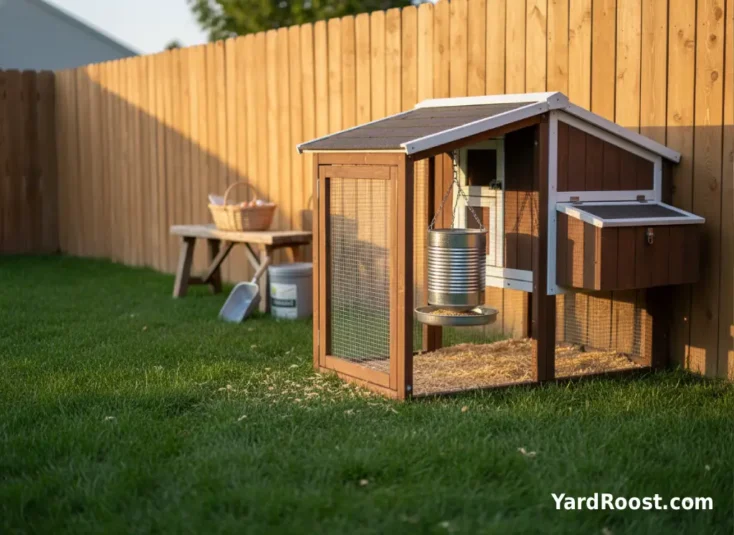
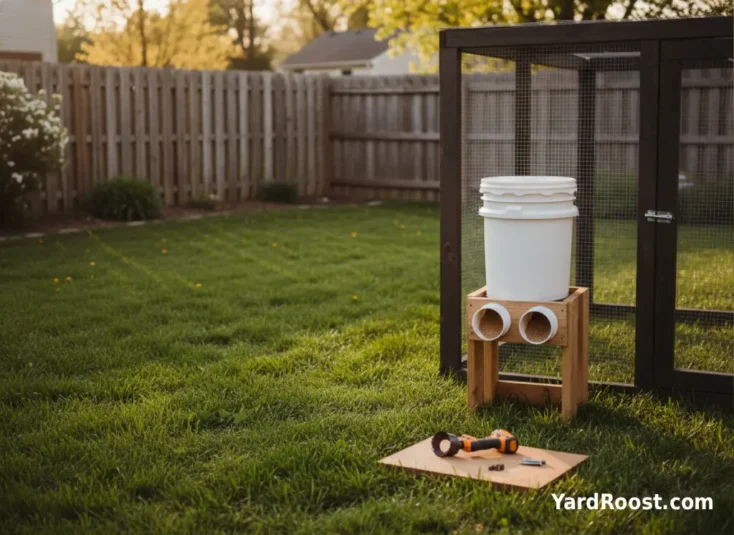
DIY 5-Gallon Bucket Chicken Feeder (No-Waste Style)
This is one of the best “bang for your buck” builds for a DIY no waste chicken feeder. Done right, it keeps feed dry, minimizes scratching, and makes refills easy.
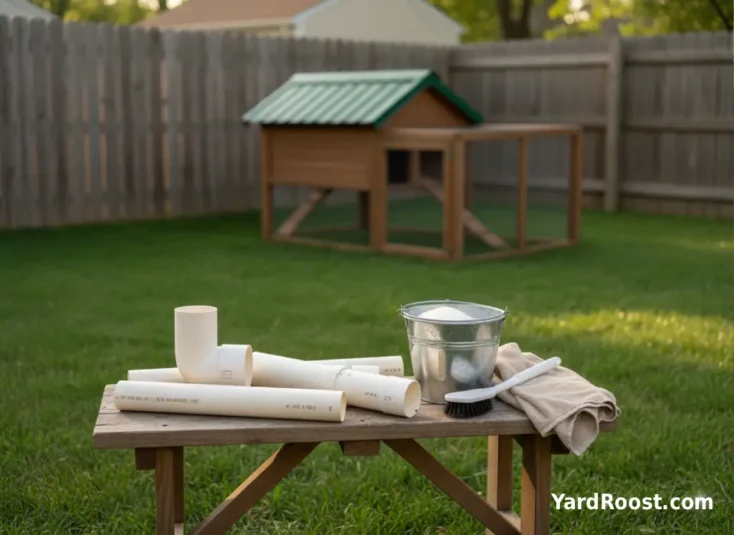
Materials (simple version): food-grade 5-gallon bucket + tight lid, 2–4 feeding ports (store-bought ports or DIY elbows), hole saw, bolts/screws/washers, and a short stand or hanging system.
Build steps (5–7 steps, beginner-friendly):
- Choose port count: For small flocks, 2 ports is usually plenty. More ports help reduce squabbles, but each opening is another place moisture can enter.
- Mark port height: Place ports so birds can reach comfortably without standing inside the feeder. A common mistake we see is setting ports too low, which encourages scratching and feed flicking.
- Drill clean holes: Use a hole saw and keep edges smooth—sand or trim anything sharp.
- Install ports with weather in mind: Angle openings downward or add small guards so rain can’t blow in.
- Add a “no roost” top: If your lid is flat and inviting, add a simple sloped cover or mount the bucket where it can’t be used as a perch (birds roosting above feed makes a mess fast).
- Elevate it: Raise the feeder so bedding can’t drift into the openings and so you can sweep under it easily.
- Test and adjust: Watch your flock for 10 minutes. If birds can fling feed out, raise the ports slightly or add a lip/guard.
Editorial note: If you want “no spill,” the build quality matters more than the concept. A wobbly stand or a loose lid will turn even the best DIY bucket feeder into a damp, clumpy mess.
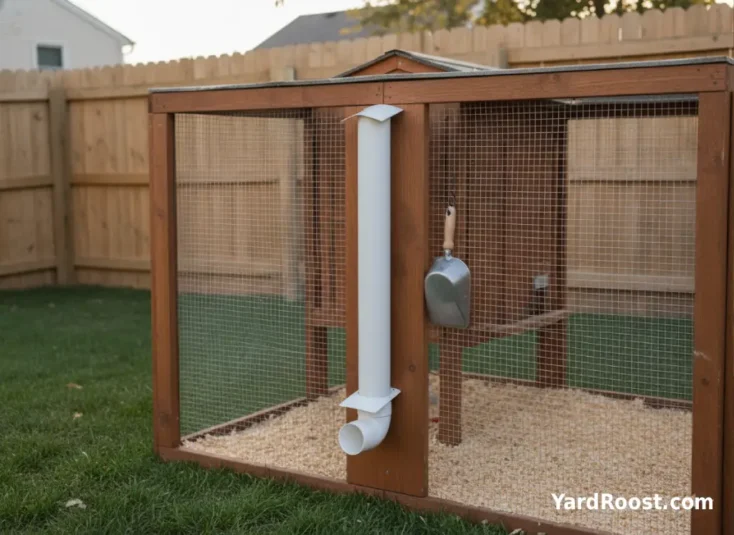
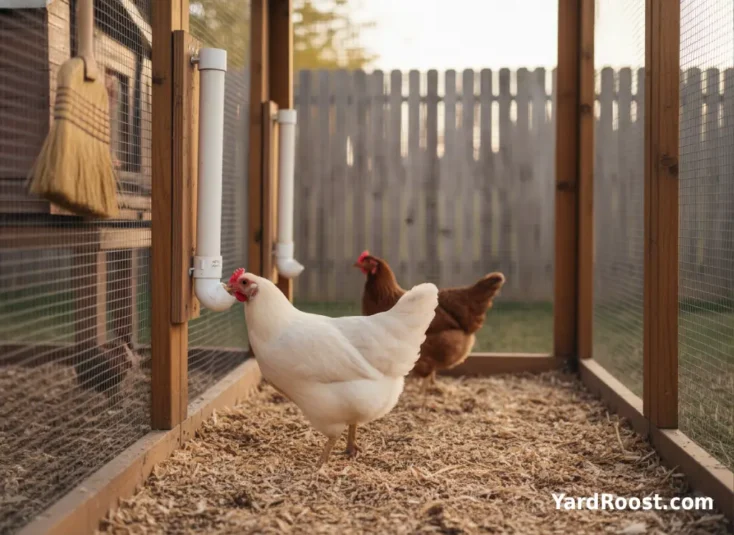
DIY PVC Chicken Feeder (PVC Elbow or “Downspout” Style)
A DIY PVC chicken feeder is popular for a reason: it mounts neatly to a wall, uses inexpensive parts, and can be sized for your flock. The trick is building it so it doesn’t clog and doesn’t invite rain.
Two design choices that make or break it:
Opening shape: A simple elbow works, but you’ll usually get less waste if you add a small guard or “collar” so birds can’t rake feed outward. Keep all edges smooth and rounded.
Weather protection: PVC openings are magnets for wind-driven rain. If your run is uncovered on that side, add a hood, rotate the opening away from prevailing wind, or mount it under an eave.
Practical tips:
- Prevent clogs: If you see fines (powdery feed) collecting, empty the feeder fully every week or two, wipe it dry, and refill with fresh feed. Clumps and humidity are a common culprit.
- Reduce bullying: Consider two smaller PVC feeders rather than one large one. More access points lowers drama in the flock.
DIY Chick Feeder Options That Stay Cleaner in the Brooder
Chicks are tiny chaos machines. If feed is easy to kick into bedding, they will. The goal for a DIY chick feeder is simple: keep the feed accessible but not buried in shavings.
Two beginner-safe DIY chick feeder ideas:
- Elevated shallow tray: Use a small, sturdy tray and raise it slightly on a block so bedding doesn’t drift in. Keep it stable—tippy feeders spill constantly.
- Jar-and-dish style: A small jar feeder base can work if it’s heavy enough not to tip. The key is refilling small amounts often so it stays fresh and doesn’t become dusty.
Two quick rules for chicks:
- Small portions, frequent refresh: Offer what they’ll eat in a day, then top off. This cuts dust and reduces the chance of damp, spoiled feed.
- Adjust height weekly: As chicks grow, raise the feeder so they aren’t stepping into it.
Rat-Proof Chicken Feeder DIY Moves That Actually Help
If you’re dealing with rodents, your feeder is only one piece of the puzzle. Rats and mice are drawn by consistent calories and safe hiding spots. You’ll get better results by tightening up the whole “feed system” than by swapping feeder styles every month.
- Feed only in feeders: Don’t toss scratch or treats onto the ground right before dusk. That’s an invitation.
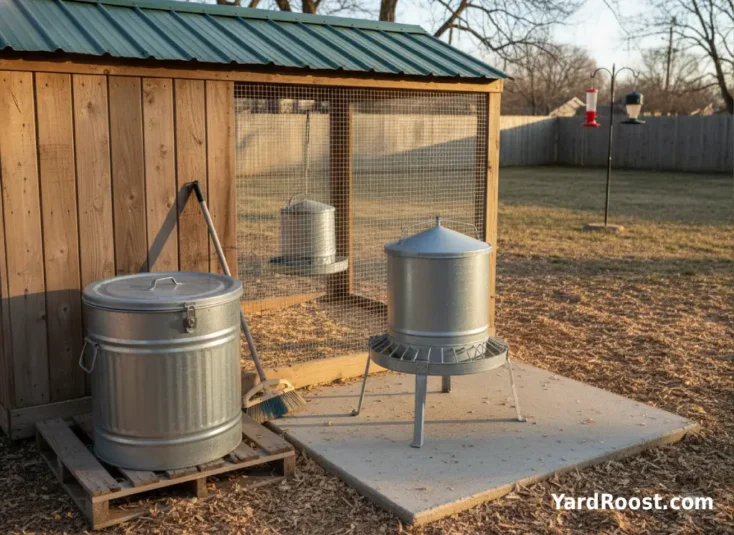
- Lock down storage: Store feed in a cool, dry, airtight, rodent-resistant container and check it often for pests or mold.
- Reduce spillage fast: Sweep up spilled feed the same day. Even small daily spills add up to a steady food source.
- Raise and place smart: Elevate feeders so bedding and moisture don’t collect, and place them where you can easily see and clean around them.
- Limit wild bird traffic: Wild bird feeders near the coop often increase rodent pressure. If you keep bird feeders, place them far from the coop/run.
Sources we rely on for safe feed storage and hygiene: University of Arizona Cooperative Extension (feed storage and discard guidance) and land-grant extension poultry recommendations.
Cleaning, Mold, and Feed Safety for DIY Feeders
DIY feeders can be incredibly clean—or surprisingly gross—depending on how they’re built and where they sit. Moisture is the enemy. Damp feed can clump, spoil, and grow mold. Extension guidance on feed safety is blunt: if feed shows signs of mold or contamination, it should be discarded rather than “picked around.”
A simple maintenance routine that works for most backyard setups:
Weekly: Empty the last bit of feed (especially dusty fines), wipe the inside dry, and refill with fresh feed. This is extra important for PVC feeders that can trap humidity.
Monthly (or sooner if it smells “off”): Wash removable parts with hot, soapy water and dry completely before refilling. Keep cleaning tools dedicated to coop use.
Public health note: CDC guidance for backyard poultry emphasizes washing hands after handling poultry or equipment like feeders and waterers, and keeping poultry items out of spaces where human food is prepared.
Sources we rely on for feed safety and hygiene: Michigan State University Extension (mold/mycotoxin risks and discarding contaminated feed), University of Arizona Cooperative Extension (feed storage and mold checks), and CDC backyard poultry guidance.
Common Mistakes to Avoid (So Your “No Waste” Feeder Stays That Way)
- Ports/openings too low: Birds shovel feed out. Fix: raise the feeder or rebuild with higher ports.
- Flat “perchable” lids: Birds roost on top and contaminate the area. Fix: add a sloped cover or mount the feeder where it can’t be sat on.
- Rain exposure: Wind-driven rain turns feed into clumps. Fix: add a hood, rotate openings away from wind, or mount under cover.
- One feeder for a pushy flock: Subordinate birds get chased off. Fix: add a second access point or a second feeder.
- Letting fines build up: Dusty feed compacts and clogs. Fix: empty and wipe feeders regularly; refill with fresh feed.
- Ignoring tiny daily spills: “Just a little” becomes rodent bait. Fix: sweep spills the same day and adjust the feeder.
A common mistake we see is overcomplicating the build and skipping the “watch them eat” test. Ten minutes of observation usually reveals exactly where the waste is coming from.
Troubleshooting DIY Chicken Feeders: Spills, Clogs, and Bullying
If feed is on the ground: Start with height. Extension guidance commonly recommends keeping the feeder lip around back height to reduce spillage. If your opening is large, add a simple guard so birds can’t rake outward. Also check that the feeder isn’t wobbling—movement encourages flinging.
If the feeder clogs: Humidity and dusty fines are usual suspects. Move the feeder under better cover, empty out fines more often, and make sure the container fully dries before refilling. If you’re using PVC, avoid tight bends where dust can pack in.
If one bird is guarding the feeder: Add a second feeding station (even a temporary one) and spread them out. In small runs, placing two feeders on opposite ends can reduce “one boss bird runs the buffet” behavior.
If rodents keep showing up: Assume there’s a consistent food source: spilled feed, open storage, or evening treats on the ground. Tighten those first, then consider a treadle-style feeder if you need a stronger physical barrier.
Seasonal and Placement Tips for DIY Feeders (Rain, Heat, and Snow)
Where you place a feeder matters as much as how you build it. Even a perfect “zero waste chicken feeder DIY” design will fail if it’s in the splash zone.
Rain and wind: Put openings under cover and face them away from prevailing wind. If your run is open-sided, a simple hood over the opening can prevent wind-driven rain from soaking feed.
Heat and humidity: In muggy weather, refill smaller amounts more often so feed doesn’t sit and absorb moisture. If you notice clumping, don’t just “stir and hope”—empty, dry, and reset.
Snow and ice: Keep ports above the level where drifting bedding and snowmelt can reach them. Wet feed is the fast lane to clogs and spoilage.
For keeping the coop environment stable overall, good airflow helps control dampness (without drafts at roost level). If you’re dialing in your setup, our ventilation explainer helps: /coop-ventilation-basics/.
Quick Safety Notes: Hygiene Around Feeders
Feeders are “high-touch” flock equipment, which makes them a good place to tighten up hygiene habits. CDC guidance for backyard poultry emphasizes washing hands with soap and water after touching poultry or anything in their environment—including equipment like feeders and waterers—and keeping poultry items away from kitchens and food-prep spaces.
Two easy habits that protect your household:
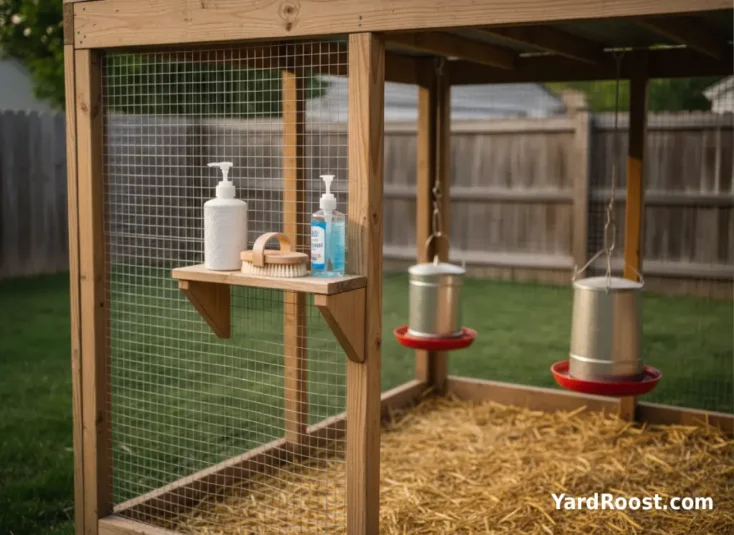
- Keep a coop-only brush: Don’t borrow the kitchen scrubber for feeder parts. Keep a dedicated brush and a small bucket in the coop area.
- Handwashing trigger: If you handled the feeder, touched feed scoops, or reached into the run, wash hands before you touch your phone, your face, or anything in your kitchen.
Wrap-Up: A DIY Chicken Feeder You’ll Still Like in Six Months
The best DIY chicken feeder is the one that keeps feed clean, limits waste, and fits your daily routine. For many backyard keepers, a 5-gallon bucket chicken feeder DIY build is the easiest win: quick to refill, easy to elevate, and surprisingly “no waste” when the ports are placed thoughtfully. PVC feeders can be great too—especially for wall-mounted setups—so long as you protect them from rain and manage fines so they don’t clog. And if rodents are your main battle, combine a spill-resistant feeder with tight feed storage and daily spill cleanup for the biggest real-world impact.
Whatever you build, do one thing that separates a “Pinterest project” from a long-term solution: watch your flock use it. If you see raking, flinging, or guarding, adjust height, add a second station, or tweak the opening. A few small changes can save a surprising amount of feed—and keep your coop area cleaner, calmer, and less interesting to pests.