If you hate scraping out a chicken coop every week but still want a healthy, low-odor setup, the deep litter method can be a great fit. Instead of constantly stripping the coop down to bare floor, you build up a thick, dry bedding layer that slowly breaks down over time. When it’s done right, deep litter stays surprisingly clean underfoot, helps keep the coop warmer in winter, and gives you a head start on garden-ready compost.
Done wrong, though, it turns into a damp, smelly mess that’s rough on your chickens’ lungs and your own nose. The good news is that backyard keepers can borrow a lot of what commercial and extension poultry folks know about litter management and scale it down for a small suburban coop.
What Is the Deep Litter Method for Chicken Coops?
The deep litter method is a way of handling manure where you let bedding and droppings build up on the coop floor instead of stripping it out every week. You start with a dry layer of material—usually pine shavings, chopped straw, or similar—and keep adding thin layers of fresh bedding on top as the chickens deposit manure. Over time, the bottom layers break down in place, a bit like a slow-moving compost pile.
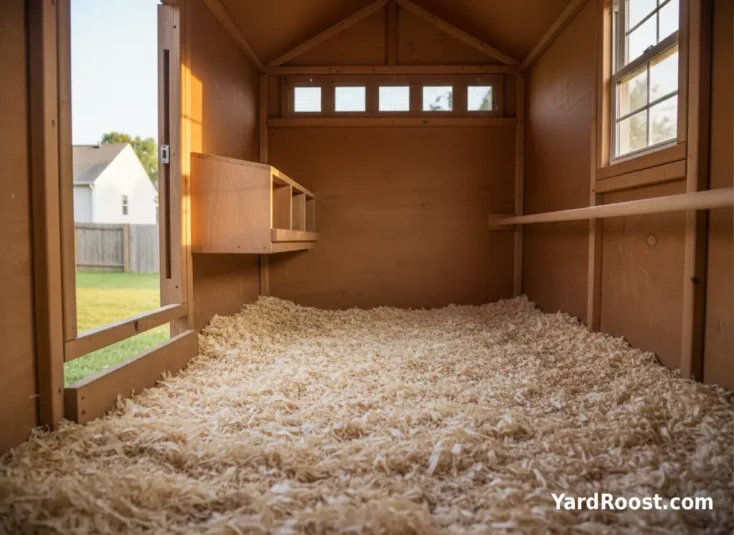
Extension publications describe deep litter as a system that collects and partially treats manure until you’re ready to remove and finish it as compost. The goal is not to have a dirty coop; the goal is to have a dry, active, microbe-rich litter layer that locks in moisture and odor while staying reasonably clean at the surface where the birds walk. If you bend down and look closely, you’ll see older, darker material deeper down and lighter, fresher shavings at the top.
A key point: deep litter only works when the balance is right—enough dry “carbon” bedding to soak up the “nitrogen” in manure, plus good airflow. Without that, it turns into a wet mat that smells like ammonia and needs to be reset, not “left to compost.”
Pros and Cons of the Deep Litter Chicken Coop Method
Before you commit to deep litter, it helps to weigh the trade-offs for your specific coop and climate.
Main Advantages
- Less frequent full clean-outs: Instead of scraping to bare floor every week, you’re mostly adding bedding and spot-cleaning, then doing a full clean-out once or twice a year.
- Warmer, cushioned floor: A deep layer of dry bedding insulates the coop floor and keeps feet off cold wood or concrete in winter.
- Compost “factory”: By the time you remove it, deep litter is partway to compost, which saves time before it goes on the garden.
- Less dust from constant stripping: Fewer full clean-outs mean less fine dust flying around you and the birds.
Main Drawbacks
- Needs dry conditions: Coops or runs that get wet from leaks, rain, or groundwater are poor candidates for deep litter unless you fix the moisture problem first.
- Requires good ventilation: Without high vents to let moisture and ammonia escape, deep bedding can raise humidity and odor, especially in winter.
- Not a “set it and forget it” system: You still need to stir, spot-clean, and check moisture regularly.
- Can be tricky in tiny coops: Very small coops with too many birds produce more manure than the litter can reasonably handle.
If your coop is dry, reasonably sized, and has good ventilation (or can be upgraded), deep litter can be a nice fit. If you’re fighting leaks, flooding, and cramped space, I’d fix those first before trying this method—starting with the basics of building a simple coop that stays dry and well-ventilated.
Planning Your Deep Litter Method Chicken Coop (Flooring and Layout)
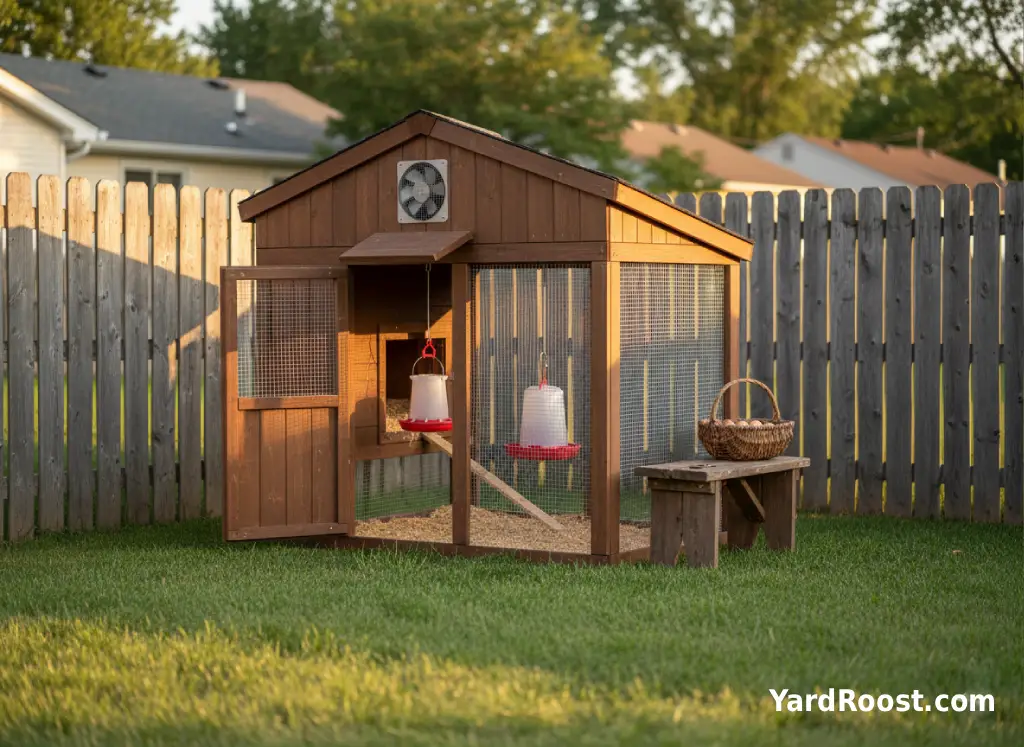
Deep litter works best in a coop that keeps water out and bedding in. That usually means a solid floor (wood or concrete) and low “door sills” so shavings don’t spill out every time a hen walks through the pop door. Extension guides on backyard housing emphasize dry litter, good drainage around the coop, and enough space so birds aren’t packed shoulder-to-shoulder.
Think through these pieces before you start:
- Flooring: A solid wood or concrete floor is easier to manage for deep litter than bare dirt, especially in wet climates. If you only have dirt, consider adding a layer of gravel topped with thick bedding and making sure rain can’t run in.
- Bedding containment: A 4–6 inch lip at the pop door and human door helps keep litter inside the coop as it builds up.
- Vent placement: Vents should be high on the wall or at the eaves so fresh air moves across the top of the coop, not straight across the birds on the roost.
- Feeder and waterer location: Hang or raise them so they’re not constantly spilling into the litter, which creates wet, smelly spots.
When I first tried deep litter, my coop door was basically level with the floor. Every time the hens stampeded out in the morning, they carried half an inch of shavings into the run. Adding a simple wooden lip inside the door made a huge difference and cut down the amount of bedding I had to buy.
Step-By-Step: Setting Up Deep Litter Bedding
Here’s a simple, beginner-friendly way to start a deep litter method chicken coop from scratch.
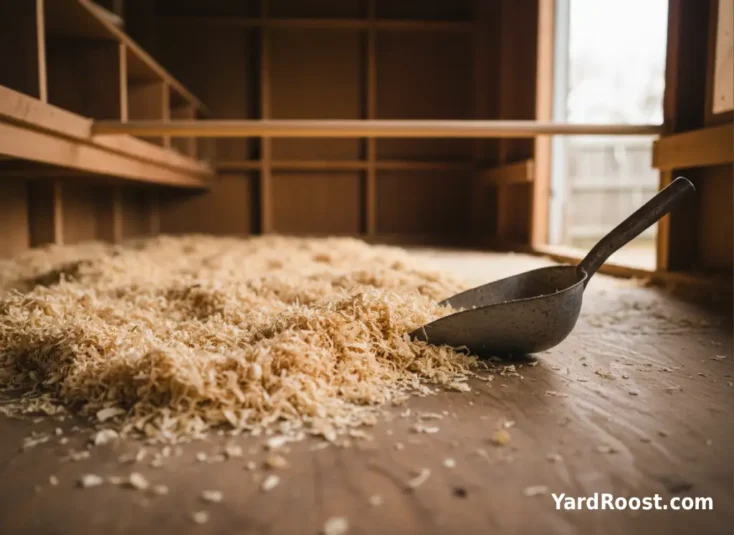
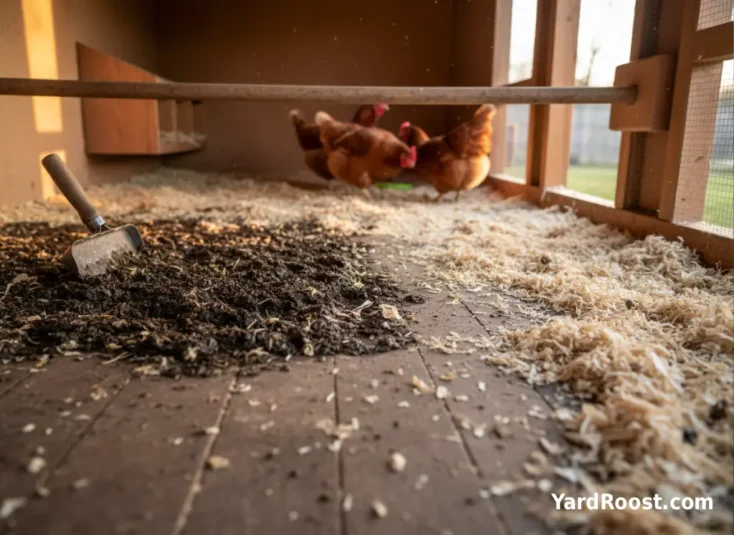
- Step 1: Start with a clean, dry floor. Remove old litter, scrape and sweep, and let the floor dry completely. If you’ve had moisture issues, this is a good time to seal leaks and improve drainage.
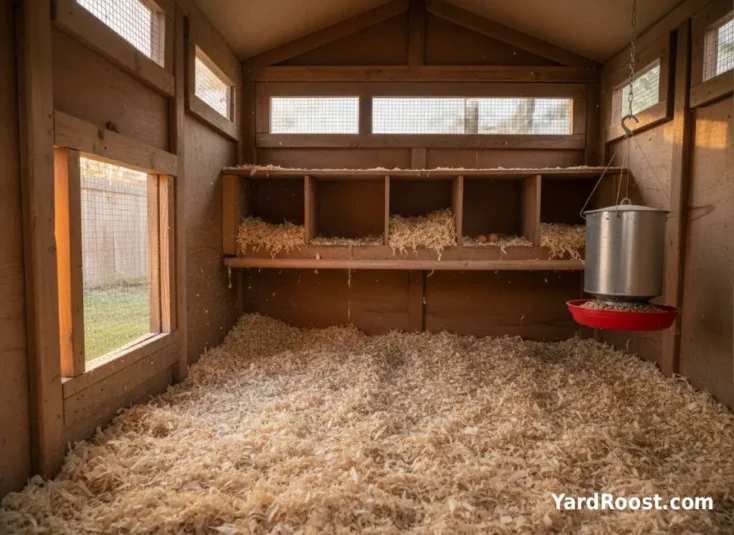
- Step 2: Lay down an initial bedding layer. Spread 3–4 inches of dry, absorbent material like pine shavings, chopped straw, or similar. Avoid cedar shavings; extension publications warn that cedar dust and oils can irritate birds’ respiratory systems.
- Step 3: Add birds and watch moisture. As the flock starts to manure on the bedding, keep an eye on feel and smell. The top layer should stay dry and springy.
- Step 4: Top up as needed. Whenever droppings start to be visible over most of the floor, add a thin layer (about 1 inch) of fresh bedding and lightly rake it in. Over fall and winter, you’ll slowly build up to 8–12 inches in many coops.
- Step 5: Spot-clean wet or caked areas. Under roosts, around waterers, and near pop doors, scrape out any wet “cake” and replace with fresh dry bedding. This is key for ammonia control.
I learned the “thin and often” rule the hard way. The first winter I tried deep litter, I waited too long between bedding additions, then dumped a giant bale of shavings all at once. The bottom was already too wet, and that big dump just trapped the moisture and smell. Now I focus on small top-ups as soon as I notice the surface getting too dotted with droppings.
Daily and Weekly Care for Deep Litter Bedding
Once the deep litter method is up and running, your day-to-day work is more about quick checks than big clean-outs. Think of yourself as a litter manager rather than a full-time scraper.
On a typical day, I do a slow walk-through while I’m feeding:
- Give the air a sniff. If you smell sharp, eye-watering ammonia, something is off—usually too much moisture and not enough ventilation.
- Look for obviously wet spots under roosts and near waterers and replace them with fresh bedding.
- Check the feel of the top layer with a boot or gloved hand. It should feel dry to slightly springy, never muddy or slimy.
Once a week or every other week, take five extra minutes to:
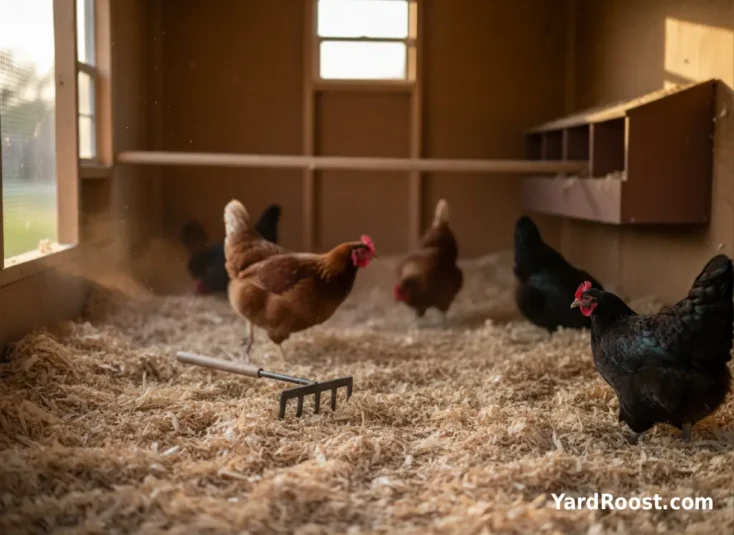
- Gently rake or fork the top few inches of litter to break up clumps and bring slightly older material toward the surface.
- Add a thin layer of fresh bedding if you’re seeing a lot of visible manure or if the floor looks uneven.
- Look up at the vents and make sure they’re not blocked by dust or spider webs, especially in winter when the coop is closed up more.
This small, regular attention keeps the litter active, drier, and less smelly. If you’re constantly fighting wet spots, consider moving your waterer, switching to a no-spill style, or raising it slightly on blocks.
Deep Litter Method, Rain, and Moisture Control
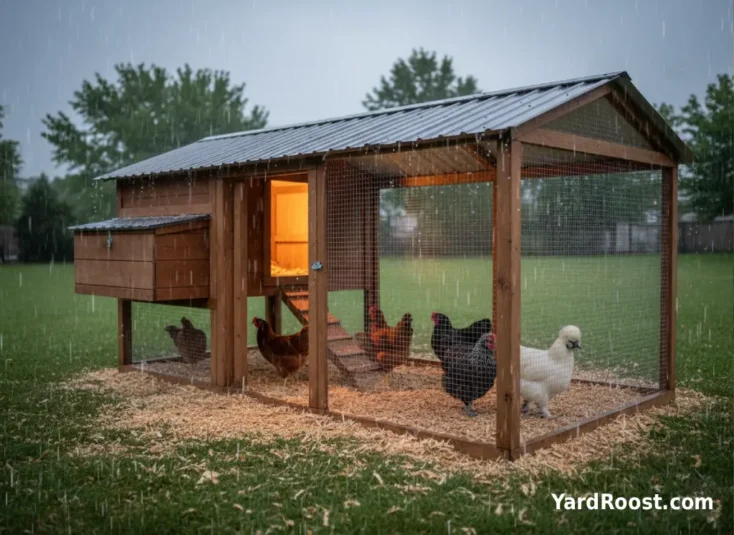
Rain is one of the biggest threats to a deep litter system. Once water starts running through the bedding, you move from “controlled compost” to “smelly swamp” very quickly. Deep litter needs protection from both direct rainfall and runoff from the yard.
Here are a few moisture-control checks that have helped me:
- Roof leaks: Go inside the coop during a rain and look for drips or wet streaks on the walls. Fix leaks before they soak the bedding.
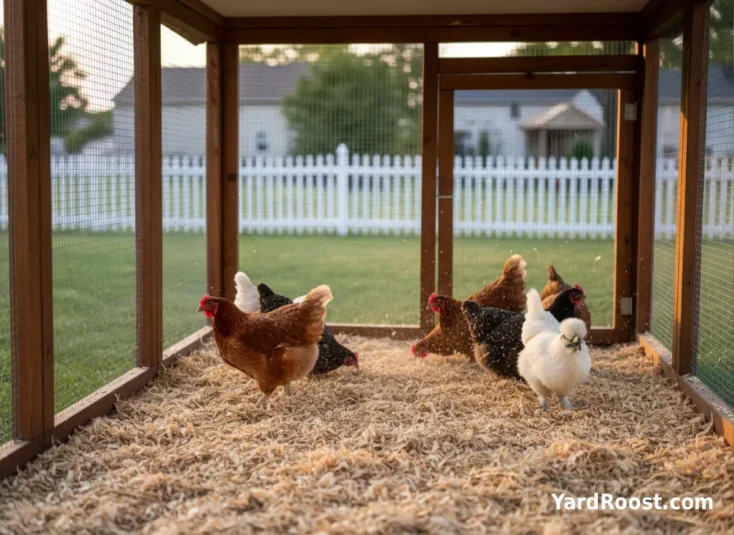
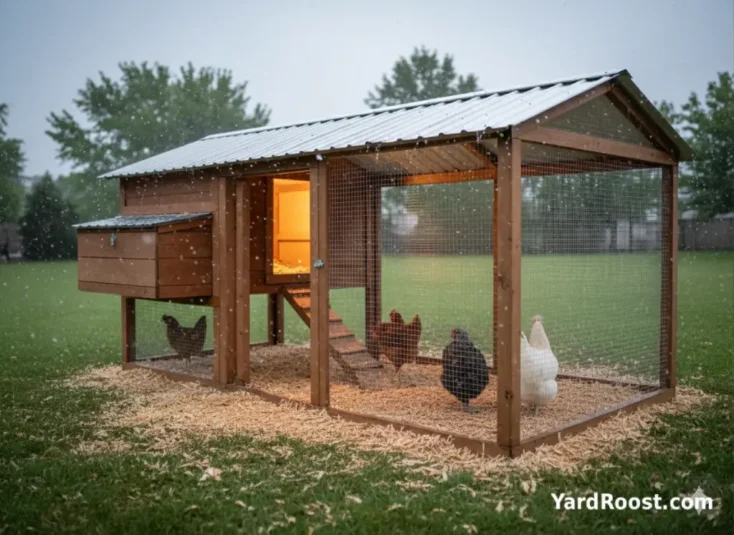
- Run coverage: If you’re using deep litter in the run, a solid roof over at least part of it will protect bedding from getting drenched in every storm.
- Ground slope: Watch where water flows during heavy rain. If you see water running under your coop or into the run, add trenches, gutters, or simple landscaping to divert it.
- Standing water: Any spot that stays wet after a storm should have litter removed and replaced, not just covered up.
Extension ventilation specialists point out that wet, “caked” litter is a major source of ammonia and should be removed, not just stirred back in. When my run got muddy one spring, I had to bite the bullet, dig out the worst spots, and start over with a fresh, dry base instead of trying to rescue the old mess.
Seasonal Tips for Deep Litter Coops (Winter and Summer)
Deep litter behaves a little differently depending on the season, especially in cold-winter states like Ohio.
Winter Deep Litter Tips
- Build up the depth: As temperatures drop, many extension sources recommend a deeper layer—around 6–12 inches—to insulate the floor and keep feet off cold surfaces.
- Watch humidity: Deep bedding can raise humidity if the coop isn’t well ventilated, which increases frostbite risk. Check moisture daily and remove wet spots promptly.
- No drafts at roost level: Close gaps at bird height but keep high vents open so warm, moist air can escape.
Summer Deep Litter Tips
- Stay on top of moisture: Hot weather plus damp litter equals strong odor. Keep bedding drier and consider a slightly shallower depth in very humid climates.
- Extra ventilation: Open windows and additional vents (with predator-proof hardware cloth) help remove heat and moisture.
- Fly control: Removing wet spots quickly and keeping the surface dry helps reduce flies and gnats.
My coop actually smells better in winter when deep litter is thick and dry, compared to a shallow summer layer that I let get too damp. Now I adjust depth seasonally instead of using the same bedding strategy year-round.
Common Deep Litter Mistakes to Avoid
I’ve made most of these mistakes myself at some point. Catching them early will save you time and frustration.
- Letting litter get soggy: Covering wet spots with fresh shavings just hides the problem. Wet, caked litter is a major ammonia source and should be removed.
- Adding huge amounts of bedding at once: Big dumps of bedding can trap existing moisture underneath. It’s better to add small, frequent layers.
- No real ventilation plan: Trying deep litter in a nearly sealed coop quickly leads to humidity and odor. High vents are non-negotiable.
- Using the wrong bedding: Very fine sawdust can pack down and hold too much moisture; cedar shavings can irritate birds. Stick with medium pine shavings or chopped straw for most backyard coops.
- Too many birds in too little space: Overcrowding dumps more manure into the litter than it can handle, no matter how often you stir.
My worst deep-litter season happened when I added more hens without increasing coop space. Within a week, the floor went from “nice and fluffy” to “sticky and smelly,” and I had to do a full reset. Now I’m pretty strict about stocking density and would rather say no to extra birds than push the system past what it can handle.
When to Get Professional Help for Coop-Related Health Issues
Deep litter is mostly a management choice, but it does affect air quality and hygiene. If you notice health changes in your birds, it’s important not to assume the litter is the only cause or that changing bedding alone will fix things.
Consider calling an avian veterinarian or experienced poultry vet at your state’s veterinary college if you see:
- Chickens that are consistently coughing, wheezing, or breathing with open mouths.
- Swollen eyes, nasal discharge, or birds that seem unusually lethargic.
- Multiple birds showing illness at the same time, especially if you’ve recently brought in new birds.
Your first steps at home can include improving ventilation, removing obviously wet or caked litter, and moving birds to a drier, well-ventilated area while you troubleshoot. But because backyard flocks can carry infectious diseases and Salmonella without always looking sick, public health agencies like the CDC recommend good hygiene and professional help when you’re concerned. An avian vet can look at the whole picture: housing, litter, nutrition, and possible infections.
Using Old Deep Litter Safely (Garden and Hygiene)
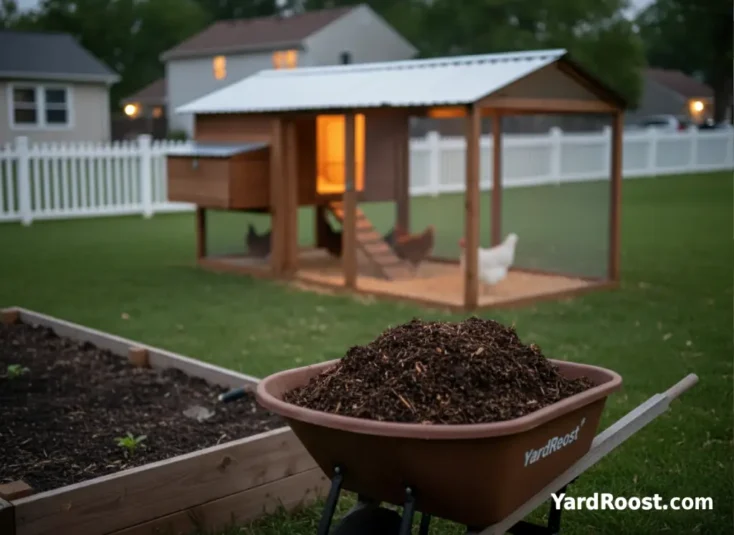
One of the perks of the deep litter method is what you get at the end: a big pile of partially composted bedding and manure that can be turned into fantastic garden fertilizer. Universities and extension programs note that a single chicken can produce a surprising amount of litter each year, so planning for storage and use is important.
For small backyard flocks, a simple approach works well:
- Move old litter to a dedicated compost bin or pile, away from wells and open water.
- Mix with additional “browns” (leaves, straw, shredded paper) if it’s very wet or heavy in manure.
- Let it compost thoroughly before using it on food gardens, especially for crops you eat raw.
Because backyard flocks can shed Salmonella and other germs, public health guidance stresses handwashing after handling birds or anything in the coop area, and avoiding tracking contaminated litter into the house. Treat deep litter like any other animal manure: valuable for the garden once composted, but something to handle with a bit of care.
Key Takeaways: Is the Deep Litter Method Right for Your Coop?
The deep litter method chicken coop isn’t magically maintenance-free, but it can make life easier and more comfortable for both you and your flock. If your coop is dry, has a solid floor, and offers good ventilation, deep litter can reduce how often you do massive clean-outs, buffer winter cold, and churn out compost-ready material for the garden.
The keys are surprisingly simple: start with a decent bedding depth, add small layers of fresh material as manure builds up, keep moisture under control, and let fresh air move out through high vents. When something feels off—too wet, too smelly, or birds looking unwell—don’t be shy about removing problem spots, dialing in your ventilation, or even resetting the whole system.
For my own flock, deep litter has turned the coop from a weekly chore into a quick daily check and a few bigger work days per year. If that sounds appealing, and you’re willing to pay attention to moisture and air, the deep litter method is worth trying in your chicken coop.