A chicken brooder (also called a chick brooder or chicken brooder box) is a safe, warm, draft-protected space where baby chicks live for their first few weeks—basically a temporary “starter home” until they’re feathered enough to handle normal coop temperatures. If you’ve ever seen newly hatched chicks pile together like fuzzy little magnets, that’s because they can’t regulate their body heat well at first. A good brooder replaces what a mother hen would normally provide: warmth, protection, and a clean place to eat, drink, and rest.
For backyard keepers, the goal is simple: steady warmth (without overheating), enough room to prevent crowding, dry bedding, and clean water they can’t tip into a swamp. We’ll walk through what a brooder is, what equipment actually matters, and how to read chick behavior so you can adjust quickly. We’re practical, not preachy—but we are safety-first. And because chick care overlaps with health, we’ll also point you toward when it’s time to call an avian vet rather than trying to “DIY” a serious problem.
What a Chicken Brooder Actually Is (And Isn’t)
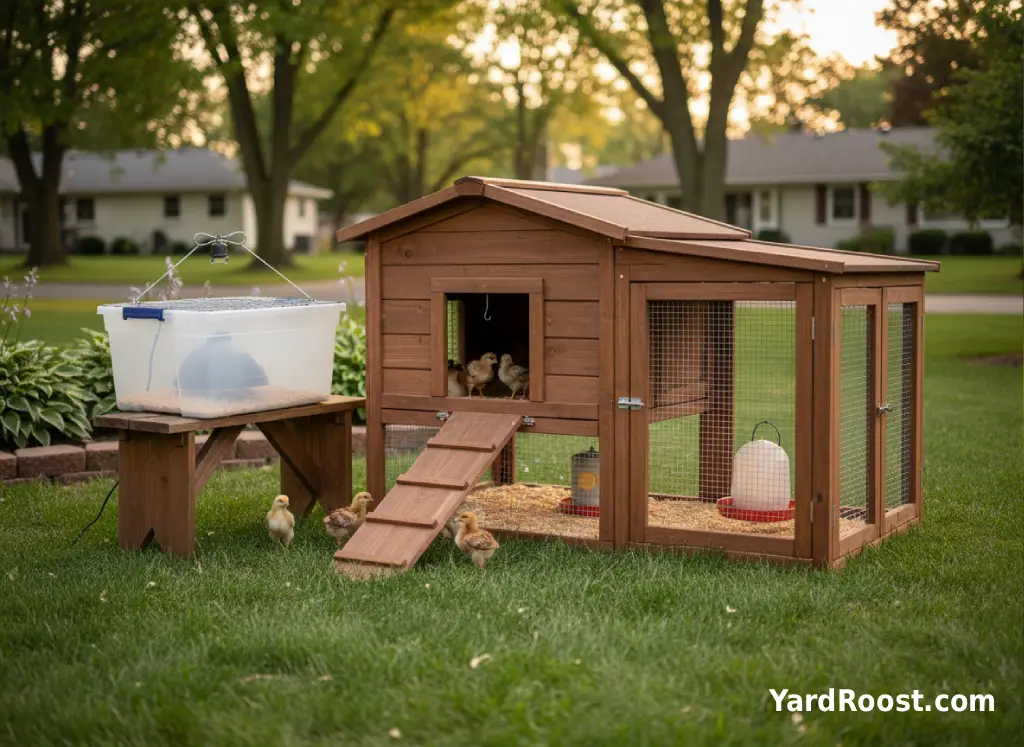
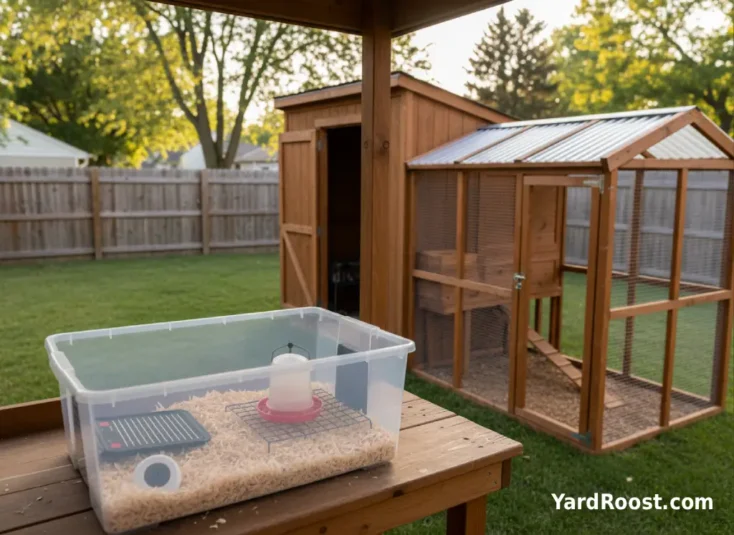
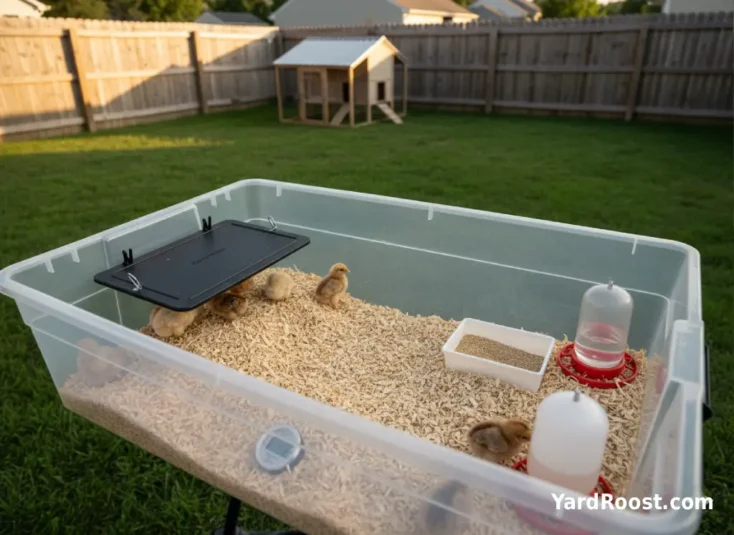
A chicken brooder is a controlled environment for chicks—warm on one side, cooler on the other—so they can choose their comfort zone. It can be as simple as a large tote, stock tank, cardboard appliance box, or a purpose-built brooder pen. What makes it a “brooder” isn’t the container; it’s the setup: a safe heat source, proper bedding, and the right layout so chicks can move away from heat when they want.
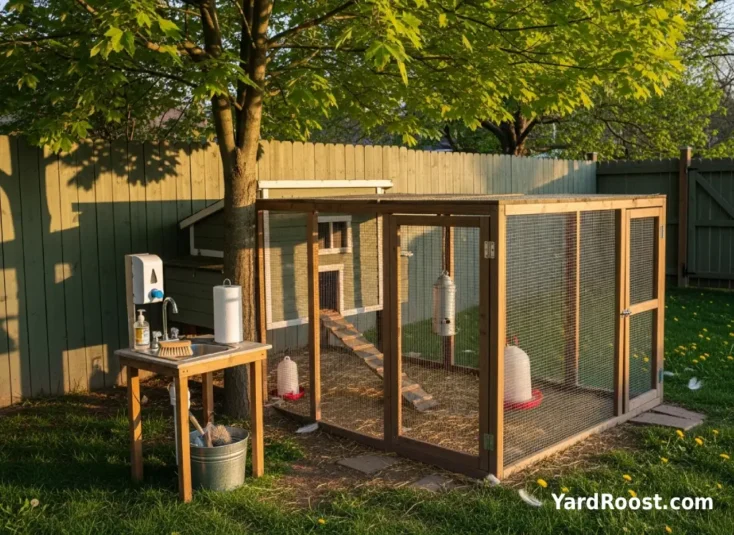
It’s also not permanent. Most backyard chicks live in a brooder for several weeks until they’re feathered out and nighttime temperatures are appropriate for a transition plan (often to a draft-free coop or grow-out space).
A common mistake we see is treating a brooder like a “heated box” where warmth is everywhere. Chicks do best with a warm side and a cool side—so they can self-regulate instead of panting in a sauna.
Chicken Brooder vs Broody Hen: Same Word, Different Thing
This is one of the most common beginner confusions: a brooder is equipment for raising chicks, while a broody hen is a hen whose hormones tell her to sit on eggs to hatch them. In plain terms, “broody” means she’s in incubation mode—staying in (or guarding) the nest with the intent to hatch eggs. University of Kentucky Extension describes a broody hen as one sitting on eggs (hers or another hen’s) to hatch them.
So if you’re confused about the difference between a broody hen and a chick brooder box, remember this: broody behavior is about the hen, not the equipment. The practical takeaway is that you can raise chicks without a broody hen (using a brooder), and you can also have a broody hen with no chicks at all—she may sit on unfertilized eggs or even an empty nest.
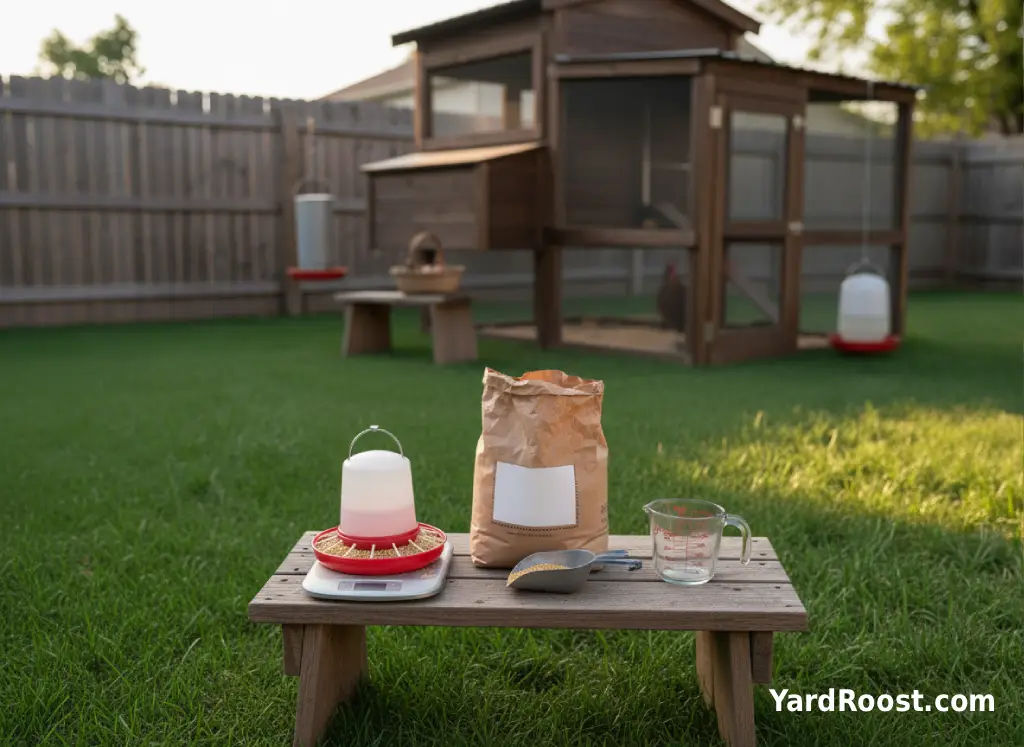
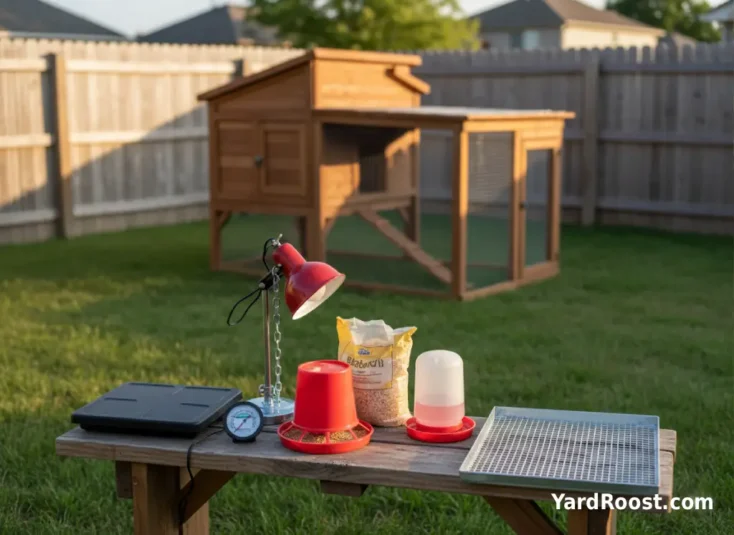
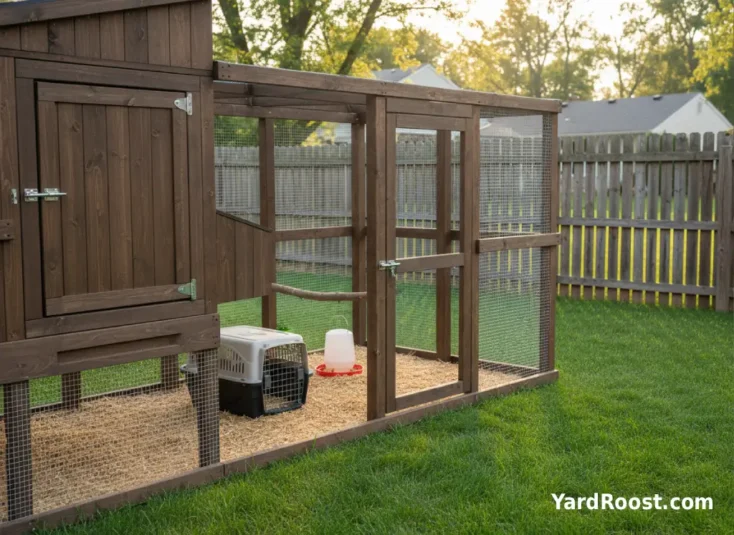
Brooder Box Basics: What You Need (And What You Don’t)
At minimum, a solid brooder setup includes:
- Container/pen: tall enough to prevent escapes and roomy enough to prevent crowding.
- Heat source: positioned so chicks can warm up, then walk away to cool down.
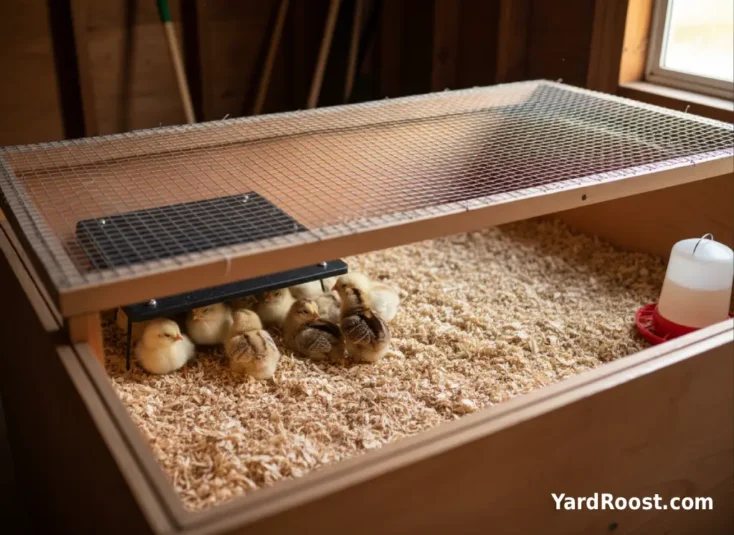
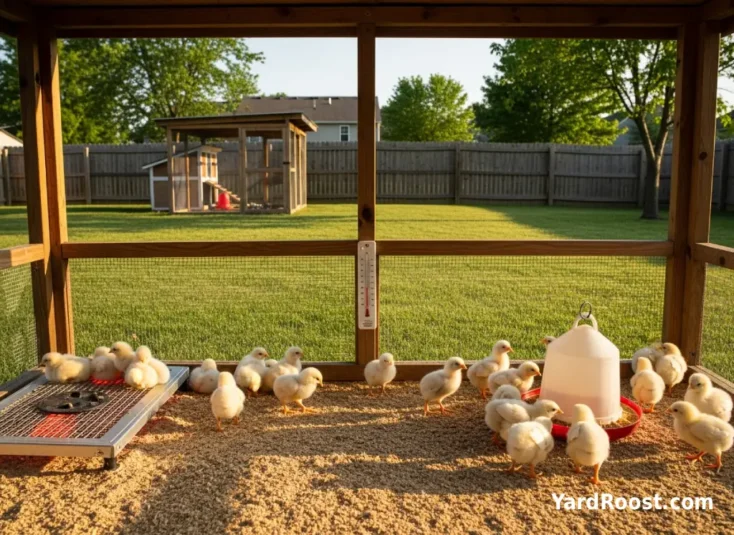
- Thermometer at chick height: place it where chicks actually live, not up on the wall.
- Bedding: dry, absorbent, and easy to spot-clean (many keepers use pine shavings).
- Feeder + waterer: stable, easy to clean, and arranged to reduce spills.
- Lid or cover: especially once chicks start flutter-jumping (hardware cloth is a common choice for airflow and security).
What you usually don’t need: fancy gadgets, “chick spa” accessories, or constant handling. Chicks do better with calm consistency—steady heat, clean water, and enough room to move.
A common mistake we see is putting water directly under the heat source. Warm water + bedding = humidity and funk. Keep water on the cooler side and consider raising it slightly on a wire rack or stand so they don’t kick shavings into it all day.
What Temp Do Baby Chicks Need? A Simple Week-by-Week Guide
Most extension guidance starts chicks around 90–95°F on the heated side for week 1, then drops the brooder temperature by about 5°F per week as chicks grow and feather out. University of Minnesota Extension notes measuring temperature at chick level (about 2 inches off the floor) and reducing by 5°F weekly; Penn State Extension gives the same “start warm, reduce weekly” approach.
| Chick Age | Target Warm-Side Temperature | What You’re Aiming For |
|---|---|---|
| Week 1 | 90–95°F | Chicks can warm up quickly, then wander to eat/drink |
| Week 2 | 85–90°F | More exploring; less constant “heat parking” |
| Week 3 | 80–85°F | Comfortable spread-out resting |
| Week 4 | 75–80°F | Feathering increases; chicks handle cooler temps better |
| Week 5 | 70–75°F | Many flocks need little supplemental heat if draft-free |
| Week 6+ | Wean off heat as feathered | Transition plan depends on feathering and ambient temps |
Two quick temperature reality checks: (1) Temperature isn’t “one number for the whole box”—it’s a gradient. (2) Chicks are better thermometers than we are. If they’re comfortably spread out, quietly peeping, eating, and napping, you’re close.
Setting Up a Chick Brooder in 6 Steps
- Choose a container with height + airflow. Plan for growth—chicks get taller and jumpier fast.
- Create a warm side and a cool side. Put the heat source at one end, not centered.
- Add bedding, then flatten it. A level surface keeps little legs stable and reduces tripping into water.
- Place a thermometer at chick height. Check it where chicks sleep, not near the lid.
- Set feeder and waterer on the cool side. Cleaner water, less humidity, fewer soggy bedding surprises.
- Do a “safety shake.” Gently wiggle feeder/waterer and confirm the lid is secure before chicks arrive.
How Much Space Do Chicks Need in the Brooder?
Space is one of the fastest ways to prevent stress and pecking. North Dakota State University Extension gives a straightforward rule of thumb: about 1/2 square foot of brooder space per chick up to around six weeks of age. That means:
- 6 chicks = about 3 sq ft
- 10 chicks = about 5 sq ft
- 15 chicks = about 7.5 sq ft
Use that as a starting line, not a finish line. If you notice constant bumping at the feeder, dirty backs from being stepped on, or restless pacing, give them more room sooner. Bigger, fast-growing breeds can benefit from expanding space earlier.
Also, make sure the heat source doesn’t “shrink” the usable floor area too much—another reason a heat plate or a well-positioned heat source matters.
Bedding, Drafts, and Air Quality: Comfort Without Chill
Chicks need fresh air, but they do not need a cold breeze blowing across their backs. Aim for good airflow above chick level while keeping the brooder out of direct drafts (think: away from a door that opens all day, a window gap, or an air vent that blasts). If your brooder is indoors, odors build up faster—spot-cleaning wet bedding daily makes a bigger difference than most beginners expect.
For bedding, choose something absorbent and easy to refresh. Keep it dry and fluffy, and remove wet spots as soon as you see them. If you ever pick up a “damp basement” smell, that’s your cue to remove wet bedding and improve ventilation.
A common mistake we see is letting bedding get damp “just for a day.” With chicks, a day is plenty of time for odor and irritation to start. A quick spot-clean takes two minutes and saves a lot of trouble.
Daily Brooder Care: Two-Minute Habits That Pay Off
You don’t need to hover over chicks all day—but you do want a few quick checks that catch problems early. Here’s a simple routine:
- Check water first: clean, not cloudy, and not full of shavings.
- Scan bedding: remove any wet clumps and fluff the area under/near the waterer.
- Confirm the heat zone: thermometer at chick height reads about what you expect for their age.
- Watch behavior for 30 seconds: comfortable chicks spread out and move normally.
If you want one “tell” to remember: chicks that are comfortable act busy, curious, and then nap hard—without frantic huddling or panting.
Troubleshooting: What Chick Behavior Is Telling You
Chicks can’t tell you “I’m cold,” but they show it. Use behavior as your adjustment tool:
- If chicks pile tightly under/near heat: they may be too cold. Safe first step: increase warmth slightly or reduce drafts, then watch for them to spread out again.
- If chicks avoid the heat and hang at the edges: they may be too warm. Safe first step: raise/adjust the heat source (or reduce output) so the warm side is less intense.
- If chicks are loud and restless: check water immediately, then check temperature and drafts.
A common mistake we see is changing three things at once (heat, bedding, and layout) and then not knowing what helped. Make one small change, wait a few minutes, and watch distribution. That simple “one-change rule” prevents a lot of chaos.
Common Mistakes to Avoid
- No temperature gradient: heat centered with nowhere to cool down. Fix: move heat to one end.
- Measuring temperature too high: wall thermometers lie. Fix: measure at chick height near the warm edge.
- Overcrowding: leads to stress and pecking. Fix: expand space early (NDSU’s 1/2 sq ft per chick is a solid starting point).
- Soggy bedding from spills: creates odor and irritation fast. Fix: raise the waterer and spot-clean daily.
- Weak lids or big gaps: chicks can hop out, pets can reach in. Fix: secure hardware cloth coverage and stable placement.
Predator-proofing matters even for “temporary” setups. If your brooder is in a garage or shed, think about rodents and curious pets.
Biosecurity and Family Hygiene: Salmonella-Smart Chick Keeping
Chicks can carry germs that make people sick even when the chicks look perfectly healthy. The CDC’s backyard poultry guidance emphasizes washing hands with soap and water right after touching poultry or anything in their area and keeping poultry supplies out of the kitchen and home cleaning spaces. If kids help, make handwashing non-negotiable and supervise closely.
On the flock side, USDA APHIS “Defend the Flock” biosecurity guidance focuses on reducing disease spread by keeping things clean and avoiding moving contaminated equipment between flocks—especially cleaning and disinfecting tools and gear before they go elsewhere. In backyard terms: don’t share feeders, waterers, or crates with neighbors unless they’ve been properly cleaned, and keep your brooder area tidy and easy to sanitize.
When to Call an Avian Vet
We’re not veterinarians, and baby chicks can go downhill quickly. If you see anything that feels urgent, it’s worth calling an avian vet (or an experienced poultry veterinarian) sooner rather than later. Consider professional help if a chick has:
- Severe weakness (can’t stand, repeatedly falls over, or can’t reach water)
- Persistent breathing distress (struggling to breathe or worsening symptoms)
- Ongoing inability to eat or drink despite easy access and a comfortable temperature
- Rapid decline over hours rather than days
While you’re waiting for guidance, the safest “first steps” are basics: confirm warmth at chick height, remove drafts, ensure easy access to clean water, and reduce stress. Avoid home “treatments” that could make things worse—especially anything involving medications or dosing without a veterinarian’s direction.
Wrapping It Up: A Brooder Is Just Warmth, Safety, and Consistency
If you remember three things, remember these: (1) a brooder needs a warm side and a cool side, (2) temperature is measured where chicks live—at chick height—and (3) space and dryness prevent a shocking number of “mystery problems.” Once you get those right, brooder life gets calmer fast. Your chicks will eat, explore, nap, and grow like they’re supposed to.
And if you came here because “brooding” confused you: you’re not alone. A brooder is your chick nursery. A broody hen is a hen trying to hatch eggs. Both matter in chicken keeping, but they solve different problems.
When in doubt, lean on the steady, research-backed basics from sources like University of Minnesota Extension, Penn State Extension, and NDSU Extension for chick care fundamentals—and keep the CDC and USDA APHIS guidance in mind for hygiene and biosecurity. A little consistency in week one pays you back for months.