Chick starter feed is one of those “small decisions” that quietly determines whether your flock gets a smooth start or a rocky one. New hatchlings grow at warp speed, and their bodies need a complete, balanced diet right away—especially the right protein level, vitamins, and minerals in every bite. That’s why most backyard keepers do best with a commercial chick starter rather than trying to piece together grains or a homemade “chick feed DIY” mix.
This guide breaks down what to feed newborn chicks, how to choose the best chick starter feed (including organic chick starter feed), and how long chicks need starter feed before transitioning. We’ll also cover common feeding hiccups—like wasted feed, pasty vents, and “they’re not eating!” moments—without guessing at diagnoses or telling you to medicate birds. If something looks serious, we’ll point you to when it’s time to call an avian veterinarian.
Two quick grounding rules we use at YardRoost: keep it simple, and keep it consistent. A complete chick starter plus clean water solves most early feeding problems.
What Chick Starter Feed Is and Why It Matters
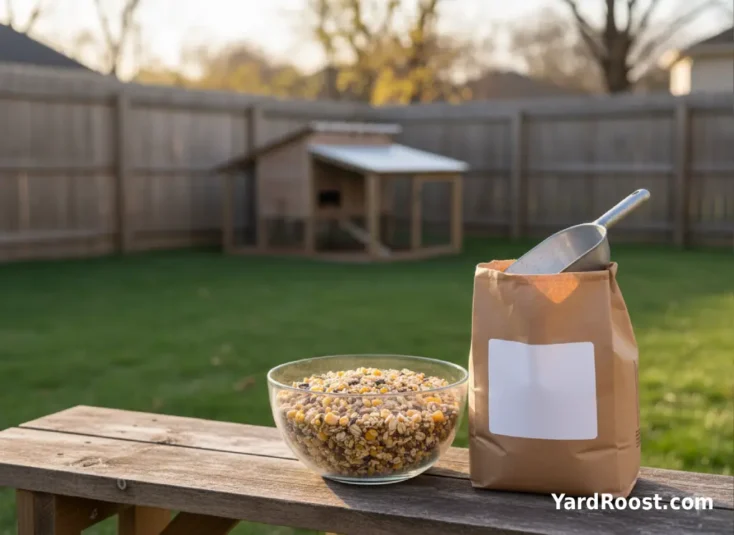
Chick starter feed (sometimes labeled chicken starter feed or starter chicken feed) is a complete ration formulated for rapid early growth. “Complete” is the key word: it’s designed so chicks can eat it as their main food without needing extra grains, kitchen scraps, or supplements to “fill gaps.” In practice, the best chick starter feed is the one your chicks actually eat well and that’s labeled for their age and purpose (layers vs meat birds).
Most starter feeds are crumbles or very small pellets so tiny beaks can manage them. Starter is also typically the highest-protein feed your chicken will eat in its lifetime, because chicks are building muscle, organs, feathers—everything—fast.
Actionable tips we use with new keepers:
- Buy a feed that clearly says “chick starter” (or “starter”) and check the crude protein on the tag so you’re not guessing.
- Choose a form your chicks can handle (crumbles are the usual winner for day-old chicks).
What Do Newborn Chicks Eat in the First Week?
If you’re trying to figure out what newborn chicks should eat, here’s the practical answer: offer a complete chick starter feed and clean water as soon as they arrive in the brooder. Hatchlings do have some internal yolk reserves, but relying on that can leave chicks dehydrated and slow to get moving. Put feed and water out right away and let them start when they’re ready.
A simple first-week routine that works for most small flocks:
- Keep starter feed available all day (free-choice) so timid chicks can eat when the bold ones step away.
- Use a shallow tray or paper towel “training surface” for the first day or two so chicks quickly learn what feed is.
- Refresh small amounts often; starter that’s dusty, damp, or full of bedding gets ignored and wasted.
A common mistake we see is offering scratch grains “because they look hungry.” Scratch is not a balanced starter diet, and it can crowd out the nutrition they actually need during the most important growth window.
How to Choose the Best Chick Starter Feed (Including Organic)
There isn’t one “best chick starter feed” for every backyard flock—there’s the best match for your goals and your management style. Your job is to pick a complete feed that fits your bird type and avoids avoidable problems (like too much calcium too early).
Here’s what to look for on the bag label and why it matters:
- Crude protein: Many starter feeds land around the low-20% range. Layer-type chicks are commonly fed starter around about 20–21% protein, while meat-type chicks are often started higher (about 22–24%). Choose a starter formulated for your type of bird.
- Form: Crumbles are usually easiest for day-old chicks; pellets can work once they’re older and eating confidently.
- Medicated vs non-medicated: Some feeds include a coccidiostat. We don’t tell people to medicate by default—this is a management choice that depends on your setup, exposure risk, and whether your chicks were vaccinated for coccidiosis at the hatchery. If you’re unsure, ask your hatchery what they did and talk with a local poultry-savvy extension office or avian vet.
- Organic chick starter feed: “Organic” can be a great choice if it’s a complete starter with an appropriate protein level for chicks. Don’t assume “organic” automatically means “complete.” Read the tag.
- Calcium: Avoid layer feed for chicks. Layer rations are high-calcium and can seriously harm growing birds.
A common mistake we see is buying layer pellets because “it’s chicken feed,” then trying to “fix it” with kitchen scraps. If the bag doesn’t say starter, don’t use it for chicks—especially not layer feed.
How Long Do Chicks Need Starter Feed?
ost backyard flocks do well on chick starter for roughly the first 6 to 8 weeks, then transition to a grower/developer ration (especially for future laying hens). Meat birds may stay on starter longer depending on your feeding program and processing date.
Instead of chasing a single magic number, use this simple age-and-goal plan:
| Bird Goal | Typical Starter Window | What Comes Next |
|---|---|---|
| Future laying hens (pullets) | About 0–6 (up to 8) weeks | Grower/developer feed until laying age, then layer feed |
| Meat birds (broilers) | Starter early on; some programs keep starter until processing | Developer/finisher plans vary by strain and target weight |
Two practical checkpoints that keep you out of trouble:
- If you’re raising layers, don’t switch to layer feed early “because they’re getting big.” Layer feed is for active egg-laying, not growing.
- If you’re switching feeds, do it gradually over 4–7 days by mixing old and new so you don’t trigger a sudden drop in intake.
Chick Feed DIY: Why Homemade Mixes Are Risky (and Safer Alternatives)
We get why “chick feed DIY” is tempting: it feels wholesome, and it can look cheaper. The problem is that newborn chicks aren’t forgiving. A homemade mix can be short on key amino acids, vitamins, and minerals, and those gaps don’t always show up immediately—but they can affect growth and long-term health.
If you want a more hands-on approach without gambling on nutrition, these are safer “DIY-adjacent” options:
- Choose an organic chick starter feed from a reputable mill and keep it as the primary diet.
- Focus your energy on feed freshness and storage: keep bags dry, sealed, and used within a reasonable window so fats don’t go rancid.
- Offer tiny, age-appropriate extras later (not day one), and keep treats minimal so starter remains the bulk of intake.
A common mistake we see is starting treats too early, then wondering why chicks “won’t eat their feed.” If they fill up on fun stuff, they miss the balanced nutrition starter is designed to provide.
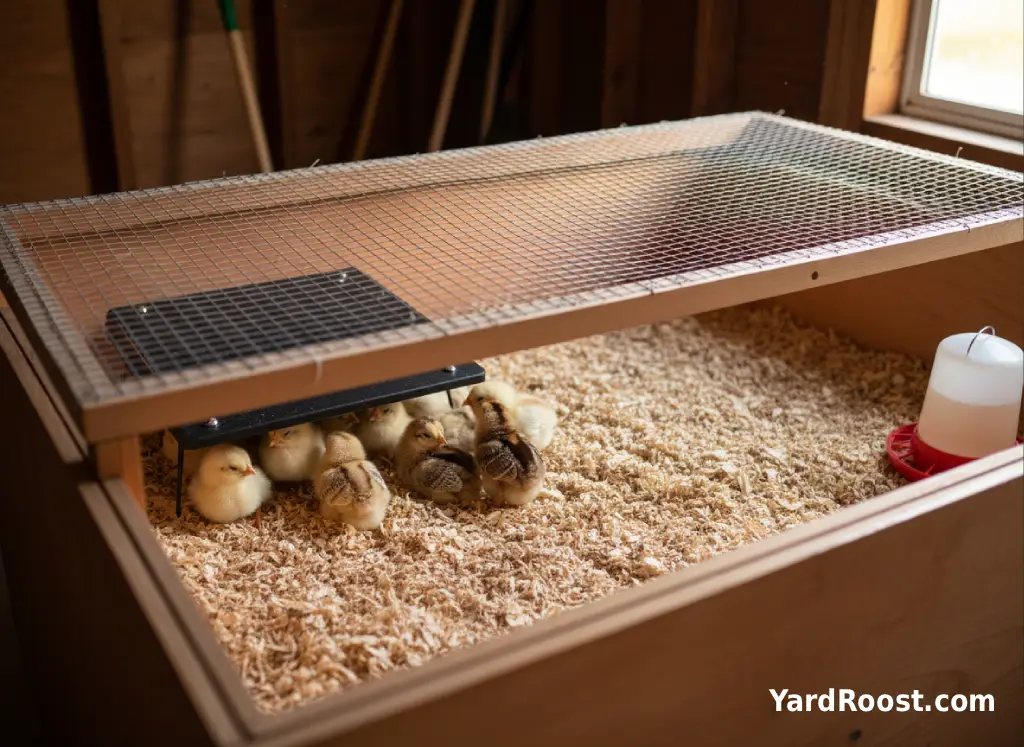
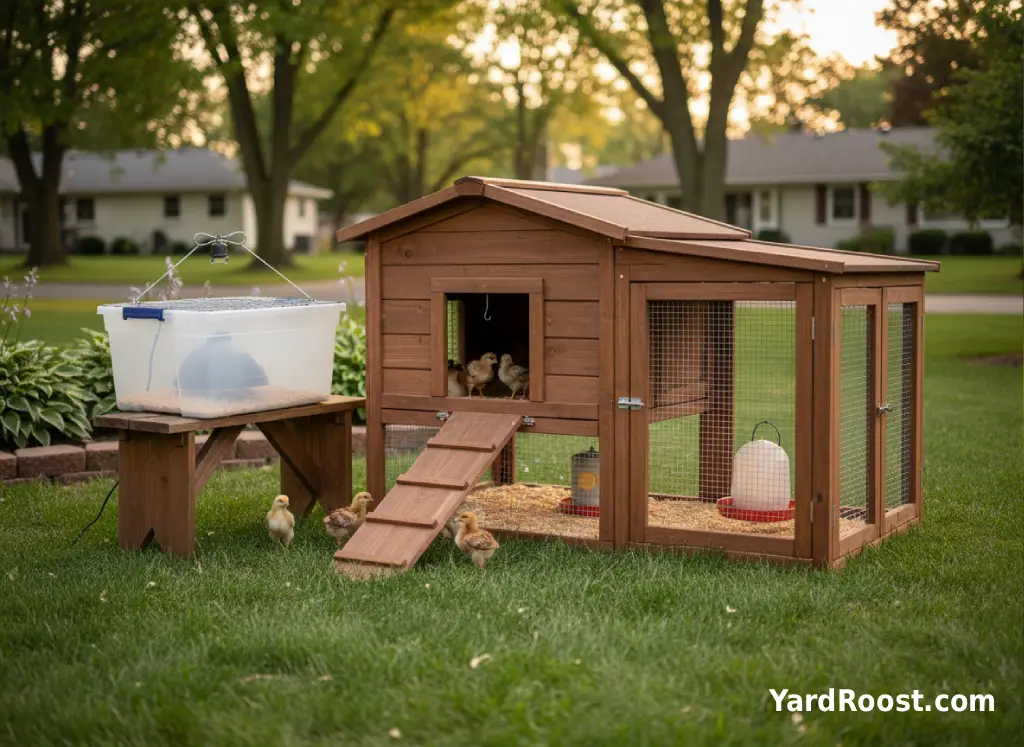
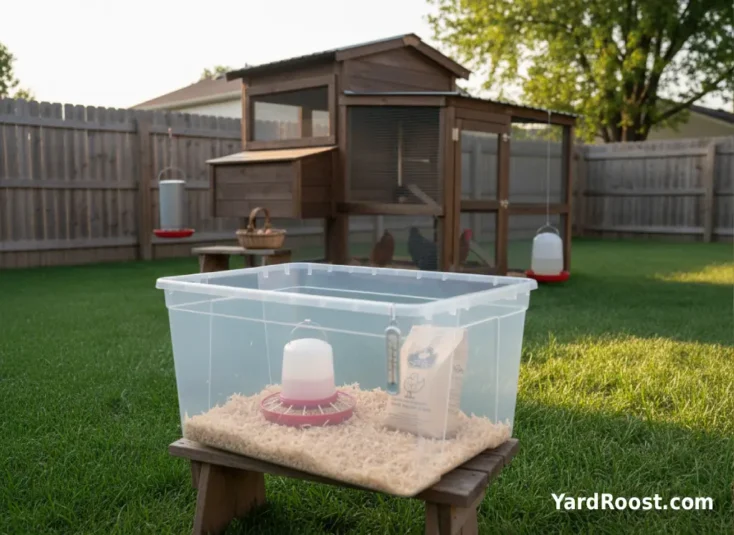
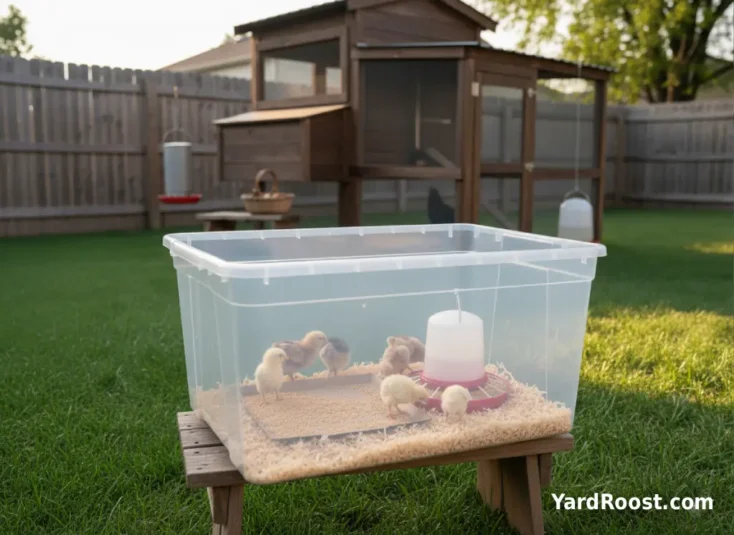
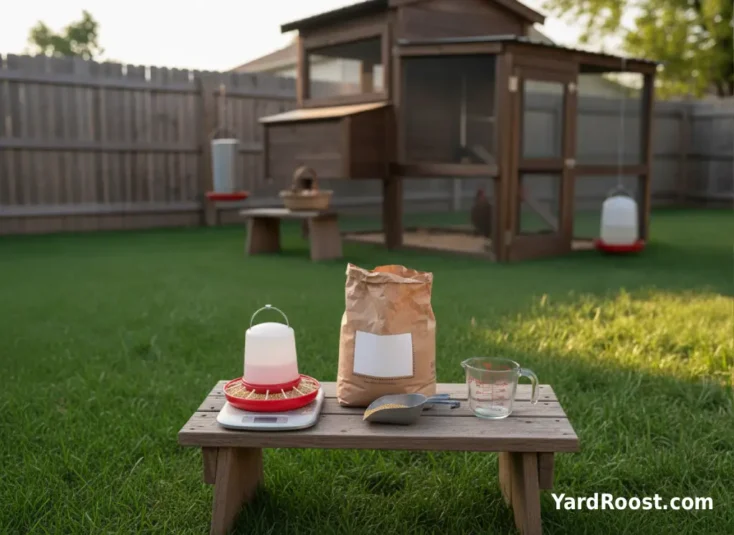
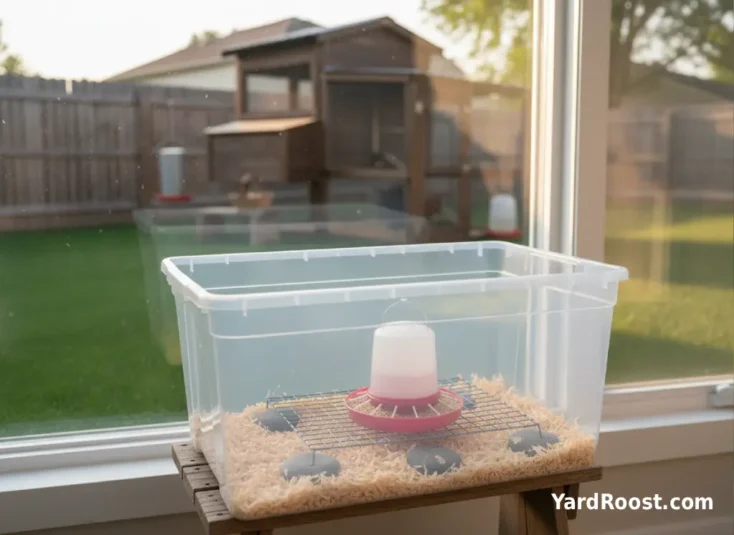
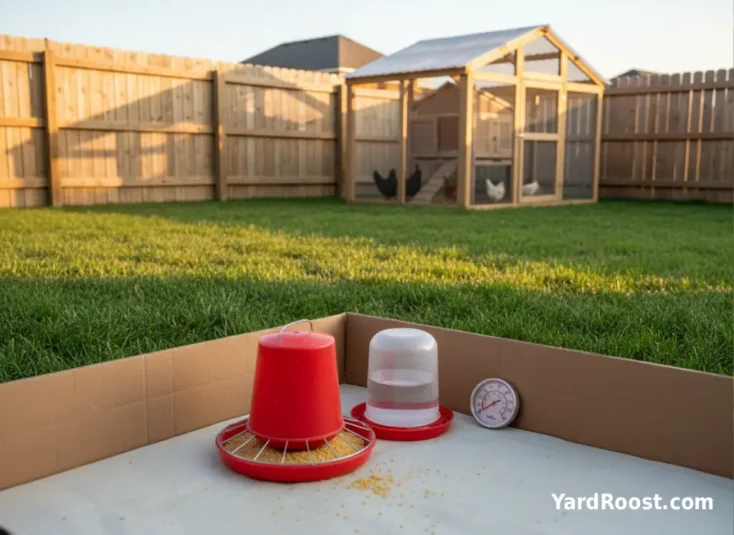
Feed and Water Setup That Actually Works (No Fuss Checklist)
Most early feeding problems are really “setup problems” in disguise: spilled water, feed buried in bedding, or timid chicks getting pushed out. This five-step setup solves a lot of headaches.
- Put feed and water close to the warm zone, but not directly under the heat source.
- Start with crumbles in a low tray for the first day, then move to a proper chick feeder to reduce waste.
- Elevate feeder and waterer slightly (a rack or low platform) once chicks are steady on their feet to keep bedding out.
- Keep water shallow and stable to prevent tipping; refill often so it stays clean and cool.
- Watch intake, not just availability: you want to see active pecking and regular trips to water throughout the day.
What about grit? If chicks are eating a complete chick starter and not getting treats, they typically don’t need supplemental grit. If you begin offering non-feed items later, talk to a local extension resource about grit choices and timing.
Common Feeding Problems: What to Check First (Before You Panic)
Chicks don’t read the instructions, so it’s normal to hit a bump or two. When something looks “off,” start with the safest, most likely causes: access, freshness, and environment.
If chicks aren’t eating much:
Check that the feed is easy to reach (low enough), not dusty or damp, and not buried in bedding. Make sure timid chicks aren’t being blocked. Also check brooder comfort—chicks that are too cold or too hot often spend more time complaining than eating.
If feed is disappearing but chicks look messy and the brooder looks worse:
You may be dealing with waste, not healthy intake. Switch from an open tray to a chick feeder, fill smaller amounts more often, and consider an anti-scratch style feeder. Keeping the feeder at back-height (as they grow) reduces “scratch and fling” behavior.
If droppings look unusually wet:
Reduce treats (if any), keep water from spilling into bedding, and make sure feed isn’t getting wet. Persistent diarrhea, weakness, or blood in droppings is a “don’t guess” situation—see the avian vet section below.
When to Call an Avian Vet
We’re not veterinarians, and baby chicks can go downhill quickly—so it helps to know the “don’t wait” signs. If you see any of the following, contact an avian vet (or a poultry-experienced veterinarian) promptly: a chick that won’t drink, severe lethargy, repeated falling over, labored breathing, a swollen abdomen, or bloody droppings. Also call if you’ve made basic corrections (clean water, fresh starter, comfortable brooder conditions) and a chick still won’t eat or perk up.
Practical prep that makes a vet call more useful: write down chick age, feed brand/type, whether you changed anything in the last 48 hours, brooder temperature range, and what the droppings look like. Clear details save time.
Backyard Poultry Hygiene: Protect Your Family (and Your Flock)
Chicks are adorable—and they can still carry germs that make people sick. The CDC regularly reminds backyard poultry owners that handwashing after handling birds (or anything in their area) is a must, especially with kids in the house.
- Wash hands with soap and water right after touching chicks, feeders, waterers, or bedding.
- Keep poultry supplies out of the kitchen (no brooder tubs on food-prep counters).
- Avoid kissing/snuggling birds, and supervise young children closely around poultry.
- Use gloves for cleaning and refresh bedding in a way that minimizes dust.
Common Mistakes to Avoid
- Feeding layer feed to chicks: Layer feed is high-calcium and can seriously harm growing birds. Use starter, then grower, then layer at laying age.
- Starting treats too early: Treats can crowd out starter nutrition. If you offer extras later, keep them small and occasional so starter stays primary.
- DIY grain mixes as the main diet: Homemade blends often miss key nutrients chicks need for early development.
- Letting feed get wet or dusty: Wet feed spoils; dusty feed gets wasted. Offer small amounts and refresh often.
- Messy access: If feed is buried in bedding or the waterer tips daily, chicks don’t eat and drink well. Elevate and stabilize both as they grow.
Feeding baby chicks doesn’t have to be complicated. If you take nothing else from this, do three things: choose a complete chick starter feed, offer it free-choice with clean water, and keep the setup tidy enough that chicks can actually reach what you’re providing. That solves most newborn-chick feeding worries in real backyard brooders.
As your flock grows, the timeline matters: starter first, then grower/developer for pullets, and layer feed only when they’re truly at laying age. If you want organic chick starter feed, go for it—just make sure it’s still a complete starter ration with an appropriate protein level. And if you’re tempted by chick feed DIY, keep that curiosity for later; chicks are the worst stage to experiment with nutrition shortcuts.
Finally, don’t ignore red flags. A chick that won’t drink or is clearly failing to thrive deserves professional help quickly. A little preparedness—and a solid bag of starter—goes a long way toward raising calm, sturdy birds.