Bringing home baby chicks is equal parts adorable and nerve-wracking. The good news: if you get three things right—warmth, dryness, and clean feed/water—most beginner problems never show up. This guide focuses on how to care for baby chicks at home in a way that’s practical for small backyard flocks in the US, with clear checkpoints you can actually use (not vague “keep them comfortable” advice).
We’ll walk through brooder setup, temperature management, bedding choices, and feeding routines, then lay out a simple “how to care for baby chicks week by week” plan you can follow without overthinking it. You’ll also see common mistakes we see all the time (and how to fix them fast), plus a safety-first troubleshooting section and a clear “when to call an avian vet” list.
Baby Chick Basics for the First 24 Hours
Most chicks ship or travel just fine, but they arrive stressed, thirsty, and unable to regulate their body temperature well. Your job on day one is to make “easy choices” for them: the warm spot is obvious, the water is easy to find, and the floor is dry and grippy.
Do this right away:
- Dip-beak trick: Gently dip each chick’s beak into the waterer once, so they learn where water is. Then watch for a few minutes—at least a couple should drink on their own.
- Check their “huddle shape”: A calm, loose nap pile is good. A tight, frantic clump directly under heat suggests they’re cold; spreading far away from heat suggests they’re too warm. (University of Minnesota Extension describes using chick behavior to gauge comfort.)
A common mistake we see is offering lots of treats early because chicks “look hungry.” Skip it. The fastest way to steady a new chick is consistent heat and balanced chick starter feed—not snacks.
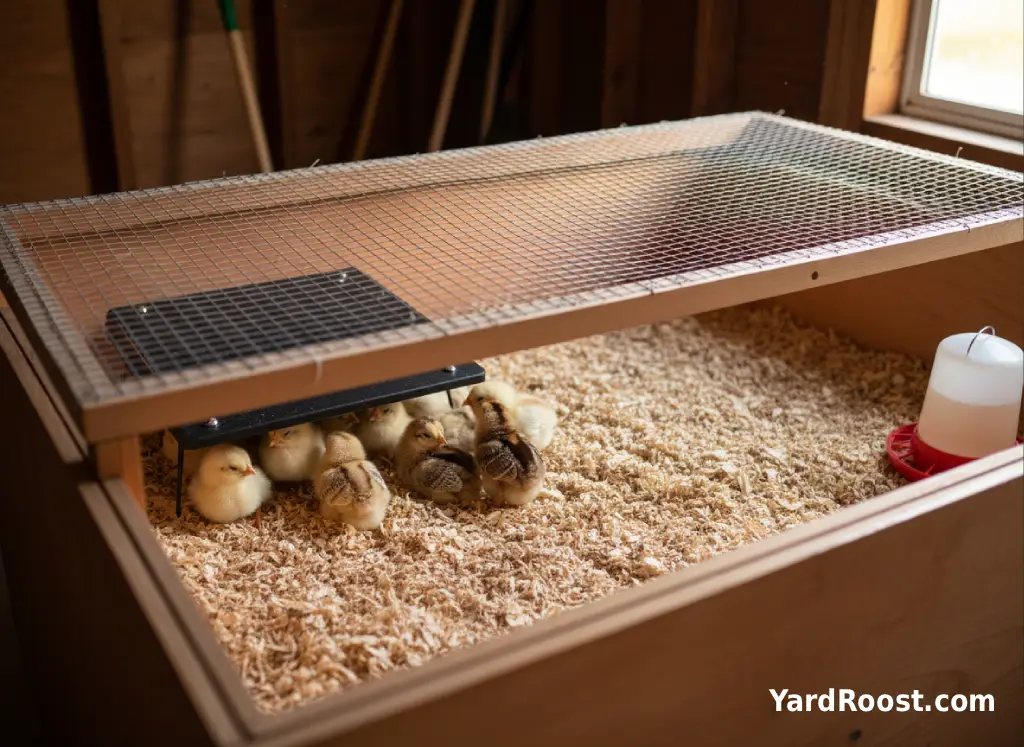
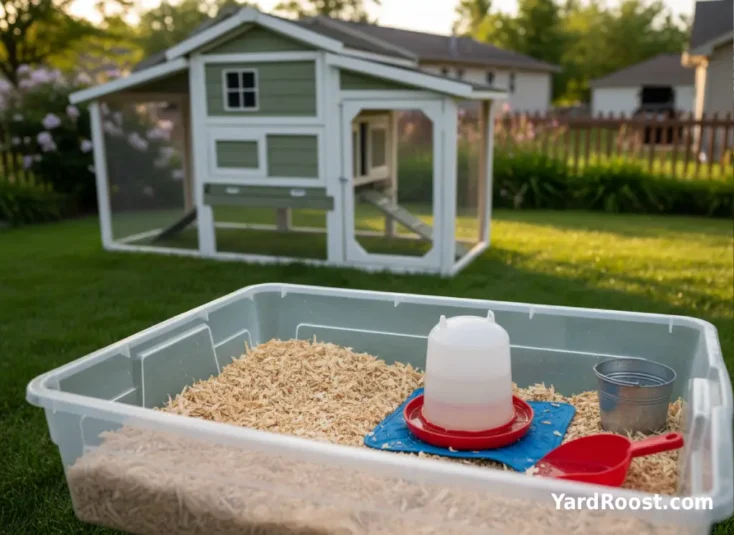
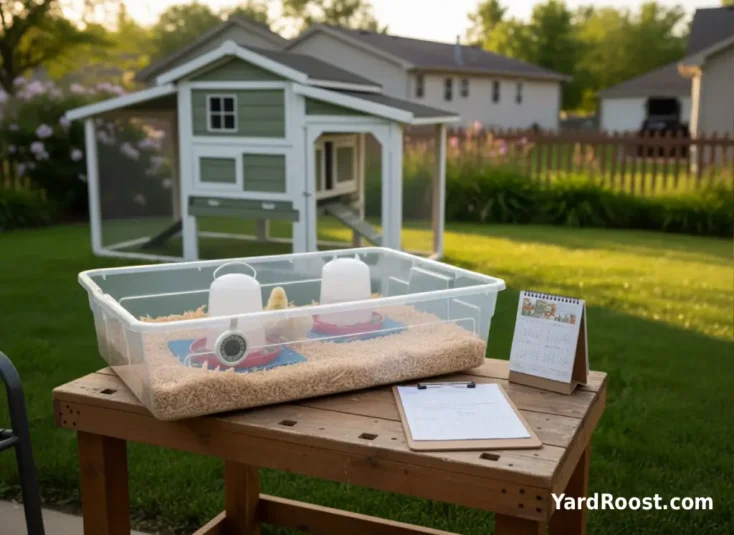
Set Up a Safe Brooder Before Chicks Arrive
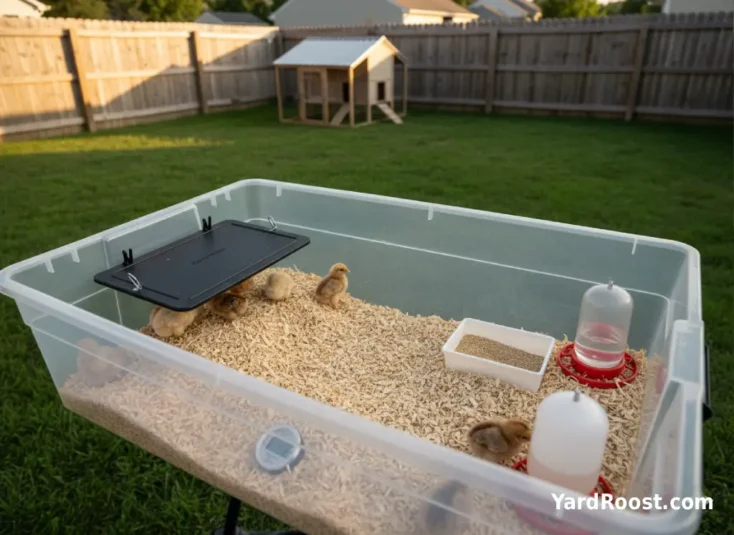
Your brooder doesn’t need to be fancy. It does need to be escape-proof, draft-controlled, and fire-safe. A large tote, stock tank, or brooder box works, as long as chicks can’t hop out and pets can’t reach in.
- Create two zones: Put heat on one end only, so chicks can choose warm vs. cooler space.
- Plan for growth: Chicks outgrow “cute little boxes” fast. University of Minnesota Extension suggests about 1/2 square foot of brooder floor space per chick (and more as they grow).
- Reduce piling risk: Avoid corners that encourage chicks to stack up. A simple round “brooder guard” (cardboard ring) can help; Purdue Extension notes corrugated cardboard works well for brooder guards.
Fire-safety reality check: Heat lamps cause house and coop fires every year. If you use one, mount it to a stable stand, use a safety chain, keep it away from bedding, and never rely on a flimsy clip. If you can, consider a chick heat plate for a lower fire risk (and chicks tend to behave more naturally under it).
Brooder Temperature and Lighting That Actually Works
The most repeatable approach is simple: start warm, then step down gradually. Multiple extension programs recommend about 95°F the first week measured at chick level, then reduce by about 5°F per week as chicks grow.
| Chick Age | Target Warm-Zone Temperature (At Chick Level) | What “Good” Looks Like |
|---|---|---|
| Week 1 | About 95°F | Chicks nap in a loose pile, eat and drink regularly |
| Week 2 | About 90°F | More exploring; quick naps near heat, then wandering |
| Week 3 | About 85°F | Feathering increases; less constant heat-seeking |
| Week 4 | About 80°F | Comfortable in cooler zone for longer stretches |
| Week 5 | About 75°F | Mostly feathered; heat use drops noticeably |
| Week 6+ | About 70°F or “ambient” once fully feathered | Heat optional if they’re fully feathered and not chilled |
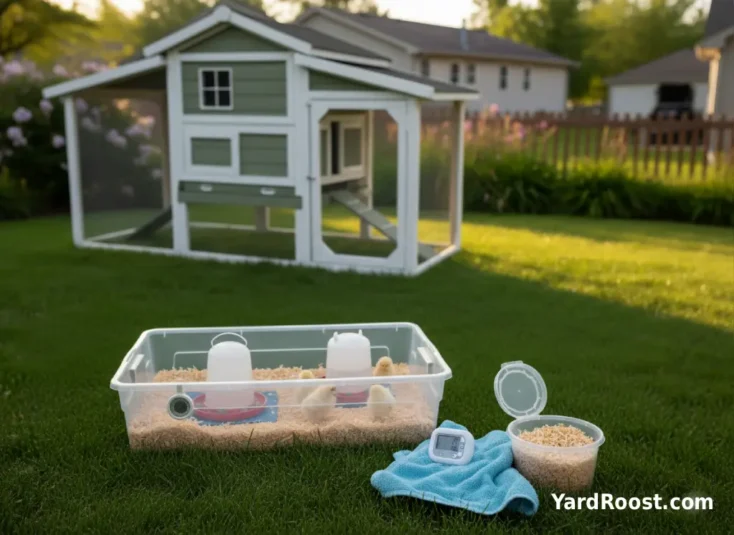
Two tips that prevent most temperature problems
- Measure where chicks live: Put the thermometer at chick height, not on the wall or above the brooder.
- Watch behavior, not your best guess: Minnesota Extension notes that chicks crowding under heat suggests they’re cold; moving away suggests too much heat.
Lighting doesn’t need to be intense. Many keepers run a steady day/night rhythm using ambient room light plus the heat source. If you use bright light 24/7, some chicks get edgy and restless—dim, warm, and calm is the goal.
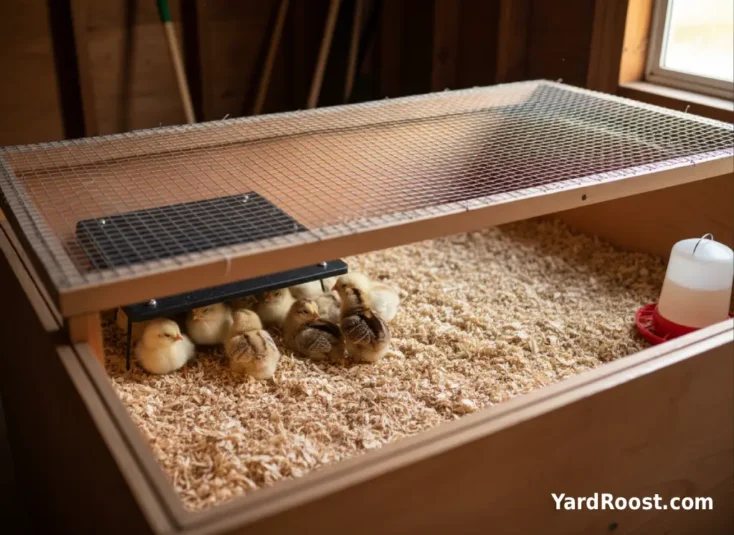
Bedding and Cleanliness Without Overdoing It
Dry bedding is more important than “perfectly spotless.” Wet, slick, or dusty bedding sets you up for avoidable stress. Alabama Cooperative Extension highlights that pine shavings work well and warns that newspaper is too slick and can contribute to leg problems like splayed leg. Missouri Extension similarly cautions against slick surfaces like newspaper or flat cardboard.
Our simple bedding routine
- Start with large pine shavings (not dusty fines). Spot-clean twice a day the first week, then daily as you get a feel for moisture patterns.
- Control the wet zone: Put the waterer on a small tray or mat, or slightly elevate it, so spilled water doesn’t turn the whole brooder into a swamp.
- Avoid cedar in the brooder: University of Florida IFAS recommends avoiding cedar shavings for chicks.
A common mistake we see is doing a full bedding dump every day “to be safe.” That can stress chicks and chills the brooder. Instead, spot-clean often and do a full change when odor or moisture tells you it’s time.
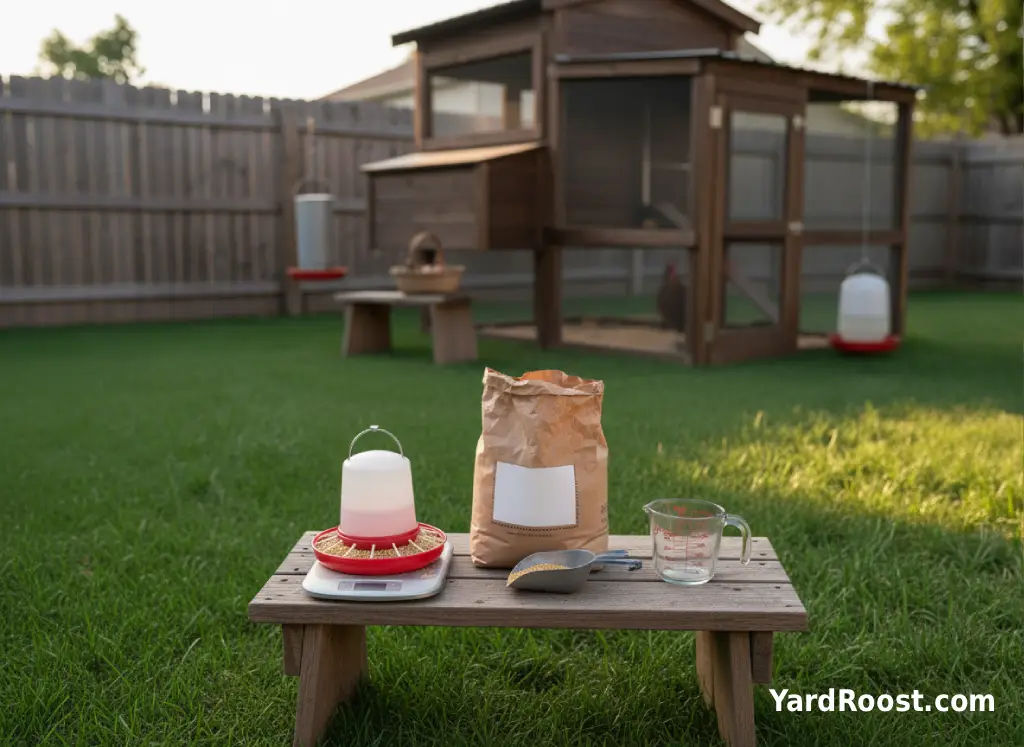
Feeding and Watering: Keep It Boring and Balanced
For how to care for baby chicks after they hatch, feeding is the easy part if you stick to the basics: complete chick starter feed plus constant access to clean water.
Oregon State University Extension notes that starter feeds for newly hatched chicks commonly contain about 18–20% protein and are typically fed until around six weeks.
Two routines that make life easier
- Refill little and often: Give a shallow layer of feed so they don’t scratch it into bedding. Top up as needed.
- Keep water clean, not fancy: Rinse and refill daily (twice daily in warm rooms). If the waterer keeps getting dirty, raise it slightly to chick back height.
About treats and grit: If chicks are only eating complete starter feed, they typically don’t need extra grit. If you choose to offer any treats later, keep them minimal and make sure they still eat mostly starter feed—treats can dilute nutrition fast at this age.

Caring for Baby Chicks Week by Week: A Simple Plan
If you’ve been searching “how to care for baby chicks week by week,” here’s the no-drama version. Think in weekly upgrades: a little less heat, a little more space, and better moisture control.
- Week 1 (Settle In): Warm zone about 95°F; dip-beak to teach water; spot-clean wet bedding twice daily.
- Week 2 (Stretch Out): Drop heat about 5°F; expand brooder space if they’re bumping into each other at the feeder.
- Week 3–4 (Feathering Starts): Drop heat 5°F per week; raise feeder/waterer slightly; expect more dust and more poop—spot-clean accordingly.
- Week 5–6 (Big Kid Energy): Many chicks are mostly feathered; keep reducing heat toward room temperature as tolerated; increase floor space and boredom-busting (a small perch/low roost bar can be a hit).
- Week 6+ (Transition Prep): Once fully feathered, many flocks can handle “ambient” temps with good shelter, but match the transition to your weather and setup.
One quick space rule that helps: University of Alaska Fairbanks Cooperative Extension suggests about 1 to 1½ square feet per bird for the first eight weeks (more space reduces mess and bullying). If you started tighter, that’s okay—just expand early, before you see piling or constant jostling.
Handling and Hygiene: Keep Chicks Safe and Your Family Healthier
Chicks are cute, and they can also carry germs that make people sick. The CDC’s backyard poultry guidance emphasizes handwashing after touching poultry and recommends that children under 5 should not handle chicks or ducklings due to higher risk of illness.
Our YardRoost hygiene defaults
- Wash hands every time after handling chicks, their brooder, or anything in their area.
- No kisses, no snuggles-to-the-face: It’s a hard rule, especially with kids.
- Keep chick gear separate: Use a dedicated scoop, bucket, and “brooder shoes” if possible, especially if you already have adult birds.
Handling for tameness is fine in short, calm sessions. Keep it warm (don’t chill them), keep it gentle, and end on a good note—then wash up.
Common Baby Chick Problems and Safe First Steps
This is the section we wish every new keeper read once—because most issues are management problems (heat, moisture, crowding), not mysteries.
If you see this… try these safe steps first:
- Tight huddling/piling: They may be cold or crowded. Confirm warm-zone temp at chick height and expand space. Minnesota Extension recommends adjusting heat based on chick behavior.
- Wet, dirty chicks or strong odor: Water spills or damp bedding. Add a splash-guard under the waterer, spot-clean, and increase ventilation in the room (without blowing drafts directly on chicks).
- Slipping/legs splayed outward: Often linked to slick footing early. Replace newspaper/smooth surfaces with grippy bedding (pine shavings) as Alabama and Missouri Extension warn.
- Droppings stuck around the vent (“pasty” buildup): This can happen with stress or temp issues. Check brooder warmth first, then use gentle cleaning with warm water on a cloth and keep the chick warm and dry afterward. If the chick seems weak or the issue keeps recurring, escalate to professional help.
A common mistake we see is chasing symptoms without fixing the setup. Before you change feed brands, add supplements, or panic-clean everything, confirm the basics: chick-level temperature, dry bedding, and enough space at the feeder and waterer.
Reference sources we trust for management basics: University of Minnesota Extension; Alabama Cooperative Extension; Penn State Extension.
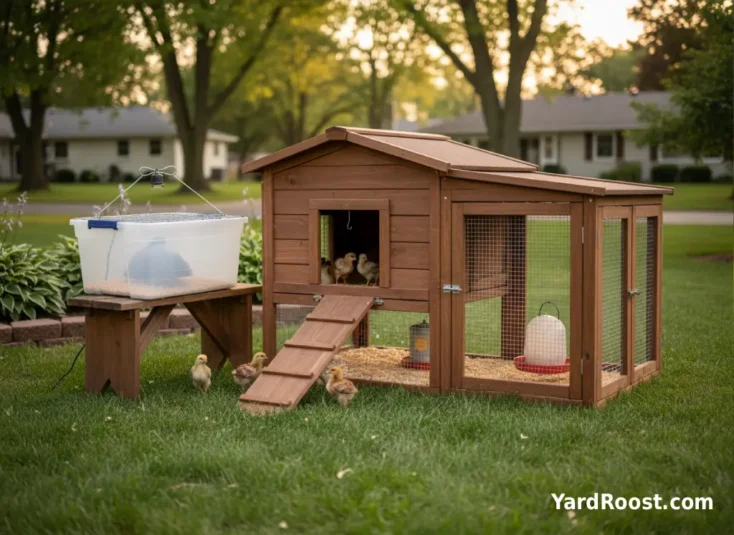
Moving Chicks Out of the Brooder: Timing and Setup
There isn’t one magic day that fits every backyard. A practical rule: chicks do better outside when they’re mostly to fully feathered and your coop/run is dry, draft-managed, and predator-proof. Oregon State University’s Small Farms program notes reducing heat weekly until ambient temperature is reached or birds are fully feathered—that feathering milestone is your best “ready” signal.
Make the move smoother:
- Do a daytime “field trip” first: Short, supervised time in the coop/run during mild conditions helps them learn the space without an overnight stress jump.
- Match the basics: Put feed and water where they can find it fast, and keep bedding dry. If nights are cold, consider a slower transition rather than abruptly removing warmth.
- Predator-proof before day one: Hardware cloth, secure latches, and no gaps.
Common Mistakes to Avoid
- Guessing the temperature: Use a thermometer at chick height and adjust by behavior and weekly step-down guidance.
- Using slick bedding (newspaper): It can contribute to leg issues—use grippy, absorbent bedding like pine shavings.
- Overcrowding early: Mess and stress spike fast; aim to expand toward at least 1 sq ft per chick as they grow.
- Too many treats too soon: Starter feed is balanced; treats can crowd out nutrition.
- Skipping hygiene with kids: Follow CDC guidance—handwashing every time, and no handling chicks for children under 5.
A common mistake we see is trying to “optimize” everything with gadgets while ignoring the basics. A simple, stable setup beats a complicated one you can’t keep dry and consistent.
When to Call an Avian Vet
New chicks can decline quickly, so it helps to have a “call now” list. If you’re unsure, it’s always reasonable to contact an avian vet or a university extension office for guidance.
- Repeated piling/smothering behavior that doesn’t improve after you confirm correct temperature and add space
- Weakness, inability to stand, or persistent falling over
- Labored breathing, loud wheezing, or significant nasal discharge
- Not eating or drinking (or no improvement within a few hours after correcting heat and water access)
- Persistent vent pasting with a chick that seems lethargic or isn’t thriving
- Any injury, bleeding, or sudden severe change in behavior
Tip: When you call, share your chick-level temperature, brooder size (space per chick), bedding type, and what feed you’re using. Those details help a professional narrow down safe next steps fast.
Learning how to care for baby chicks is mostly about building a steady routine and resisting the urge to tinker. Set up a safe brooder with a warm zone and a cooler zone, measure temperature at chick height, keep bedding dry and grippy, and stick to balanced chick starter feed and clean water. Then watch their behavior—they’ll tell you if something’s off long before you notice a “problem.”
If you take only one idea from this: fix the environment first. Most stress signs in young chicks trace back to heat, moisture, or crowding. When you correct those quickly, chicks usually rebound just as quickly. And when something seems genuinely wrong—or a chick is weak, not improving, or struggling—trust your instincts and get professional help. Your future flock (and your peace of mind) will thank you.